How to Diagnose and Replace a Faulty CPU
Have you ever experienced the dreaded black screen of death on your computer? Or perhaps your machine has been running slower than a snail on tranquilizers? If so, there’s a good chance your central processing unit (CPU) is on its last legs. But don’t panic! In this comprehensive guide, I’ll walk you through the step-by-step process of diagnosing and replacing a faulty CPU, like a true computer repair wizard.
Identifying the Symptoms of a Faulty CPU
Let’s start by taking a close look at the telltale signs that your CPU is in trouble. If your computer refuses to power on or displays a mysterious black screen, that’s a clear indication something is amiss [1]. You might also hear strange beeping sounds or see error codes flashing on the motherboard, which can be a dead giveaway of a CPU issue [2].
But the symptoms don’t stop there. If your machine is crashing, freezing, or restarting randomly, or if it’s running at a snail’s pace, that’s another red flag [3]. And let’s not forget the dreaded overheating problem – if your CPU’s fan is making more noise than a jet engine, that’s a surefire sign of trouble [4].
Diagnosing the Problem with Software Tools
Now that we’ve identified the symptoms, it’s time to put on our detective hats and figure out the root cause. The first step is to use some software diagnostics tools, like the ever-reliable CPU-Z [5]. This nifty little program can give us a detailed breakdown of your CPU’s specs, including its model, speed, temperature, and voltage. If the information is inaccurate or the tool reports any errors, you’ve got a strong case for a faulty CPU.
Another powerful diagnostic tool is Prime95, a stress-testing software that’ll really put your CPU through its paces [6]. If your machine starts crashing, freezing, or overheating during the test, it’s a clear sign that your CPU is on its last legs. Think of it like a fitness test for your computer – if the CPU can’t handle the workout, it’s time for a replacement.
Physically Inspecting the CPU
Alright, time to get our hands dirty! The next step is to physically inspect the CPU and its socket on the motherboard. But before you start tinkering, make sure to disconnect the power cord and ground yourself to prevent any static electricity from frying your components [7].
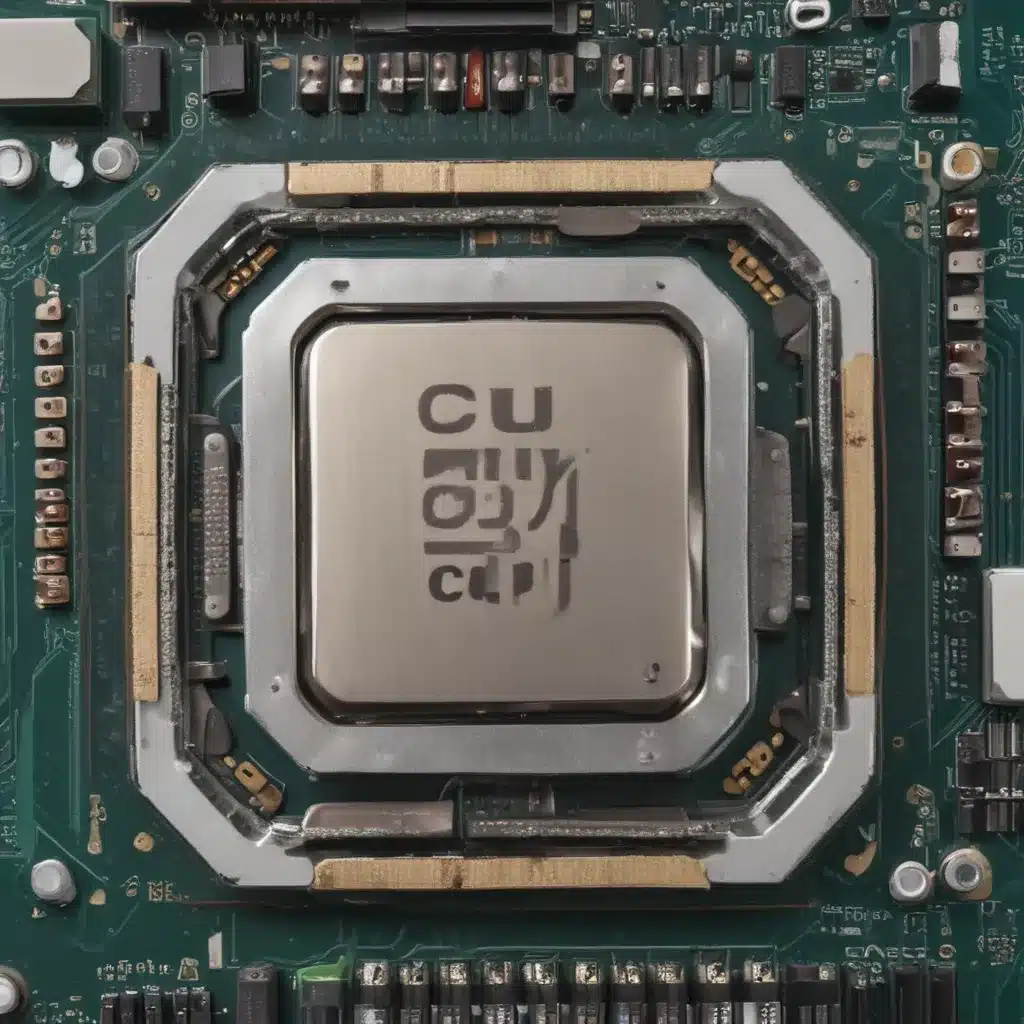
Once you’ve taken those precautions, gently remove the CPU cooler and heatsink, being careful not to bend or break any of the delicate pins. Take a close look at the CPU itself, and if you spot any cracks, burns, or signs of corrosion, it’s a pretty safe bet that your processor is toast [8].
Replacing the Faulty CPU
If your CPU is indeed the culprit, it’s time to swap it out for a shiny new one. But hold on, partner – you’ll need to do a bit of research first. Check your motherboard manual or the manufacturer’s website to find out what type of CPU socket you have and what models are compatible [9]. Trust me, you don’t want to end up with a CPU that’s a complete mismatch for your system.
Once you’ve got the right replacement CPU, it’s time to get to work. Carefully align the new processor with the socket and gently lower it into place, making sure not to bend any pins. Then, apply a fresh layer of thermal paste and reattach the cooler and heatsink. With that done, it’s time to power up and see if your computer has a new lease on life.
Troubleshooting and Fine-Tuning
If your computer still isn’t running quite right after the CPU swap, don’t worry – we’ve got a few more tricks up our sleeves. First, try resetting the BIOS or UEFI settings to their default values [10]. This can help eliminate any conflicts or incompatibilities that might be causing issues.
You should also check for any updates to your device drivers, BIOS/UEFI firmware, and even your operating system. Keeping everything up-to-date can help ensure your new CPU is running at its absolute best. And don’t forget to clean out any dust or debris that might be impacting airflow and cooling.
If all else fails, it’s time to call in the big guns. Reach out to the CPU or motherboard manufacturer, or a trusted computer repair professional, for further assistance. They’ll be able to dig deeper into the issue and help you get your machine back in tip-top shape.
So there you have it, fellow computer enthusiasts – the complete guide to diagnosing and replacing a faulty CPU. With a little patience, a lot of elbow grease, and the right tools, you’ll have your rig running like a dream in no time. Happy tinkering!
[1] https://www.reddit.com/r/buildapc/comments/11l9xb3/can_a_cpu_go_bad_what_does_that_look_like/
[2] https://www.linkedin.com/advice/1/what-best-way-diagnose-repair-malfunctioning-cpu-ogf0e
[3] https://community.spiceworks.com/t/symptoms-of-a-faulty-cpu/680075
[4] https://www.linkedin.com/advice/0/what-steps-diagnose-faulty-cpu-skills-computer-repair-2tcfe
[5] https://community.intel.com/t5/Processors/XTU-CPU-stress-test-avx2-failing-i9-13900k/td-p/1571025
[6] https://steamcommunity.com/app/621060/discussions/0/3112519113951054108/
[7] https://www.quora.com/How-do-I-check-if-my-motherboard-or-CPU-is-broken
[8] https://community.intel.com/t5/Processors/IMC-Test-Fail-CPU-Diagnostic-Tool/td-p/513809
[9] https://www.reddit.com/r/buildapc/comments/11l9xb3/can_a_cpu_go_bad_what_does_that_look_like/
[10] https://www.linkedin.com/advice/0/what-steps-diagnose-faulty-cpu-skills-computer-repair-2tcfe


