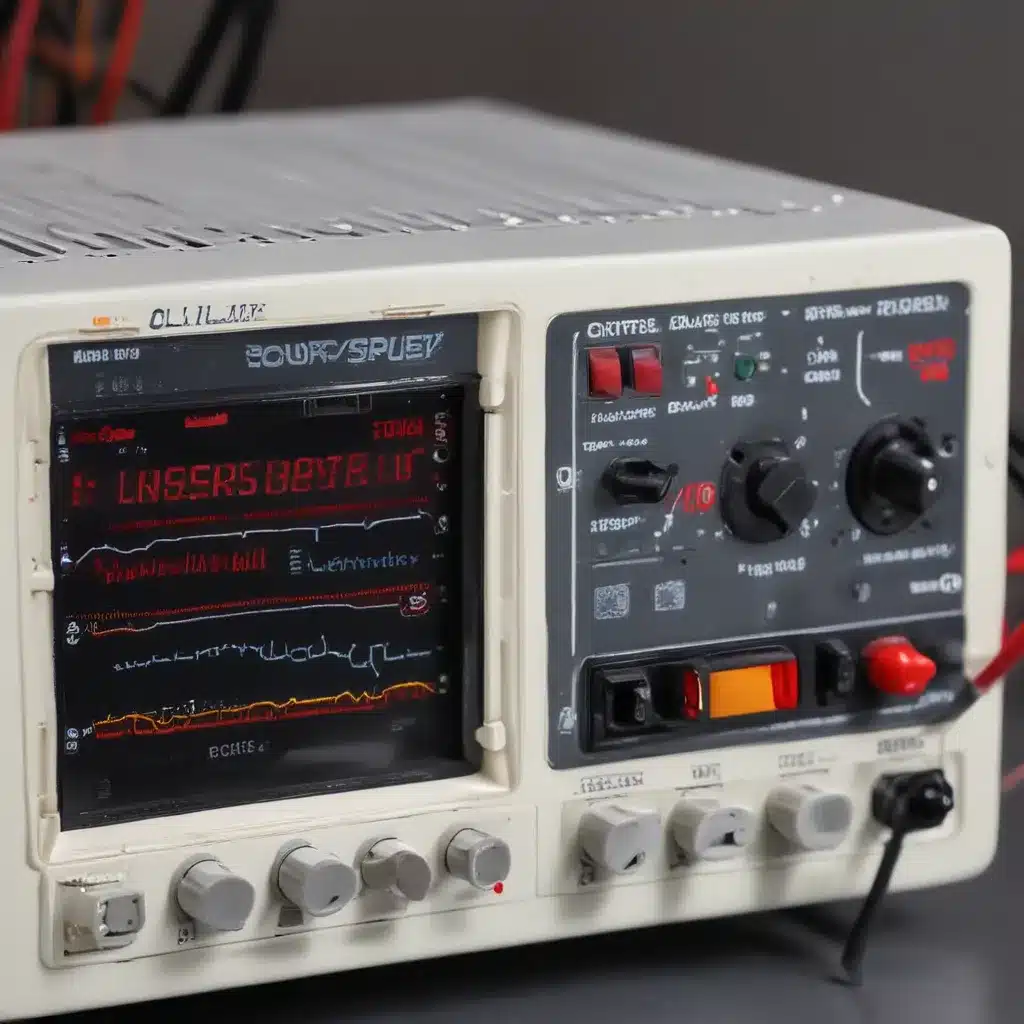
The Power Supply Conundrum
Oh, the dreaded power supply failure – it’s like the computer repair equivalent of a flat tire. One minute, your trusty device is humming along, and the next, it’s as lifeless as a doorstop. But fear not, my friends, for I’m here to guide you through the process of diagnosing and replacing a failing power supply. Grab your multimeter and let’s dive in!
Checking for Signs of Life
Alright, let’s start with the basics. When I first encountered this problem, I didn’t have a clear troubleshooting strategy, so I just went with my trusty “problem-solving approach.” [1] First, I gave the power supply a good visual inspection, looking for any obvious signs of damage or stress. The fuse was intact, the transistors looked okay, and even the electrolytic capacitors were in decent shape. So far, so good!
Next, I decided to power up the beast and see what kind of readings I could get. Measuring the voltage at the output of the diode bridge, I was relieved to see a healthy 326V. [1] This meant that the components upstream of the rectifier were functioning properly. But the real test came when I started probing the transformer windings. To my dismay, the secondary winding wasn’t producing any voltage – the telltale sign of a power supply on its last legs. [1]
The Hunt for the Culprit
With the secondary winding out of commission, I knew I had to dig deeper. I started by checking for any shorts on that side of the circuit, using my trusty multimeter in resistance mode with the beeper function. [1] Thankfully, I didn’t detect any shorts, which meant the problem was likely in the switching and PWM control circuit.
Time to start removing components and running some tests. First up was the switching transistor, Q1. After a bit of delicate desoldering, I was able to extract the little guy and give him a thorough examination. [1] Turns out, Q1 was in tip-top shape, so I needed to keep searching for the real culprit.
The Shocking Discovery
With Q1 cleared of any wrongdoing, I moved on to the next suspect: Q2. This little transistor was responsible for turning Q1 on and off, and when I tested it, I got a nasty surprise. [1] The base-emitter junction was completely open, and the base-collector junction was short-circuited. Yikes! It looks like Q2 was the root of the problem.
I breathed a sigh of relief, knowing that I had finally found the source of the power supply’s woes. Now, the only question was – where on earth was I going to find a replacement? After scouring the internet, I managed to track down a suitable alternative, the KSC2383YTAKSC2383YTA. [1] It may not have been an exact match, but as long as the key specs were covered, I was confident it would do the trick.
A Glimmer of Hope
With the replacement transistor in hand, I eagerly soldered it onto the board, hoping against hope that this would be the magic fix. I connected the power supply to the mains, held my breath, and… it worked! [1] The 12V output was back, and my beloved device was once again alive and kicking.
But I wasn’t about to stop there. Nope, I decided to go the extra mile and “up-cycle” the power supply, replacing all the electrolytic capacitors, the dual diode, and a few resistors that were looking a bit worse for wear. [1] I wanted to make sure this power supply would keep chugging along for years to come.
The Final Test
With the new components in place, it was time for the ultimate stress test. I rigged up a little load simulator, using a bunch of 10-ohm resistors in series, to see how the power supply would handle some real-world usage. [1] The results were impressive – the voltage held steady at 12.02V, and the current draw of 2.29A was well within the supply’s capabilities.
Sure, there was a slight high-pitched hiss coming from the transformer, but I wasn’t too worried about that. [1] Maybe it was just the power supply’s way of letting me know it had been through the wringer and come out the other side, stronger than ever.
As I admired my handiwork, I couldn’t help but feel a sense of pride. Not only had I saved this power supply from an early grave, but I had also learned a valuable lesson in troubleshooting and component replacement. Who needs a fancy programmable load when you’ve got a bunch of resistors and a multimeter, am I right?
So, the next time your device decides to take a power nap, don’t panic. Grab your tools, channel your inner repair guru, and get ready to bring that power supply back to life. Trust me, the satisfaction of a job well done is worth every minute of the effort.


