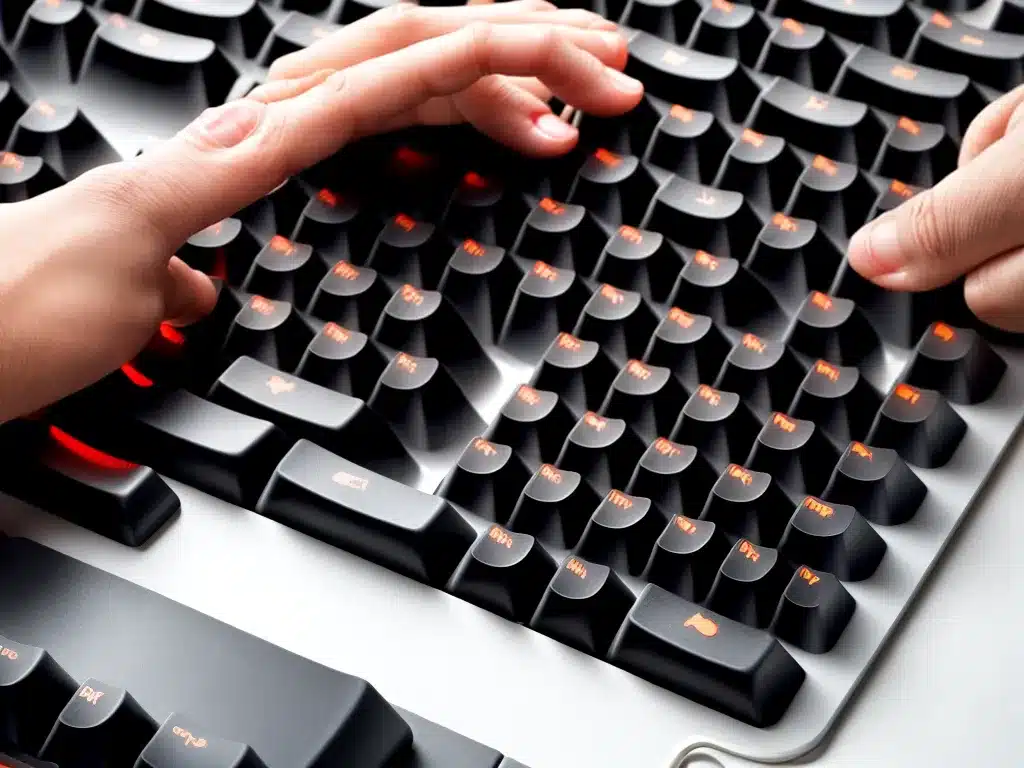
Cleaning your mechanical keyboard regularly is important to keep it in good working order and extend its lifespan. Here is an in-depth guide on how to deep clean a mechanical keyboard.
Why Deep Clean Your Mechanical Keyboard
There are a few key reasons why you should deep clean your mechanical keyboard on a regular basis:
Remove Built Up Dirt and Debris
-
Over time, dirt, dust, skin cells, oils, food crumbs and other debris can build up on and between your keyboard keys. A deep clean helps remove all this gunk.
-
These debris can hinder the mechanical operation of the keys and potentially shorten the keyboard’s lifespan.
Prevent Sticky Keys
- Built up oils from your fingers and dirt can cause keyboard keys to become sticky and less responsive. A deep clean restores the keys to likenew smooth operation.
Extend Your Keyboard’s Life
- Regular deep cleaning helps remove particulates that can damage the sensitive mechanisms under each key. This allows your mechanical keyboard to last for years longer.
Improve Overall Typing Experience
- Clean keys with light, crisp, responsive action just feel great to type on. Deep cleaning restores that great mechanical keyboard feel.
Supplies Needed
Gather these supplies before deep cleaning your mechanical keyboard:
- Can of compressed air
- Q-tips
- Small soft bristled brush
- Isopropyl alcohol
- Cotton pads or microfiber cloth
- Keycap puller
- Tweezers (optional)
Step-By-Step Deep Cleaning Process
Follow these steps to thoroughly deep clean your mechanical keyboard:
1. Unplug Keyboard
Unplug your keyboard from your computer before cleaning to prevent any shorts.
2. Remove Keycaps
Use a keycap puller tool to remove every keycap from the keyboard. Set them aside in a tray or bowl.
3. Blow Away Debris
Use short bursts of compressed air to blow away dust, crumbs and other large debris from the keyboard interior. Also blow out each keycap.
4. Q-Tip Clean Between Keys
Use a cotton Q-tip dipped in isopropyl alcohol to gently clean in between each key switch and stabilizer. Twist and rotate to scrub away gunk.
5. Brush Key Switches
Use a small soft bristled brush dipped in alcohol to gently scrub any visible dirt or debris from the key switches and plate.
6. Clean Keycaps
Dip a cotton pad in alcohol and wipe down the surface of each keycap. Use a microfiber cloth to buff them dry.
7. Tweezer Clean Sides
(Optional) For stuck on debris, use tweezers to carefully pick away dirt along the sides and edges of the key switches.
8. Reinstall Keycaps
Press each keycap back onto its switch. Make sure they are fully seated.
9. Test Keyboard
Plug your keyboard back in and test that every key is working properly. Enjoy your like-new keyboard!
How Often To Deep Clean
I recommend deep cleaning your mechanical keyboard every 3-6 months for optimal performance and longevity. If you notice keys feeling sluggish or see a lot of built up grime, do a cleaning sooner.
Closing Thoughts
While it takes a bit of time and effort, deep cleaning your mechanical keyboard helps remove contaminants that can degrade its performance and feel over time. Just be gentle yet thorough, and your keyboard will last for years to come. Let me know if you have any other mechanical keyboard care tips!


