Introduction
Creating cinematic cutscenes can greatly enhance the storytelling and immersion in your game. With Unreal Engine 5’s new Lumen and Nanite technologies, it’s now easier than ever to achieve film-quality lighting and geometry in real-time. In this comprehensive guide, I’ll walk you through the full process of creating stunning cinematic cutscenes that take advantage of these powerful new features.
Overview of Lumen and Nanite
Before diving into cutscene creation, let’s briefly go over what Lumen and Nanite bring to the table:
Lumen
Lumen is a fully dynamic global illumination solution that immediately reacts to scene and light changes. This means you can move, scale, or change lights and geometry interactively without having to wait for lightmaps to recompile. Lumen provides dynamic diffuse interreflection, reflections, shadows, translucent materials, and other effects.
Some key advantages of Lumen:
- Excellent indirect lighting bounce from dynamic objects
- Instant updates for lighting changes
- Great performance on modern GPUs
Nanite
Nanite is a virtualized micropolygon technology that allows film-quality source assets to be imported directly into Unreal with minimal loss of detail. Traditional games use simplified meshes with polygon budgets measured in the thousands or tens of thousands. Nanite essentially removes poly count restrictions, delivering cinematic quality geometry in real-time.
Benefits of Nanite:
- Import assets with millions or billions of polygons
- Virtualized geometry system only renders visible details
- Film-quality assets in real-time speeds
With Lumen and Nanite, you can import highly complex cinematic environments and assets and light them in real-time. This unlocks new possibilities for interactive cutscenes and linear narrative experiences.
Setting Up Your Cutscene
Before you start creating, you’ll want to set up a basic framework for your cutscene sequence. Here are the key steps:
Create a New Level
Create a new level in Unreal specifically for your cinematic cutscene. This will let you optimize the environment specifically for the cutscene action without any gameplay considerations.
Set up Camera Shots
Place camera actors where you want your different shots and angles. Create a Camera Cut Track in the sequencer and set up camera cuts between shots to visualize the flow.
Block Out Rough Environments
Even if you’ll be bringing in detailed environments later, it helps to block things out roughly first. Place basic shapes, geometry, and lighting to frame initial shots.
Add Character and Prop Models
Add character skeleton meshes and place rough model props to represent characters and objects. This helps frame shots and blocking even before detailed models are available.
Sequence the Cutscene
In the sequencer, start sequencing camera cuts, animations, and events. Iterate on timing and flow of the cutscene sequence.
This provides a flexible framework to start visualizing and iterating on your cutscene. Next let’s look at enhancing the visuals.
Crafting Cinematic Visuals
With your rough cutscene sequence blocked out, you can start leveraging Lumen, Nanite, and other tools to create a cinematic look.
Lighting with Lumen
Lumen provides natural bounce lighting and instant feedback on lighting changes. Take advantage of this to craft shots:
- Position primary scene lights representing keylights, backlights, and fills
- Sculpt the mood with color, intensity, and bounce lighting
- Iterate interactively without bake times to achieve your desired look
The indirect bounce lighting from Lumen is great for crafting soft, cinematic illumination.
Detailed Assets with Nanite
With Nanite, you can bring in highly complex assets and geometry to realize your visuals.
- Import vehicles, buildings, props, and environments modeled in detail
- Add highly detailed character models with precision normals, displacements
- Show fine details up close with Nanite virtualized geometry
- Achieve film CGI quality in your real-time cutscenes
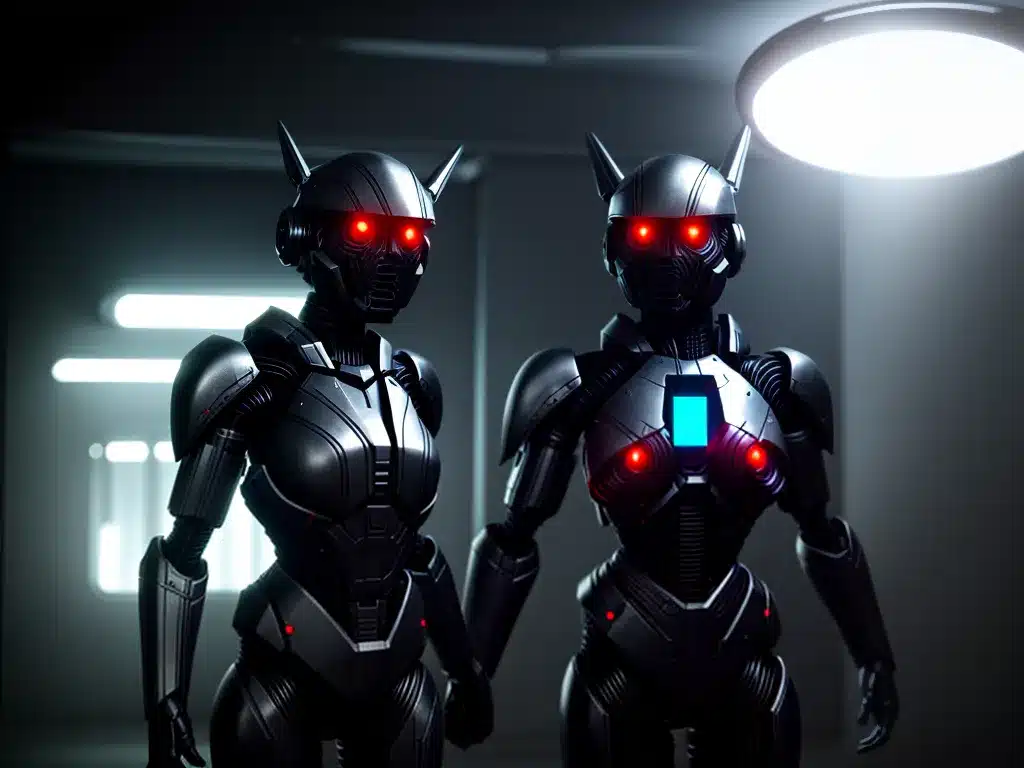
This Cinematic Scene example (screenshot) demonstrates the detail possible with Nanite assets.
Post Processing Effects
Leverage post processing to add cinematic camera effects:
- Film grain for a classic film look
- Vignettes to guide focus
- Depth of field to mimic lens focus
- Chromatic aberration for that cinematic edge
- Color grading to set mood and tone
Iteratively apply post process overrides per shot until you achieve the desired cinematic quality.
Animating Your Cutscene
To bring your cutscene to life, you need realistic character animation and camera animation between shots.
Character Animation
- Work with animators to create narrative character animations
- Blend different animation cycles seamlessly with Animation Blueprints
- Add secondary motion with cloth, hair, facial animation
- Apply Animation Warping for interrupts and reactions
Study reference footage to capture realistic movement and acting.
Camera Animation
- Animate camera moves to follow the action
- Use spline tracks and easing for smooth motion
- Add camera shake for emphasis and reactions
- Cut between stationary and moving shots for pacing
Camera animation is key to the language of cinematic storytelling.
Sequencer Timeline
The sequencer timeline allows intricate timing and blending of:
- Camera cuts and moves
- Character animation
- Environmental events
- Audio tracks and stings
This sequencing creates a dynamic, narrative flow to your cutscene.
Cinematic Physics
For key story moments, leverage UE5’s Chaos physics:
- Simulate clothing, hair, and environmental effects
- Orchestrate physics destructibles and destruction
- Choreograph physically driven reactions and stunts
This adds a visceral realism that draws in the viewer.
Putting It All Together
By combining all the elements discussed into a sequenced timeline, you can produce compelling cinematic narratives with UE5.
- Lumen provides the realistic lighting
- Nanite enables film CGI quality
- Excellent animation tells the story
- Careful art direction and effects set the tone
- Meticulous sequencing creates the flow
The result is an engaging cinematic experience transporting viewers into your narrative.
While cutscene creation is an extensive process, Lumen and Nanite dramatically streamline crafting film-quality visuals. This allows you to focus efforts on direction, animation, sequencing, and storytelling.
UE5 provides all the tools needed to share your vision with the world through engaging cinematic cutscenes. I encourage you to leverage Lumen, Nanite, and the guidance above to deliver storytelling that leaves a lasting impact on your players.


