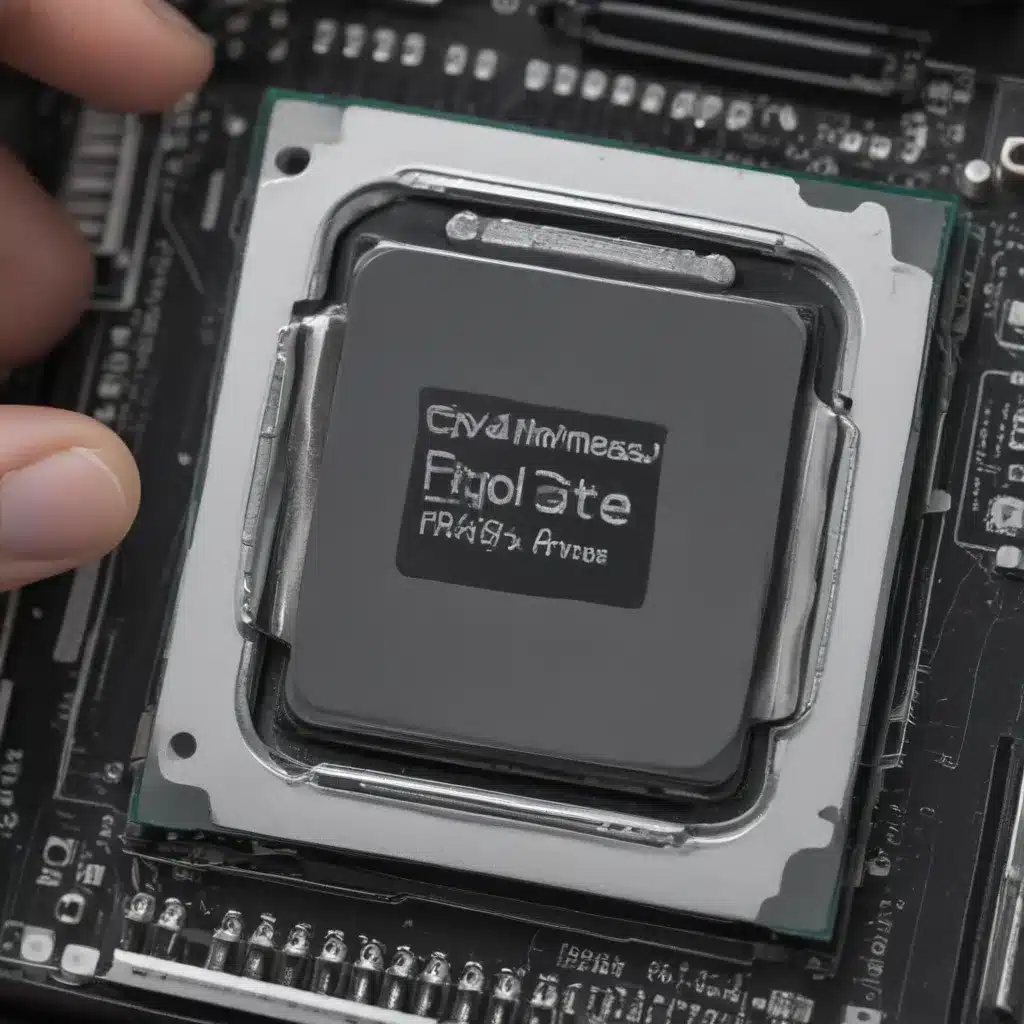
How to Correctly Apply Thermal Paste on a CPU
A Step-by-Step Guide for Keeping Your CPU Cool and Performing at its Best
As someone who’s been building and tinkering with computers for ages, I’ve learned that properly applying thermal paste is one of the most crucial yet commonly misunderstood steps in maintaining a healthy system. Whether you’re building a brand-new rig or performing a routine CPU cooler swap, getting this process right can mean the difference between a well-oiled machine and a toasty, underperforming mess.
In this comprehensive guide, I’ll walk you through everything you need to know to apply thermal paste like a pro, from selecting the right type of paste to ensuring a perfect, heat-conducting seal between your CPU and heatsink. So, grab your toolkit, and let’s dive in!
Understand the Purpose of Thermal Paste
Before we get into the nitty-gritty of application, it’s important to understand why thermal paste is essential in the first place. Simply put, thermal paste acts as a heat-conducting interface between your CPU and the heatsink or cooler. [1] That may not sound very exciting, but trust me, it’s a critical component in keeping your processor from overheating and potentially frying.
You see, even though CPU and heatsink surfaces might appear smooth to the naked eye, they’re actually quite rough and uneven at the microscopic level. [2] These tiny imperfections create air gaps that act as insulation, preventing efficient heat transfer. Thermal paste fills in those gaps, allowing heat to flow more freely from the CPU to the heatsink, where it can be dissipated.
Imagine trying to transfer heat from a hot pan to a cold one without any oil or butter in between – it’s not going to work very well. Thermal paste is the “butter” that greases the metaphorical gears, ensuring optimal thermal performance.
Choose the Right Thermal Paste
With the importance of thermal paste established, the next step is selecting the right product for your needs. There are a few key factors to consider:
Thermal Conductivity: This measures how effectively the paste can transfer heat. Higher conductivity generally means better cooling performance. Common values range from 3-12 W/mK (watts per meter-Kelvin).[3]
Viscosity: The thickness or “spreadability” of the paste. Lower viscosity makes for easier application, but the paste may also be more prone to drying out over time. Higher viscosity pastes can be trickier to work with but may last longer.
Compound Composition: Thermal pastes can be made from a variety of materials, including silicone, metal, or ceramic. Each has its own unique properties and performance characteristics.
Brand Reputation: While not a technical specification, the brand and reviews of a thermal paste can be a good indicator of quality and reliability.
To give you a quick comparison, here’s a table outlining some popular thermal paste options:
| Paste | Thermal Conductivity (W/mK) | Viscosity | Composition |
|---|---|---|---|
| Arctic Silver 5 | 8.9 | Medium | Silver-based |
| Noctua NT-H1 | 8.4 | Medium | Silicone-based |
| Thermal Grizzly Kryonaut | 12.5 | Low | Ceramic-based |
| ARCTIC MX-4 | 8.5 | Medium | Carbon-based |
| Cooler Master MasterGel Maker | 11 | Low | Metallic |
As you can see, there’s a fair bit of variation in the available options. Personally, I’ve had great success with Arctic Silver 5 and Thermal Grizzly Kryonaut, but your mileage may vary depending on your system and preferences. [4]
Prepare the Surface
Now that you’ve got your thermal paste ready to go, it’s time to get your CPU and heatsink surfaces prepped for application. This is a critical step, as any dust, debris, or residual paste can negatively impact the thermal transfer.
Start by powering down your system and allowing the CPU and heatsink to cool completely. Then, using a clean, lint-free cloth (I prefer microfiber) and some isopropyl alcohol, gently wipe away any existing thermal paste or contaminants. [5] Be sure to clean both the CPU integrated heat spreader (IHS) and the underside of the heatsink.
Avoid using abrasive materials like paper towels or tissue, as these can leave behind tiny fibers that can get trapped in the paste. And whatever you do, don’t scratch the CPU or heatsink surfaces – those little nicks and dings can create air gaps that diminish thermal performance.
Once everything is spotless, you’re ready to move on to the main event: applying the thermal paste.
Apply the Thermal Paste
Alright, time to get your hands a little messy! The actual application of the thermal paste is a delicate process, so take your time and follow these steps carefully:
-
Start with a small amount: You really don’t need much paste – a small pea-sized dot or line in the center of the CPU is typically sufficient. [6] Too much can actually be counterproductive, as excess paste can squeeze out and create a mess.
-
Spread it evenly: Using a clean, non-abrasive tool like a plastic card or the corner of a business card, gently spread the paste in a thin, even layer across the entire CPU surface. [7] You want complete coverage, but avoid going overboard.
-
Avoid air bubbles: As you’re spreading, be mindful of any air bubbles that may form. These can act as insulation, reducing the paste’s effectiveness. If you see any, simply pop them with the edge of your tool.
-
Attach the heatsink carefully: Once the paste is applied, slowly lower the heatsink or cooler into place, applying even pressure to ensure full contact with the CPU. [8] Wiggle it slightly back and forth to help the paste spread further.
-
Secure the heatsink: Follow the manufacturer’s instructions to properly secure the heatsink to the motherboard, making sure it’s snugly in place.
And that’s it! With the heatsink firmly attached, your CPU is now protected by a layer of high-performance thermal paste, ready to keep those temperatures in check.
Maintain and Monitor Performance
Your work isn’t quite done yet – proper maintenance is key to ensuring the longevity of your thermal paste application. Over time, the paste can dry out, crack, or become displaced, compromising its heat-conducting abilities.
As a general rule of thumb, I recommend reapplying thermal paste every 12-24 months, or anytime you remove the heatsink for cleaning or upgrades. [8] It’s a quick and easy process, and well worth the effort to keep your system running at its best.
Additionally, be vigilant about monitoring your CPU temperatures, especially under heavy load. If you notice any significant spikes or erratic behavior, it could be a sign that the paste needs refreshing. Tools like HWMonitor or Core Temp can help you keep an eye on those crucial metrics.
Remember, proper thermal paste application is just one piece of the cooling puzzle. Make sure your system is also well-ventilated, with adequate case airflow and appropriately sized fans or liquid cooling solutions. But get the thermal paste right, and you’ll be on your way to a happy, healthy, and high-performing PC!
Conclusion
There you have it – your comprehensive guide to correctly applying thermal paste on a CPU. From understanding the importance of this unsung hero to mastering the application process, you’re now equipped with the knowledge to keep your processor running cool and strong.
Whether you’re building a brand-new rig or breathe new life into an aging system, proper thermal paste application should be at the top of your priority list. Take the time to get it right, and you’ll reap the rewards of improved performance, stability, and longevity.
Happy tinkering, and may your temperatures always remain delightfully low!
References
[1] NCIX Tech Tips #11- Installing Thermal Compound. (2013, November 7). [Video]. YouTube. https://www.youtube.com/watch?v=IV1aMWw1Mik
[2] An Actual Useful Guide: How to Apply Thermal Paste. (2022, October 10). Reddit. https://www.reddit.com/r/pcmasterrace/comments/10bw5m1/an_actual_useful_guide_how_to_apply_thermal_paste/
[3] How to Apply Thermal Paste. (n.d.). Intel. https://www.intel.com/content/www/us/en/gaming/resources/how-to-apply-thermal-paste.html
[4] Comparing Thermal Compounds. (n.d.). Serverfault. https://serverfault.com/questions/11625/how-to-correctly-apply-thermal-compound-to-the-cpu
[5] How to Correctly Apply Thermal Compound on a Laptop CPU with a Small Surface Area. (2013, August 29). Superuser. https://superuser.com/questions/652044/how-do-i-correctly-apply-thermal-paste-on-a-laptop-cpu-with-a-small-surface-area
[6] How to Tell if You Applied Thermal Paste Right. (2011, April 21). Overclock.net. https://www.overclock.net/threads/how-to-tell-if-you-applied-thermal-paste-right.1003159/
[7] Proper Way to Remove Thermal Paste from a CPU. (2010, May 18). Superuser. https://superuser.com/questions/132031/whats-the-proper-way-to-remove-thermal-paste-from-a-cpu
[8] How to Apply Thermal Paste: The Grain of Rice Method. (2015, January 15). Linus Tech Tips. https://www.youtube.com/watch?v=Sog0M9OrlME


