Expanding Your Horizons: Mastering the Art of Multi-Screen Setups
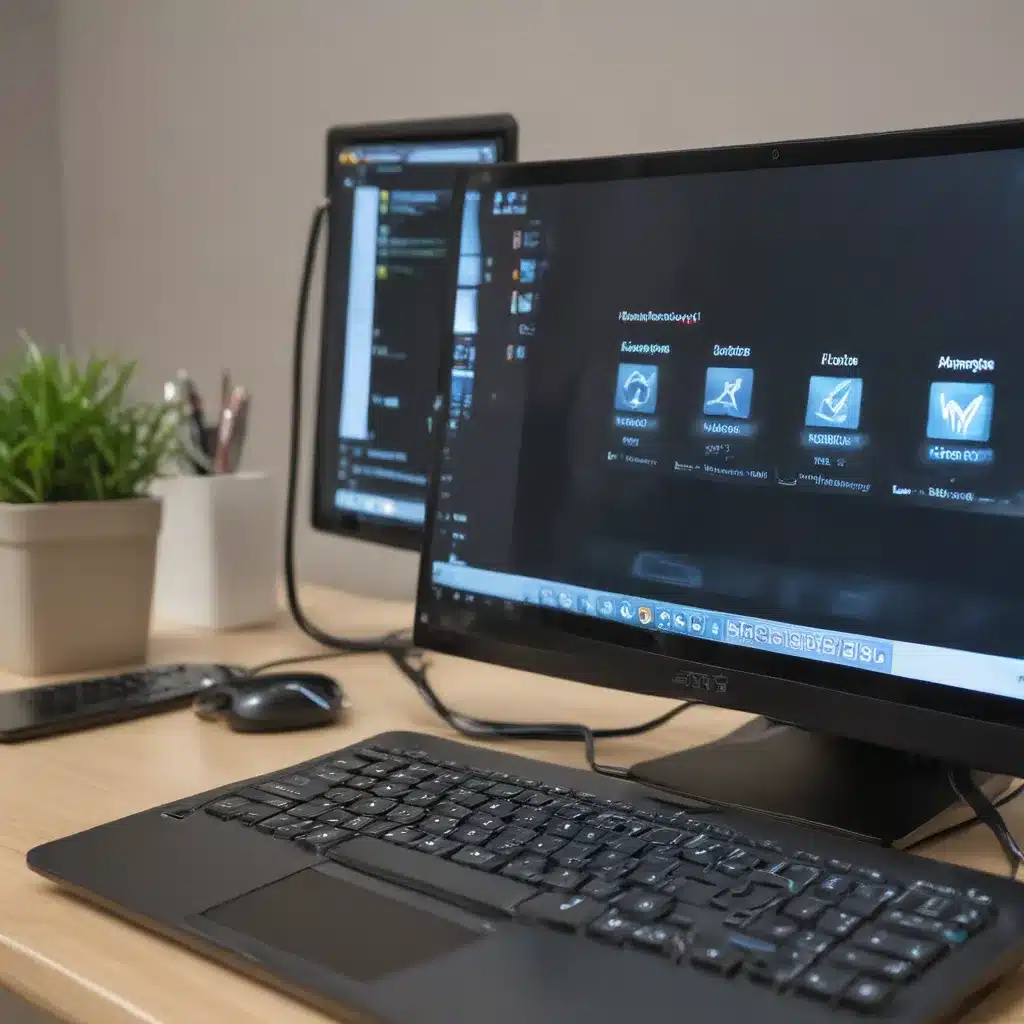
As a laptop user, I’ve long been a firm believer in the power of multiple displays. There’s just something magical about having that extra screen real estate to spread out my work, keep an eye on various tasks, or immerse myself in the latest gaming adventures. But you know what they say – the more the merrier, right?
If you’re like me and want to take your laptop setup to the next level, then you’re in the right place. In this comprehensive guide, I’ll walk you through the step-by-step process of connecting two or more displays to your trusty laptop. We’ll explore the different connection types, discuss compatibility considerations, and even touch on some advanced configuration tips. By the end, you’ll be a multi-monitor maestro, ready to conquer the digital world with your newfound display domination skills.
Understanding the Ports: Finding the Right Connections
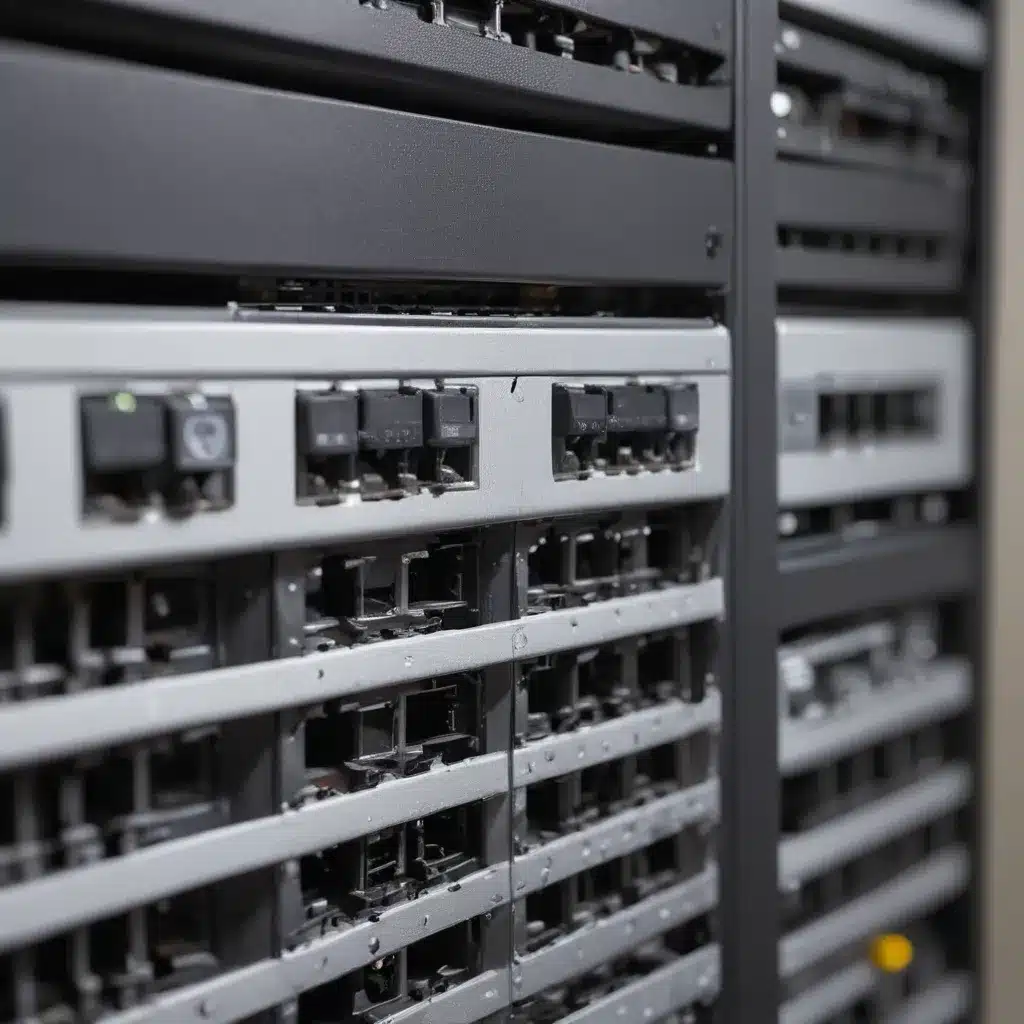
The first step in your multi-display journey is to take a close look at the ports and connectors available on your laptop. [1] Chances are, you’ve got a few options to choose from, each with its own unique capabilities and quirks.
One of the most common and versatile connection types is HDMI. [2] These compact ports can transmit both video and audio signals, making them a popular choice for connecting monitors, TVs, and even projectors. If your laptop is equipped with HDMI, you’re in luck – just grab an HDMI cable and you’re halfway there.
But wait, there’s more! Many modern laptops also feature USB-C ports, which can double as display connectors thanks to the DisplayPort Alternate Mode. [2] These sleek, reversible ports can handle high-resolution displays with ease, and they even have the added benefit of being able to charge your device while in use.
Don’t worry if your laptop is a bit older – it may still have good old-fashioned DisplayPort or even VGA connectors. [2] While not as cutting-edge as HDMI or USB-C, these legacy ports can still get the job done, so don’t count them out just yet.
Choosing the Right Monitors: Compatibility is Key
Now that you know what ports you’re working with, it’s time to start shopping for the perfect additional displays. But before you go all-out and buy the biggest, shiniest screens you can find, there’s one crucial factor to consider: compatibility.
[3] You see, not all monitors are created equal, and not every display will play nicely with your laptop’s specific setup. That’s why it’s essential to do your research and make sure the monitors you’re eyeing up are a perfect match for your device.
For instance, if your laptop only has HDMI ports, you’ll want to make sure your new displays have HDMI inputs. [2] Similarly, if you’re rocking a USB-C-equipped machine, look for monitors that support the DisplayPort Alternate Mode. [2] Mixing and matching connection types can lead to compatibility headaches, so it’s best to stick to a single standard.
But don’t worry, you don’t have to be a tech wizard to figure this out. Most modern monitors will proudly display their connector options right on the box or product page, making it easy to find the perfect match for your laptop. And if you’re ever unsure, just give the manufacturer a quick call – they’ll be more than happy to walk you through the compatibility details.
Setting Up the Display Arrangement: Unleashing Your Multi-Screen Magic
Alright, you’ve got your laptop, you’ve got your shiny new monitors, and you’re ready to bring your multi-display dreams to life. But before you can start spreading your digital wings, there’s one more crucial step: configuring the display arrangement in your operating system.
[4] In Windows, the process is pretty straightforward. Simply right-click on the desktop and select “Display settings” to get the ball rolling. From there, you’ll see all your connected displays, and you can start arranging them to your liking. Drag and drop the icons to match the physical layout of your screens, and don’t forget to designate your primary display.
[5] If you’re a macOS user, the process is equally simple. Head to the Apple menu, select “System Preferences,” and then click on the “Displays” icon. Here, you can arrange your screens, adjust the resolution, and even enable features like mirroring or extended desktop.
But the fun doesn’t stop there! Both Windows and macOS offer a variety of display modes to suit your needs. [2] Want to mirror your laptop’s screen across all your displays? Easy. Prefer to spread your windows and applications across a sprawling multi-screen workspace? No problem. The choice is yours, so don’t be afraid to experiment and find the setup that works best for you.
Troubleshooting and Advanced Configurations: Mastering the Multi-Screen Experience
Now that you’ve got your multi-display setup up and running, you might be tempted to sit back and bask in the glory of your digital domain. But hold on, there’s still more to explore!
[6] For starters, keep an eye out for any compatibility issues or display detection problems. If Windows or macOS isn’t automatically recognizing all your screens, don’t panic – there are usually easy fixes. Try toggling the “Detect” button, checking your cable connections, or even digging into the advanced display settings to manually rearrange your screens.
[7] And if you’re the type who likes to push the boundaries, you can even connect more than two displays to your laptop. Just be mindful of your system’s capabilities – not every machine can handle the strain of powering multiple high-resolution screens. But with the right ports, cables, and a little bit of creative configuration, you can turn your laptop into a multi-screen powerhouse.
[8] Of course, no matter how many displays you end up connecting, it’s important to keep an eye on your laptop’s cooling system. Those extra screens can generate a lot of heat, so make sure your device has adequate ventilation and consider investing in a cooling pad or stand to keep things running smoothly.
Embrace the Multi-Screen Lifestyle: Unlock Your Productivity and Creativity
Well, there you have it, my fellow laptop enthusiasts – the ultimate guide to connecting two or more displays to your trusty machine. By now, you should be well-equipped to transform your digital workspace into a productivity paradise or gaming nirvana.
So, what are you waiting for? Grab those cables, start hunting for the perfect monitors, and get ready to experience the transformative power of multi-screen computing. Trust me, once you’ve tasted the sweet nectar of increased screen real estate, there’s no going back. Your laptop will thank you, your eyes will thank you, and most importantly, your productivity and creativity will thank you.
Happy multi-screening, my friends. May your cursor know no bounds!

