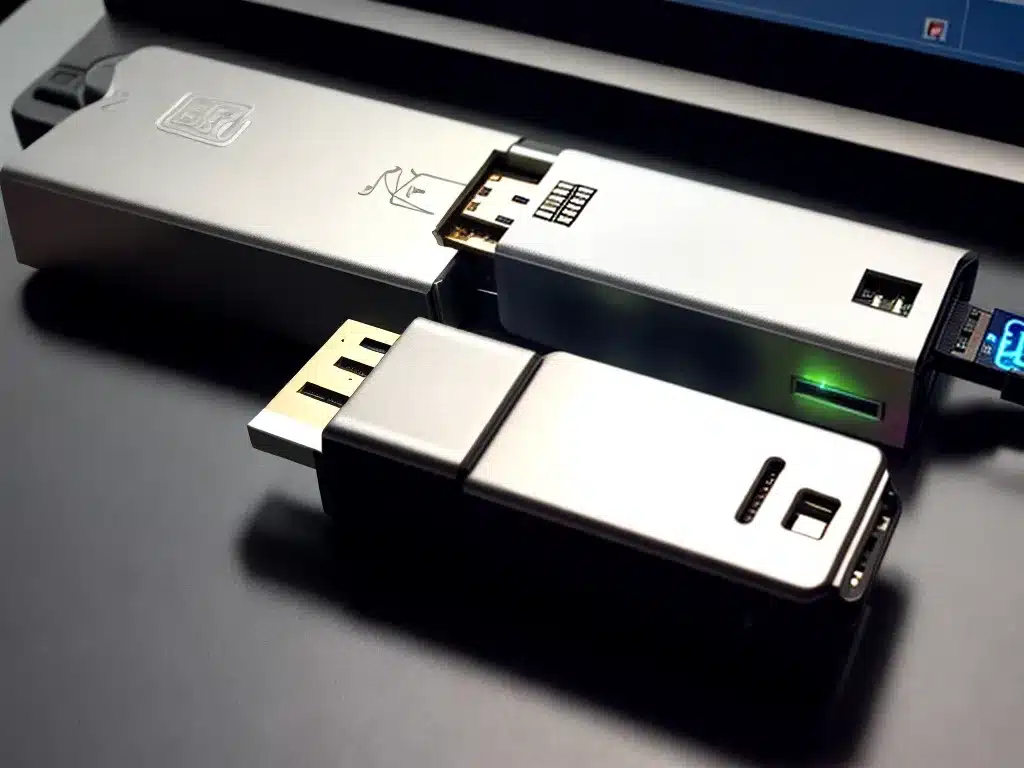
Booting from a USB drive can be very useful for troubleshooting computer issues, installing operating systems, resetting passwords, and more. With the right preparations, it’s possible to boot from a USB drive on virtually any PC. Here is a step-by-step guide on how to boot from a USB drive on any PC:
Preparing The USB Drive
The first step is to prepare the USB drive with the files you want to boot from. This will typically be an ISO file containing an operating system installer or a recovery image.
To write the ISO file to the USB drive:
- Download the ISO file you want to use for booting. This could be something like a Windows installation ISO, Linux distro ISO, password reset disk image, etc.
- Insert a USB flash drive that is at least 2GB in size. Be sure to backup any important data on the drive first, as it will be erased in the next steps.
- Open disk utility software like Rufus on Windows or Startup Disk Creator on Linux.
- Select your downloaded ISO file and the correct USB drive to write it to.
- Write the ISO file onto the USB drive. This will create a bootable drive with the files contained in the ISO.
Once complete, you’ll have a prepared bootable USB drive ready to use.
Configuring The PC Boot Order
With the bootable USB drive ready, the next step is to configure the PC to boot from the USB first rather than the hard drive. Here’s how to do it:
Access The Boot Menu
- When powering on the PC, press the appropriate key to bring up the boot menu. This is usually F12, F10 or F2 but can vary by manufacturer.
- The boot menu will show a list of available boot devices.
Or Access The BIOS Settings
- Instead of the boot menu, you can also enter the BIOS settings on startup. The key for this is usually F2, Delete or F10 during the initial boot.
- Within the BIOS, find the boot order section and move Removable Devices or your USB drive to the top of the list.
- Save changes and exit the BIOS.
Booting From The USB Drive
With the USB drive first in the boot order, the PC will now load files from the USB when restarting.
- Insert the prepared USB drive into an open port and restart the PC.
- As the PC boots, it should automatically load files from the USB drive instead of the hard drive.
- Follow on-screen instructions to complete the boot process from the USB.
The major advantage of booting from a USB drive is that you can carry around a drive with boot files and use it on any PC. So whether you need to troubleshoot, install an OS or reset a password, a bootable USB drive lets you boot from your own files on any computer.
Troubleshooting Tips
- If still booting from hard drive, ensure USB drive is inserted properly and drive is prepared correctly.
- Try a different USB port if the prepared USB drive is not detected initially.
- Access boot menu again or re-check boot order in BIOS to confirm USB is first.
- For older PCs, you may need to enable Legacy USB Support in the BIOS.
- If booting to a black screen, the ISO file or USB creation method may be faulty. Try re-creating the bootable USB drive.
Booting from a USB drive is a very handy tool that every PC user should know how to do. With the steps above, you can now easily boot from a USB drive on any Windows, Linux or Mac computer.


