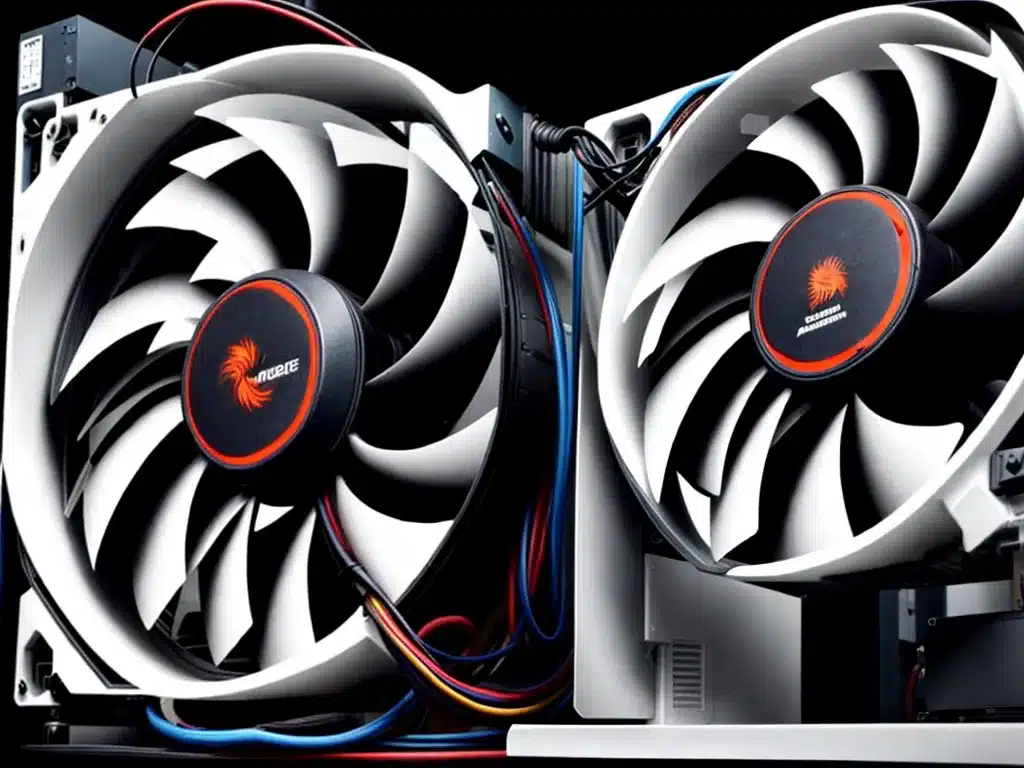
Introduction
A noisy computer fan can be annoying and disruptive. Fans are designed to be quiet, so noise is a sign of a problem. Fortunately, with some basic troubleshooting, you can likely diagnose and fix the issue yourself. This guide will walk you through the common causes of noisy computer fans and how to resolve them.
Locating the Noisy Fan
The first step is to identify which fan is making the noise. The main suspects are:
- CPU fan – cools the CPU and is located on top of or right next to the processor.
- Case fan – moves air through the computer case and is located at the front, back, top, or side.
- GPU fan – cools the graphics card and is located on the GPU.
- PSU fan – cools the power supply unit and is located inside the PSU.
To find the noisy fan, open the case side panel and listen closely as each fan spins up. Use a pencil or something similar to briefly stop each fan to isolate the noise.
Once you’ve identified the culprit, it’s time to diagnose the cause.
Common Causes of Noisy Fans
There are several common reasons why a computer fan may be noisy:
Dust and Debris
The most common cause of a noisy fan is a buildup of dust and debris inside and around the fan blades. As debris collects over time, it can restrict the fan’s movement and cause noise.
To check for dust buildup, use a bright flashlight and visually inspect each fan. Look for dense clumps of dust in between the fan blades and housing. Also check any fan filters and heat sinks for packed dust.
Worn Bearings
Fan bearings allow the fan blades to spin smoothly. But over time, the lubricant inside the bearings can dry out or the ball bearings can become damaged. This can cause scraping, grinding noises, or wobbly fan behavior.
Worn bearings usually happen after years of use. But cheaper quality fans may fail sooner. Listen closely to the noise to help determine if it’s caused by worn bearings. Screeching, scratching, or high-pitched sounds point to worn bearings.
Bent Fan Blades
If a fan blade gets bent or out of shape, it can scrape against the fan housing as it spins. This creates a repetitive tapping or grinding noise.
Visually inspect each fan to check for any obvious bent blades. Look at the blade tips and edges for any deformities. Even small bends can generate noise.
Loose Mounting
Fans are mounted using screws or rubber grommets. If these become loose, it allows excessive vibration and movement that creates noise.
Gently try to wiggle each fan to feel for any looseness or play. Also check that all mounting screws are present and firmly tightened.
Fan Speed
Some fans generate noise when spinning at high speeds. This could indicate:
- A failing fan that makes noise only at higher RPMs
- An overly aggressive fan speed profile set in the BIOS
- Insufficient cooling requiring the fan to work harder
Use software like SpeedFan to monitor your fan speeds. If the noisy fan seems to be ramping up to very high speeds, this points to a fan speed issue.
Fixing Noisy Fans
Once you’ve diagnosed the cause, you can take steps to fix the noise:
Cleaning
If dust and debris are the culprit, thoroughly cleaning the fans should resolve the noise in most cases. Here’s how:
- Use compressed air to blow out the fan and vents. Hold the fan blades still as you work.
- For stubborn buildup, use a small brush and isopropyl alcohol to gently loosen and dissolve dust.
- Clean all fan blades, housings, filters, and heat sinks.
- After cleaning, confirm the noise is gone when you restart the PC.
Fan Replacements
For worn bearings, bent blades, or a failing fan, replacing the fan is the permanent solution. Fans are inexpensive and widely available:
- Match the size, power connector, and mounting when choosing a replacement.
- Review fan specs like CFM and noise levels when comparing options.
- Installation only requires a screwdriver in most cases. Consult your motherboard or case manual for details.
- Test that the new fan runs smoothly and quietly before reassembling your PC.
Refastening
If the fan was loose, firmly screw or snap it back into place per the manufacturer instructions. Use all mounting points and don’t leave any loose.
Fan Speed Adjustments
For fan speed issues, first clean the fans thoroughly as dust buildup can impact sensing and airflow. If the noise persists:
- Adjust the fan profile in the BIOS settings to a more conservative curve.
- Use software like SpeedFan to manually control the speeds if needed.
- Improve case airflow to reduce the cooling burden on fans.
- Replace the noisy fan with a higher quality and quieter model.
When to Seek Repair Services
While most noisy fan issues can be resolved DIY, consider seeking professional repair help if:
- You don’t feel comfortable disassembling your computer.
- The noise started suddenly and loudly, pointing to a catastrophic failure.
- The fan doesn’t spin at all, indicating a burnt-out motor.
- You diagnosed the issue but attempts to fix it were unsuccessful.
PC repair technicians have the expertise to fully diagnose fan noises and perform necessary repairs. This is advisable for complex liquid cooling setups as well.
Conclusion
Locating a noisy computer fan and diagnosing the cause is the first step toward fixing it. Common culprits include dust buildup, worn bearings, bent blades, loose mounting, and fan speed issues. Cleaning fans, replacing defective fans, refastening loose units, and adjusting fan profiles are some DIY fixes. But for difficult cases, seeking professional PC repair assistance can be the best solution. With some diligent troubleshooting, you can silence noisy computer fans and restore a peaceful desktop environment.


