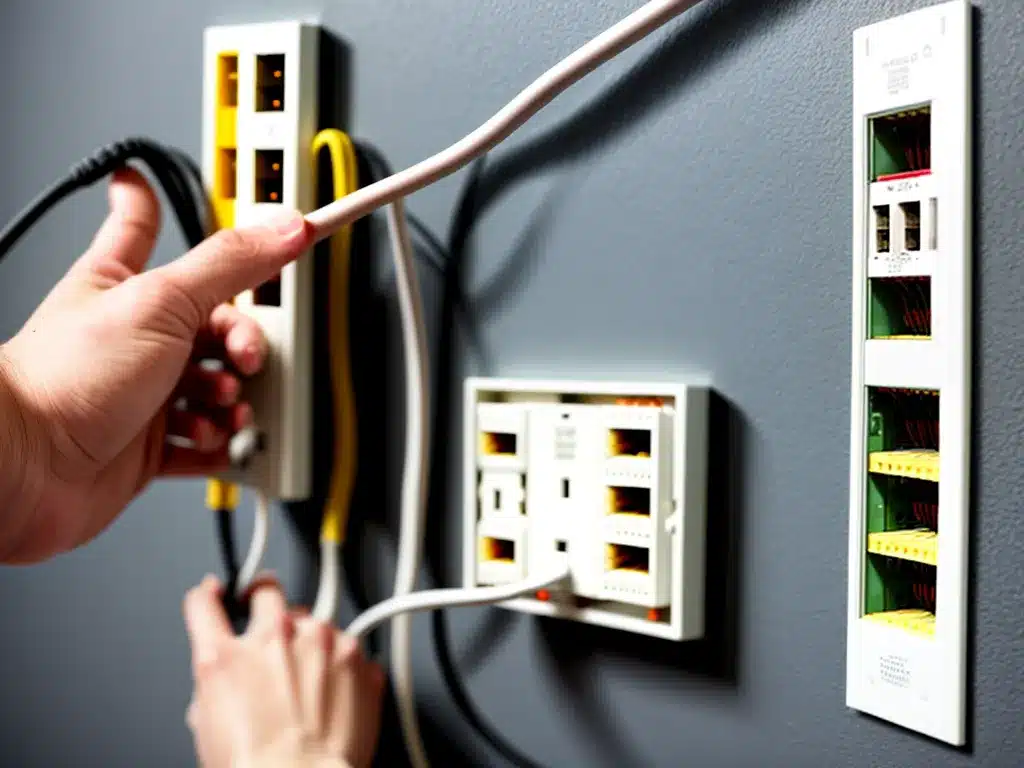
Getting wired ethernet to every room in your house can greatly improve your home network performance and reliability compared to WiFi alone. Here’s how I went about wiring up ethernet access in my home.
Assessing Your House’s Existing Wiring
Before running new ethernet cables, it’s worth inspecting your home’s existing wiring and phone jacks to see if any unused lines are available to repurpose.
I checked all the phone jacks and coaxial cable connections in my house. Many homes have unused twisted pair wiring intended for landline phones that can often be converted to ethernet. Coaxial cables for cable TV and satellite connections generally can’t be used for ethernet, but it’s still good to locate and label them.
If you do find unused twisted pair lines, you’ll need a cable tester to verify they connect back to a central location where your router and network switch can be located. I was able to confirm 3 unused lines that I could convert to ethernet.
Ethernet Cable Selection
For any new ethernet cable runs, using Cat6 or Cat6e cable is recommended. The higher bandwidth of these newer standards future-proofs your network compared to older Cat5/Cat5e cable. Plus, Cat6 cable is inexpensive these days.
For most home runs inside walls, solid core Cat6 is ideal. For patches and places where the cable may get moved around, stranded core Cat6 cable holds up better. I ordered 500ft spools of both solid and stranded Cat6 cable to cover my needs.
Mapping Out Your Ethernet Runs
Once you’ve assessed your existing wiring, it’s time to map out the new cable runs needed. Think through which rooms you want wired access in.
- Home office
- Living room media center
- Bedrooms for smart TVs
- Gaming rooms
- Security cameras
Also factor in the central location where your networking equipment will live. This might be a closet, basement, or garage. You want all your ethernet runs to converge here.
I mapped out ethernet runs from my network closet to:
- Living room media center
- Office
- Master bedroom
- Gaming room
- Garage for security camera
- Backyard for access point
Fishing Cable Through Walls
Now comes the fun part – actually running the ethernet cables through walls and ceilings! For accessing walls, you’ll need:
- Drywall saw to cut open access holes
- Fish tape to thread cables through cavities
- Cable ties and clips for securing cables
For each run, start by cutting a small hole in the wall near your desired ethernet jack location. Insert a fish tape and work it through the cavity over to the network closet. Keep the run as short and straight as possible.
Follow behind and pull the ethernet cable through. Leave plenty of extra length – at least 15ft extra on each end. Finally, install cable clips every 5ft or so to neatly secure the cable inside the wall cavity.
I repeated this process for each of my planned ethernet runs, taking care to leave wall access holes in inconspicuous places like closets or behind furniture.
Terminating Ethernet Cables
With my home runs in place, I began terminating each ethernet cable. For solid core cable, you’ll want to use a specialized termination tool to ensure the wires seat properly in the RJ45 connector.
I used the T568B standard wiring scheme on all my terminations. This specifies orange/white, orange, green/white and blue on pins 1-4 and blue/white, green, brown/white and brown on pins 5-8.
After crimping on RJ45 connectors, I tested each cable run for connectivity and speed using a network cable tester. This helped identify any issues with bad terminations or kinks in the cable.
Mounting Ethernet Wall Plates
To finish off my cable runs, I installed RJ45 ethernet wall jacks in single or dual port varieties. The wall plates I chose matched my existing switches and outlets for a consistent look.
I mounted the wall jacks in each room using a simple old work electrical box. This let me securely anchor the jack while keeping my wall access point small and discreet.
For the cables themselves, I left plenty of slack coiled up in the box behind each jack in case I ever need to move or service them. The wall plate snaps on over the jack to provide a clean appearance.
Connecting it All to a Gigabit Switch
With my ethernet home runs complete, all that remained was connecting everything back to my network closet. I installed a 16 port ethernet switch to aggregate all the wall ports.
From there, a single cable connects the switch to my WiFi router. This uplink cable can also be ethernet, but I used Cat6a cable here to allow 10 gigabit speeds in the future.
Now each ethernet wall jack provides high speed, reliable wired connectivity for rooms across my house. And it’s all easily managed from my network closet which helps keep things tidy.
Conclusion
Wiring my home with ethernet was very worthwhile for improving connectivity in my home office, media center, and other areas. While involved, the project can certainly be taken on by DIYers armed with some basic tools, patience, and networking knowledge. The effort pays dividends down the road in network performance and flexibility.


