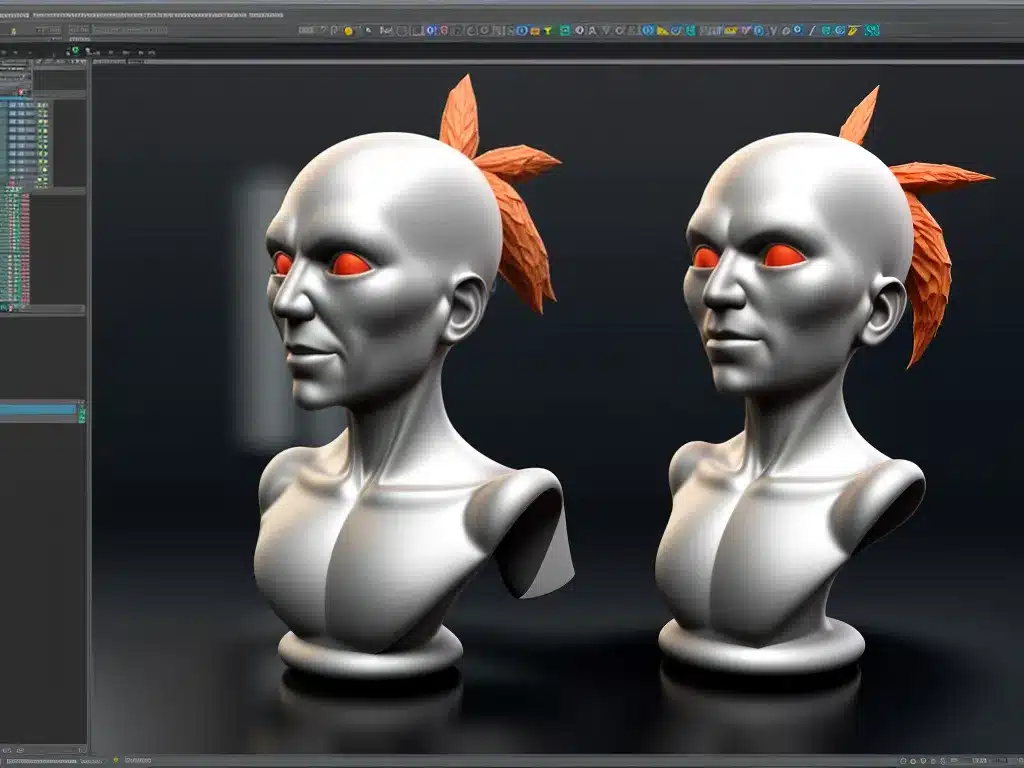
Blender is an incredibly powerful open source 3D modeling and animation software. With the right techniques, you can use Blender to create stunning 3D artwork and animations. Here are my top tips and tricks for unleashing your creativity with Blender.
Learn the Basics of 3D Modeling
Before diving into creative techniques, I needed to learn the fundamentals of 3D modeling with Blender. This included:
Understanding the Blender Interface
The Blender interface can seem overwhelming at first. I took the time to learn what each panel and toolbar does. The 3D Viewport is where I view and interact with models. The Outliner shows me the objects in my scene. The Properties Editor is where I can adjust object settings. Getting familiar with these core parts of the interface helped me work efficiently.
Manipulating Meshes
I practiced simple mesh modeling techniques like extruding, scaling, rotating and moving vertices and faces. Knowing how to manipulate geometry is key to 3D modeling.
Using Modifiers and Constraints
Modifiers like subsurf and solidify allowed me to quickly adjust my mesh topology. Constraints like Copy Location helped duplicate objects and animations. Mastering modifiers and constraints sped up my workflow.
With the basics down, I was ready to get creative!
Sculpt Detailed Organic Models
Blender’s sculpting tools make creating detailed organic models like characters and creatures intuitive.
Start with a Base Mesh
I start with a simple base mesh like a sphere or cube. The Sculpt Draw brush lets me pull out basic shapes quickly. Using dynamic topology, I can simply sculpt forms without worrying about polygons.
Refine Details with Other Brushes
The Clay and Clay Strips brushes help me refine shapes and add finer details like wrinkles. I also use the Smooth brush to soften jagged edges. The Sculpt tools make sculpting complex objects easy.
Use Dyntopo for Natural Looks
Turning on Dyntopo lets me sculpt freely, with Blender handling the polygons. I can focus on the shapes and details rather than topology. Dyntopo helps my sculpts look organic and natural.
Craft Intricate Hard Surface Models
For intricate mechanical or architectural models, Blender provides powerful modeling tools.
Model with Precise Vertices and Edges
I model hard surface objects like robots or buildings by precisely placing vertices and edges. The Ctrl+Click extrude and repeat commands help me model efficiently. Snapping helps line up edges perfectly.
Add Details with Array and Bevel Modifiers
The Array modifier let me duplicate objects and parts quickly to add complexity. The Bevel modifier helped me add detailed chamfered edges with ease. Used creatively, these modifiers save me time.
Booleans Add Interest
Using BoolTool, I can combine objects using boolean operations like Union, Difference and Intersect. This let me cut interesting shapes quickly. Booleans are great for adding mechanical details.
Make Organic Shapes with Proportional Editing
Proportional editing is one of my favorite Blender features for organic modeling.
Falloff Types Change the Effect
I enable proportional editing to adjust whole areas of mesh at once. Different falloff types like Sphere and Random give varied organic effects.
Vary the Falloff Radius
Increasing the proportional size value expands the area affected. With a large radius, I can sculpt flowing organic forms. Dialing it back, I can refine smaller details.
Use with Sculpting for Fast Workflows
Combining proportional editing with Blender’s sculpt tools enables very fast organic modeling. I rough out shapes with proportional editing, then sculpt in finer surface details.
Speed Up Animation with Rigging
Animation is where Blender really shines. Proper rigging makes animating so much faster.
Use Rigify for Quick Rigging
The Rigify add-on generates full animation skeletons with controls automatically. I can generate a human, bird or quadruped rig in seconds. Rigify saves me hours of work.
Master Constraints and Drivers
I use constraints like Child Of and Copy Transform to quickly link objects and copy animations between bones. Drivers allow me to set up relationships between values for complex auto-animations.
Simulate Natural Movement with Physics
Blender’s physics engine can simulate forces like gravity, wind and collisions. I set up rigid body and cloth physics on models to achieve natural, realistic movement requiring minimal animation.
Final Rendering Tips
These techniques help me create stunning final renders in Blender.
Use Nodes for Advanced Materials
The node editor allows incredibly complex shader materials for surfaces. I can mix and match shaders to achieve any look, like wood, marble or metal. Nodes take my renders to the next level.
Light Scenes for Realism
Proper lighting can make or break a render. I use tricks like three-point lighting and indirect lighting to mimic real-world illumination. I adjust lamp properties like color, brightness and falloff to fine-tune the look.
Pick the Right Render Engine
Blender’s Cycles render engine simulates ray tracing for ultra-realism. For quicker previews I use Eevee. For stylized projects I might choose Workbench. Picking the right engine is key.
I’m always learning new tips and tricks in Blender. Taking the time to really master fundamental techniques allows me to tap into the vast creative potential of this software. With the right approach, Blender can bring any 3D vision to life.


