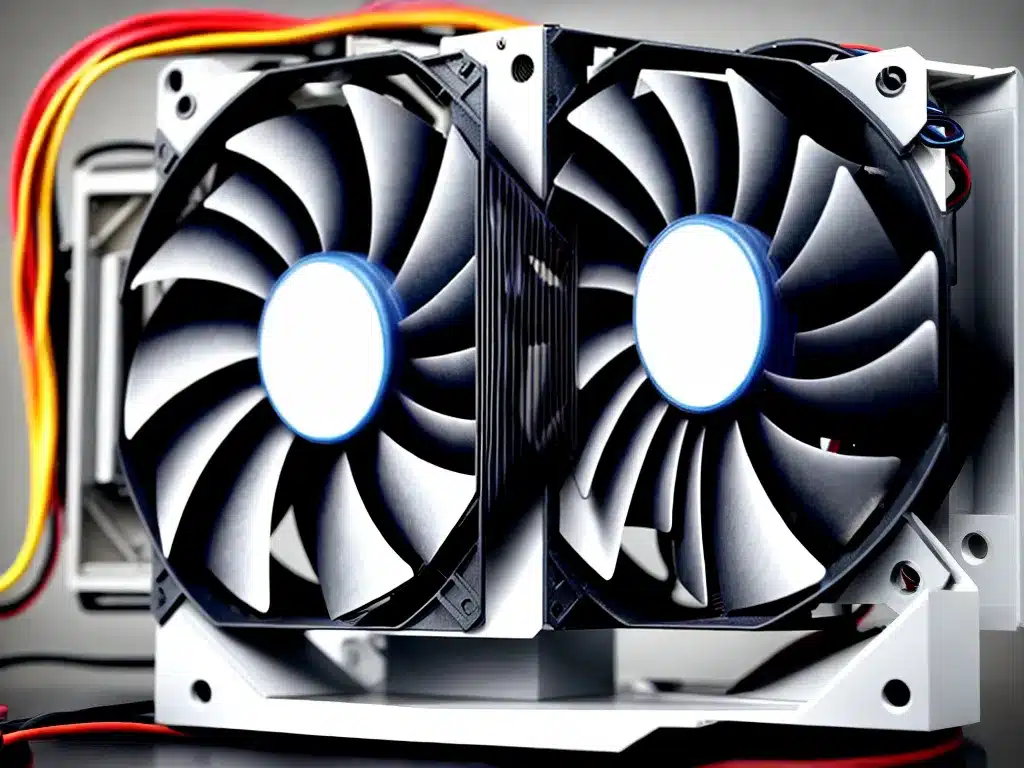
Common Causes of Noisy Computer Fans
Dust buildup – Dust can accumulate on fan blades and heatsinks over time, throwing off balance and causing vibration and noise. Regular cleaning can help mitigate dust buildup.
Worn-out bearings – Fan bearings can wear out over years of use, causing looseness or friction that leads to noise. Replacing the fan may be required.
Obstructions – Cables or other debris contacting the fan blades can cause intermittent noise. Check fan areas and secure cables away from fans.
Fan mounting – Improperly mounted or loose fans can vibrate against the chassis, creating buzzing sounds. Ensure all fan mounts are secure.
Fan speed – Faster fan speeds increase airflow but also increase noise. Adjusting fan speed vs temperature curves in system BIOS may help reduce noise.
Size and type – Smaller fans and certain blade designs generally create more noise. Consider replacing noisy fans with larger, quieter models.
Troubleshooting and Fixing Noisy Fans
1. Clean the fan and heatsink – Use compressed air to clear dust buildup on blades and heatsink fins. Remove any obstructions.
2. Check mounting – Ensure all fan and heatsink mounting screws are tight. Tighten or remount if loose.
3. Listen closely to isolate noise – Determine if noise is coming from fan bearings, blades, or contact with wires/chassis.
4. Replace worn-out fan – If bearings are shot, replace the fan. Match size and RPM.
5. Adjust fan settings in BIOS – Reduce fan speeds and adjust fan curves to tolerate higher temperatures.
6. Use fan control software – Utilities like SpeedFan allow granular control over system fan speeds and profiles.
7. Install vibration dampeners – Small rubber or foam dampeners between fan mounts and chassis can absorb vibration.
8. Upgrade to quieter fans – Larger, higher-quality fans with fluid dynamic bearings are often quieter.
Fixing Computer Overheating Issues
Common Causes
- Dust built up in heatsinks and fans
- Poor case airflow due to fan placement or lack of fans
- Malfunctioning fans
- Improperly applied thermal paste on CPU
- Defective temperature sensors
- Excessive lint obstructing laptop vents
Troubleshooting Overheating
- Clean dust from CPU heatsink/fans and case fans
- Open side panel and use a fan to blow air through case
- Download hardware monitors like Speccy to check temperatures
- Listen for working case/CPU/GPU fans
- Re-apply thermal paste between CPU and heatsink
Resolving Overheating
- Improve case airflow (add/adjust fans for proper intake/exhaust)
- Replace any failed fans immediately
- Verify fans are running at proper speeds in BIOS/software
- Update BIOS and chipset drivers
- Make sure laptop vents aren’t obstructed
- Replace CPU heatsink/fan if damaged or faulty
- Upgrade to higher efficiency CPU cooler or add more fans
- Improve room ventilation (AC, dehumidifier)
- Undervolt/underclock CPU or GPU in BIOS or software
Proper cleaning, monitoring temperatures, and improving airflow are key to keeping a computer cool and quiet. Replace faulty fans, re-apply thermal paste, and adjust software fan controls as needed.


