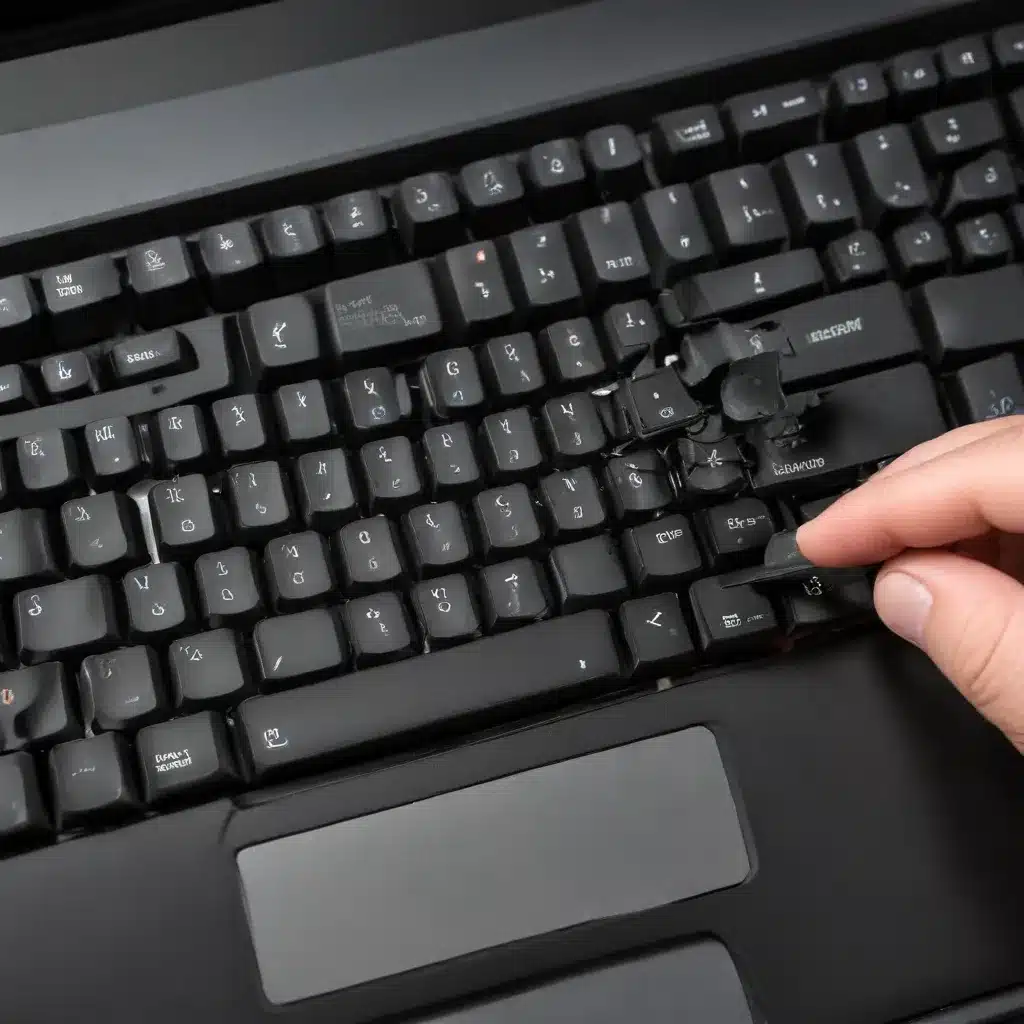
As an experienced IT professional, I’ve encountered a wide range of laptop keyboard issues, from stuck and unresponsive keys to outright hardware failures. In this comprehensive article, we’ll dive deep into the common causes of these problems and provide practical, step-by-step solutions to get your laptop keyboard back in working order.
Identifying the Issue
The first step in resolving any keyboard problem is to accurately diagnose the underlying cause. Let’s explore the three most prevalent laptop keyboard issues and their telltale signs:
Stuck Keys
A stuck key is one that appears to be physically stuck in the pressed position, often due to debris or mechanical failure. This can lead to the key registering repeated inputs or becoming completely unresponsive. Stuck keys are typically isolated to a single key and may worsen over time if left unaddressed.
Unresponsive Keys
Unresponsive keys are those that fail to register any input when pressed, despite the key physically functioning correctly. This issue can stem from software conflicts, driver problems, or even hardware-related malfunctions. Unlike stuck keys, unresponsive keys may affect multiple keys simultaneously.
Broken Keys
A broken key refers to a key that is physically damaged, either through cracking, chipping, or becoming dislodged from the keyboard. This type of failure is often the result of accidental drops, spills, or excessive force applied to the key. Broken keys require more extensive repairs, as the damaged component must be replaced.
Troubleshooting Stuck and Unresponsive Keys
Before attempting any hardware-related fixes, it’s essential to rule out software or driver-related issues that could be causing your keyboard problems. Here are some troubleshooting steps to try:
-
Update Keyboard Drivers: Ensure that your laptop’s keyboard drivers are up-to-date. Visit the manufacturer’s website or use a tool like DriverFix to check for and install the latest driver updates.
-
Disable and Reenable the Keyboard: In Windows, you can disable and then reenable the keyboard device to reset its connection. To do this, follow these steps:
- Open the Device Manager by pressing the Windows key + R and typing “devmgmt.msc”.
- Locate the “Keyboards” section, right-click on your keyboard device, and select “Disable”.
-
Wait a few seconds, then right-click on the same device and select “Enable”.
-
Check for Software Conflicts: Certain software, particularly gaming-related applications or system utilities, can interfere with keyboard functionality. Try disabling or uninstalling any recently installed programs to see if the issue persists.
-
Perform a Clean Boot: Start your laptop in a clean boot state, which loads only the essential system services and drivers. This can help identify if a third-party application or driver is causing the keyboard problem.
- Press the Windows key + R, type “msconfig”, and press Enter.
- In the System Configuration window, go to the “Services” tab and check the “Hide all Microsoft services” box.
- Click “Disable all” to disable all third-party services.
- Switch to the “Startup” tab and click “Open Task Manager”.
- In the Task Manager, disable all startup items.
- Click “OK” and restart your laptop.
If the keyboard issues persist after trying these software-based troubleshooting steps, it’s time to explore hardware-related solutions.
Hardware-Based Fixes for Stuck and Unresponsive Keys
When software-based troubleshooting fails to resolve the keyboard problem, you may need to address the issue at the hardware level. Here are some effective techniques:
Cleaning the Keyboard
Dust, debris, and spills can often cause keys to become stuck or unresponsive. Follow these steps to clean your laptop keyboard:
1. Shut down your laptop and unplug the power cable.
2. Use a can of compressed air to gently blow out any dust or debris from between the keys.
3. Dampen a clean, lint-free cloth with isopropyl alcohol and use it to gently wipe down the surface of the keyboard.
4. Avoid getting any liquid directly into the keyboard’s crevices, as this can potentially damage the internal components.
Replacing Keyboard Membrane or Scissor Switches
If cleaning the keyboard doesn’t resolve the issue, the problem may lie with the underlying keyboard membrane or scissor switch mechanisms. These components can wear out over time, leading to key failures.
1. Consult your laptop’s service manual or contact the manufacturer to determine the appropriate replacement parts.
2. Carefully disassemble the keyboard, following the instructions in the service manual.
3. Replace the damaged membrane or scissor switch components, ensuring a secure and proper installation.
4. Reassemble the keyboard and test the functionality.
Replacing the Entire Keyboard
In some cases, the keyboard may be so severely damaged or worn that a complete replacement is necessary. This is typically the case for laptops with non-removable, integrated keyboards.
1. Obtain a replacement keyboard from the laptop manufacturer or a reputable third-party supplier.
2. Follow the service manual or manufacturer’s instructions to safely remove the old keyboard and install the new one.
3. Ensure all connections are secure and the new keyboard is properly integrated with the laptop’s hardware and software.
Preventing Future Keyboard Issues
To minimize the risk of recurring keyboard problems, consider these preventative measures:
– Use a protective keyboard cover or skin to guard against spills and debris.
– Avoid applying excessive force or pressure when typing, which can lead to key damage over time.
– Regularly clean the keyboard using the methods outlined earlier.
– Keep your laptop in a clean, dry environment to prevent the buildup of dust and moisture.
By following the troubleshooting steps and preventative measures outlined in this article, you’ll be well on your way to resolving your laptop’s keyboard issues and maintaining a reliable, responsive typing experience. Remember, if the problem persists or you’re uncomfortable performing any of the hardware-related fixes, it’s always best to consult a professional IT technician at IT Fix for further assistance.


