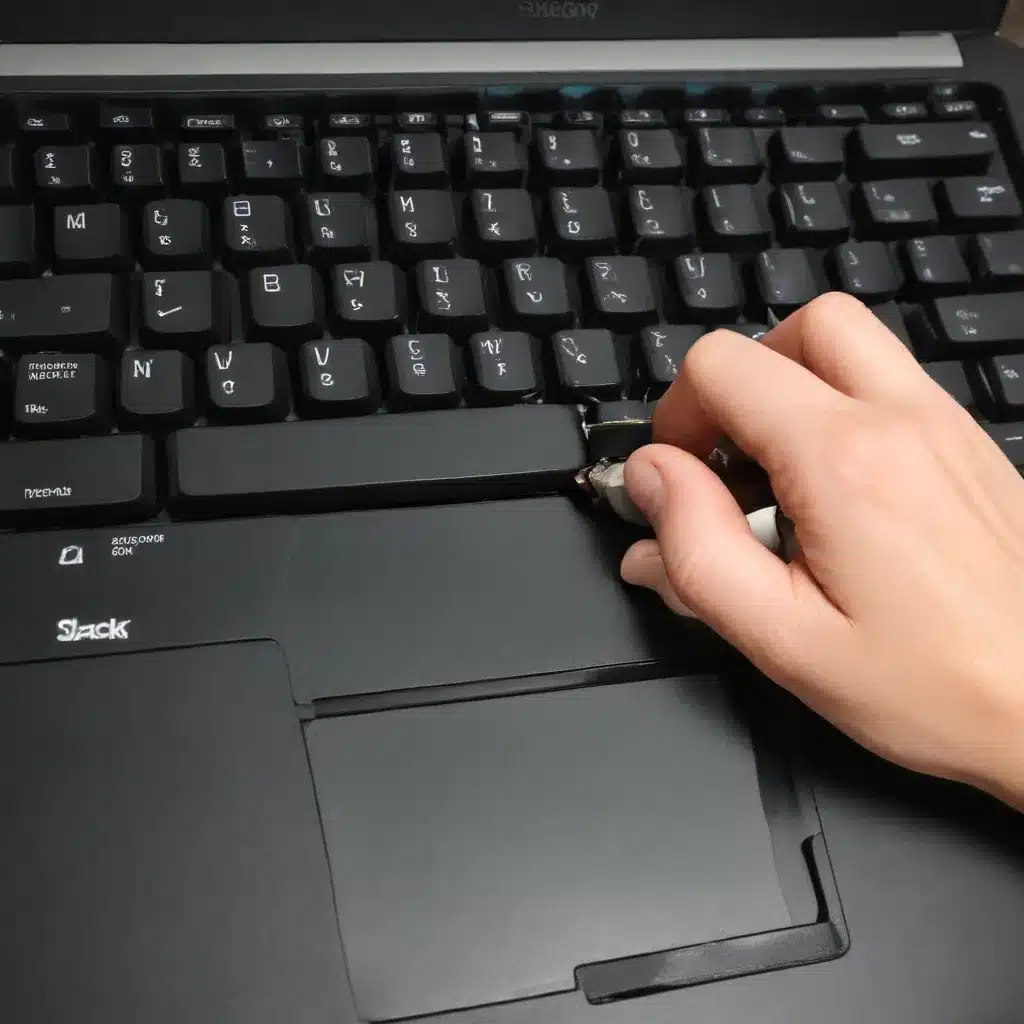
As an experienced IT professional, I’ve encountered my fair share of laptop keyboard problems. From sticky, unresponsive keys to complete keyboard failures, these issues can be frustrating for users. In this comprehensive guide, we’ll dive deep into the common causes of sticky and unresponsive keys, and provide you with practical, step-by-step solutions to get your laptop keyboard back in top shape.
Understanding Keyboard Issues
Keyboard problems can stem from a variety of sources, ranging from hardware defects to software glitches. When it comes to sticky or unresponsive keys, the most common culprits are:
Hardware-Related Issues
- Spills and Debris: Liquid spills or accumulated dust and debris can cause keys to become stuck or unresponsive. The contaminants can interfere with the delicate mechanical components beneath the keys.
- Mechanical Wear and Tear: Over time, the keyboard’s internal mechanisms can wear down, leading to keys that feel “spongey” or fail to register input consistently.
- Physical Damage: A hard impact or drop can physically damage the keyboard, causing individual keys or the entire unit to malfunction.
Software-Related Issues
- Sticky Keys Feature: Inadvertently enabling the “Sticky Keys” accessibility feature in your operating system can cause keyboard issues, locking certain keys in a pressed state.
- Driver Problems: Outdated, corrupted, or incompatible keyboard drivers can lead to responsiveness problems and other glitches.
- Conflicting Software: Certain applications or system settings may interfere with normal keyboard functionality, resulting in unresponsive or stuck keys.
Understanding the root cause of your keyboard issues is the first step in finding the right solution. Let’s explore some troubleshooting steps to address these problems.
Troubleshooting Sticky and Unresponsive Keys
Step 1: Identify and Address Hardware Issues
If you suspect a hardware-related problem, start by inspecting your keyboard for any visible signs of damage or contamination.
- Clean the Keyboard: Use a soft, dry cloth to gently wipe down the surface of the keyboard, removing any visible dirt or debris. Avoid using water or liquid cleaners, as they can further damage the internal components.
- Compressed Air: For more stubborn debris, use a can of compressed air to blow out any particles trapped between the keys. Tilt the keyboard and spray the air in short bursts to dislodge the contaminants.
- Check for Physical Damage: Examine the keyboard closely for any broken, cracked, or visibly damaged keys. If you find any physical issues, you may need to replace the entire keyboard or seek professional repair services.
Step 2: Disable Sticky Keys
If the keyboard issues are software-related, the first step is to check if the “Sticky Keys” feature is enabled on your system.
- Windows: Press the Shift key five times in quick succession. This will open the Sticky Keys settings. Disable the feature and see if the problem is resolved.
- macOS: Open System Preferences, go to the Accessibility section, and locate the Keyboard tab. Ensure the “Sticky Keys” option is turned off.
Step 3: Update or Reinstall Keyboard Drivers
Outdated or corrupted keyboard drivers can cause a range of issues, including unresponsive keys. Follow these steps to update or reinstall your keyboard drivers:
- Windows: Open the Device Manager, locate the keyboard entry, and right-click to “Update driver” or “Uninstall device.” Then, allow Windows to automatically reinstall the driver.
- macOS: Open the “System Information” app, select the “Hardware” section, and click on “Keyboard.” Review the driver information and visit the manufacturer’s website to download the latest version.
Step 4: Check for Conflicting Software
Certain applications or system settings may interfere with your keyboard’s normal operation. Try the following:
- Disable Accessibility Features: Review your operating system’s accessibility settings and ensure no conflicting features are enabled.
- Uninstall Recent Software: If the keyboard issues started after installing a new program, try uninstalling the software to see if it resolves the problem.
- Perform a System Restore: If the keyboard problems began after a recent system update or change, consider rolling back your system to a previous restore point.
Step 5: Seek Professional Assistance
If the above troubleshooting steps fail to resolve the issue, it may be time to seek professional help. Depending on the severity of the problem, you may need to replace the keyboard or have the laptop serviced by a qualified technician.
At IT Fix, our team of experienced IT professionals is always ready to assist you with laptop keyboard issues and a wide range of other technology problems. Feel free to reach out to us for personalized advice and solutions.
Preventive Measures
To avoid future keyboard problems, consider the following preventive measures:
- Regularly Clean the Keyboard: Make it a habit to gently wipe down your keyboard with a soft, dry cloth to remove dust and debris.
- Use Keyboard Covers or Protectors: Investing in a keyboard cover or protector can help shield your keyboard from spills and other contaminants.
- Handle with Care: Be mindful when using your laptop, avoiding sudden impacts or excessive force on the keyboard.
- Keep Software Up to Date: Ensure your operating system and drivers are always up to date to prevent compatibility issues and glitches.
By following these troubleshooting steps and preventive measures, you can effectively address sticky and unresponsive keys, keeping your laptop keyboard in top working condition. Remember, if you encounter any persistent or complex issues, don’t hesitate to reach out to the experts at IT Fix for further assistance.


