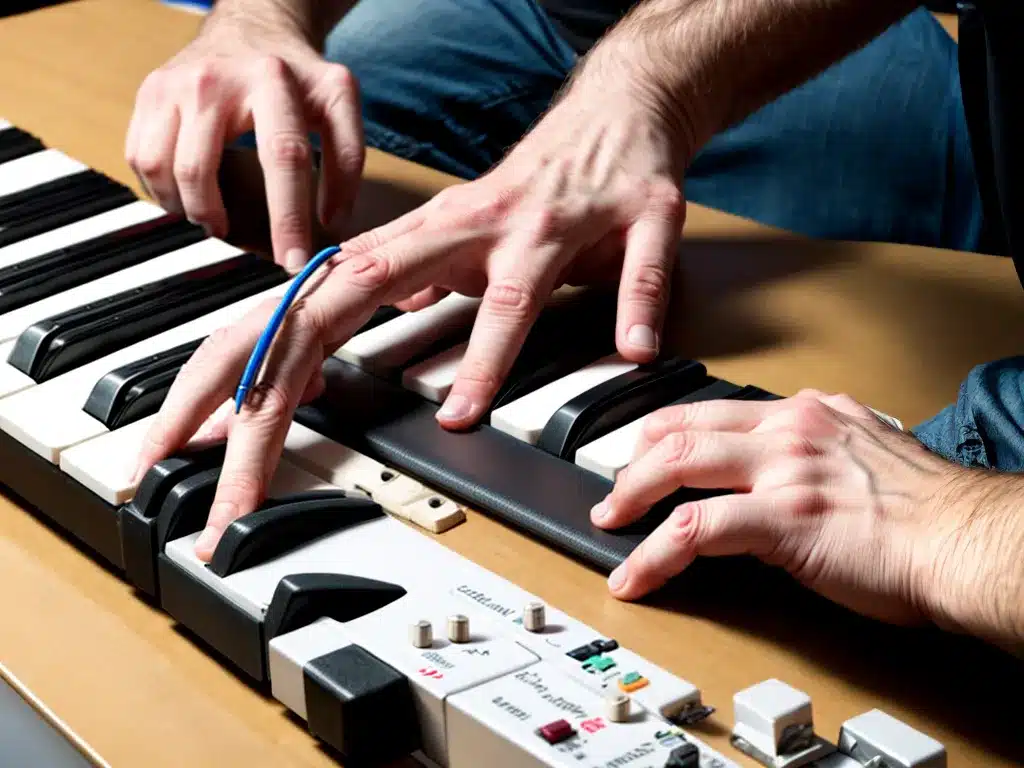
Playing an electronic keyboard or digital piano is a fun experience, whether you’re a beginner learning your first tunes or an advanced player jamming out complex melodies. However, nothing ruins that experience faster than a jammed or sticking key. When one or more of the keys stops moving smoothly up and down and gets stuck in the down or up position, it can throw off your playing and become very frustrating. Fortunately, there are steps you can take to get your jammed keys moving freely again.
Common Causes of Jammed Keys
Before digging into solutions, it’s helpful to understand what causes keys to jam in the first place. Here are some of the most common culprits:
Dust and Debris
Over time, dust, dirt, food crumbs, and other debris can accumulate under the keys. As you strike the keys, this debris can interfere with the free movement of the key mechanism.
Sticky Substances
Sugary spills like soda, juice, syrup, or candy can cause major sticking issues as they dry and turn gummy under the keys. Greasy spills from foods can also leave a residue that impedes key motion.
Worn Key Contacts
The plastic key contacts under each key eventually wear out from repeated strikes over months and years of play. This allows more side-to-side wobble that can lead to sticking.
Broken Key Springs
The tiny coil springs under each key that return it to the upright position after pressing can break or weaken over time. This allows the key to jam in the downward position.
Misaligned Keys
If a key gets bumped hard or excessive side pressure is applied over time, the key can become slightly misaligned in the frame. This misalignment can create friction and sticking.
Fixing Jammed Keys
Now that we’ve covered why keys jam, let’s look at some steps you can take to get them moving freely again:
1. Try a Quick Fix
Before doing anything else, try a quick fix:
- Firmly press the jammed key all the way down 10-20 times rapidly. Sometimes this can dislodge debris.
- Use a can of compressed air to blast air under the key to clear any dust or dirt.
- If moisture is suspect, place the keyboard upright to let gravity help dry any spills under keys.
If the key quickly starts moving after one of these fixes, problem solved! If not, moving on to the deeper solutions below.
2. Remove the Key
The most thorough way to tackle a jammed key is to remove it entirely and clean underneath:
-
Locate the retaining clips. On most keyboards, small plastic clips on the rear of the key hold it in place.
-
Release the clips. Carefully pry up the rear retaining clips with a small flathead screwdriver. This releases the key.
-
Lift off the key. Grab the top of the key and pull directly upward to lift if off the internal mechanism. Take care not to bend or break the clips.
3. Clean Under the Key
With the key removed, you have full access to clean away anything interfering with motion:
-
Use compressed air to blast away dust and debris.
-
Wipe with a clean cloth dampened slightly with water, rubbing alcohol or electric contact cleaner to remove gunk.
-
Check the key contacts and wipe them clean if needed.
-
Check the springs and make sure they are intact and seated properly.
4. Reinstall the Key
Once the underside of the key is clean, carefully reinstall it:
-
Line up the key over the internal mechanism.
-
Gently but firmly press down until the retaining clips snap into place.
-
Check the motion and make sure the key moves freely without sticking before reinstalling more keys.
5. Address Widespread Issues
If you have multiple jammed keys, there may be a broader underlying issue:
-
Clean the entire keyboard to address debris buildup across keys.
-
Replace worn key contacts. Many keyboards have replaceable contact strips that can fix wobbling keys.
-
Replace broken springs. Individual broken springs can often be swapped out.
-
Tightly reseat keys that are askew to realign with the frame.
With some troubleshooting and cleaning, you can get those jammed keys back in smooth working order again. Just take your time, work through the keys methodically, and be gentle when prying or pressing keys to avoid damaging the delicate mechanisms under each one. With patience and care, you can have that keyboard or digital piano playing perfectly again.


