Introduction
As a laptop owner, I know how frustrating it can be when the hinges on your laptop become loose or broken. The hinges are what hold the screen to the base of the laptop and allow you to position the screen at different angles. When they break, the screen can completely detach from the base, leaving you unable to use the laptop properly.
Fortunately, with a few tools and some patience, fixing a broken laptop hinge is quite straightforward for most models. In this guide, I’ll walk through the step-by-step process I’ve used multiple times to repair loose or separated laptop hinges.
Preparing to Fix the Hinges
Before we begin disassembling the laptop, there are a few things we need to do to prepare:
-
Back up important data – In case anything goes wrong during the repair, we want to make sure our data is safe. I like to do a full backup to an external hard drive just to be safe.
-
Have the right tools – For most laptops, you’ll need a small Phillips screwdriver, tweezers, and possibly small pliers. You may also need a tiny flathead screwdriver for prying.
-
Order replacement hinges – Determine the correct replacement hinges for your laptop model and order them ahead of time. Sometimes the hinge covers or brackets also need to be replaced.
-
Clear a workspace – Have a clean, well-lit workspace to carefully disassemble the laptop on. Lay down a towel or cloth to avoid scratching.
Disassembling the Laptop
With the backups done and tools in hand, now we can start taking the laptop apart:
Remove the battery
-
Flip the laptop over and locate the battery release latch. Slide it to release the battery.
-
Gently pry the battery up and out of its housing.
Remove bottom case screws
-
Carefully turn the laptop back over and note which screws are securing the bottom case/cover.
-
Using the Phillips screwdriver, remove all of the marked screws and set them aside in a container so they don’t get lost.
Pry bottom case off
-
Insert a thin, plastic prying tool around the seam of the bottom case. Slowly pry up and work your way around to loosen the clips securing it.
-
Once loosened, carefully lift the bottom case off and set it aside.
Remove LCD bracket screws
-
With the bottom removed, we can now access the LCD hinge brackets. Locate the screws securing the brackets to the base.
-
Remove these screws carefully with the Phillips screwdriver and set aside. There may be screws under tape or caps that need prying up.
Lift LCD assembly
-
Slowly and gently lift up the LCD assembly from the base. Keep track of any small cables still attached.
-
Flip the assembly over to access the back of the hinges.
Removing and Replacing Hinges
Now the laptop is disassembled and we can replace the malfunctioning hinges:
Remove old hinge
-
If any plastic covers are present on the hinges, pry them off first.
-
Locate the hinge attachment screws and remove them with the screwdriver.
-
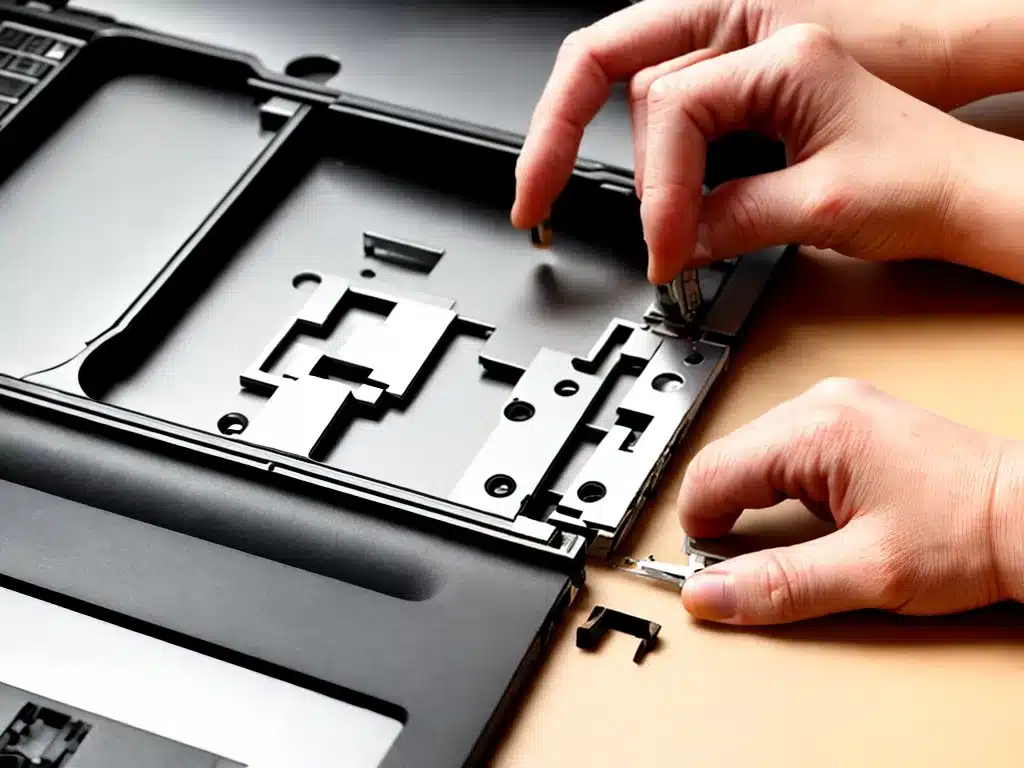
If needed, use tweezers or pliers to pry the old hinge loose from the LCD bracket. Remove it fully.
Install replacement hinge
-
Line up the new replacement hinge on the LCD bracket where the old one was.
-
Insert the hinge screws to hold it in place (do not fully tighten yet).
-
Repeat process to replace the other hinge on the opposite side if needed.
Check hinge smoothness
-
With the new hinges loosely installed, tilt the LCD panel forwards and back to make sure the hinges move smoothly without any catching or grinding.
-
If needed, loosen the screws, adjust hinge alignment, and re-test until smooth motion is achieved.
Tighten hinge screws
-
Once the hinge motion is smooth, hold the LCD panel firmly in place and tighten all of the hinge attachment screws. Do not over-tighten.
-
Replace any plastic hinge covers that were removed earlier.
Reassembling the Laptop
Now that the hinges are repaired, we just need to carefully reassemble the laptop:
Reattach LCD assembly
-
Carefully lower the LCD assembly back into place on the base, routing any cables through the appropriate slots.
-
Reinsert and tighten the LCD bracket screws removed earlier.
Replace bottom case
-
Line up the bottom case and firmly press down around the edges to reseat the plastic clips.
-
Replace all bottom case screws and tighten them back down.
Reconnect battery
- Flip laptop over and reinsert the battery into its housing until it clicks and locks back into place.
Power on and test
-
Press the power button and allow laptop to boot up normally.
-
Test the repaired hinges by tilting the screen forwards and back and making sure motion is smooth and sturdy.
-
If further adjustments are needed, power down the laptop fully and repeat the steps above.
Conclusion
Fixing a broken laptop hinge is very doable with some basic tools and by taking your time disassembling the unit. Carefully following each step above should allow you to successfully replace damaged or detached hinges in most laptop models. Just be patient and don’t force anything during disassembly. With a little diligence, you can save money and extend the life of your laptop by repairing a broken hinge issue on your own.


