Introduction
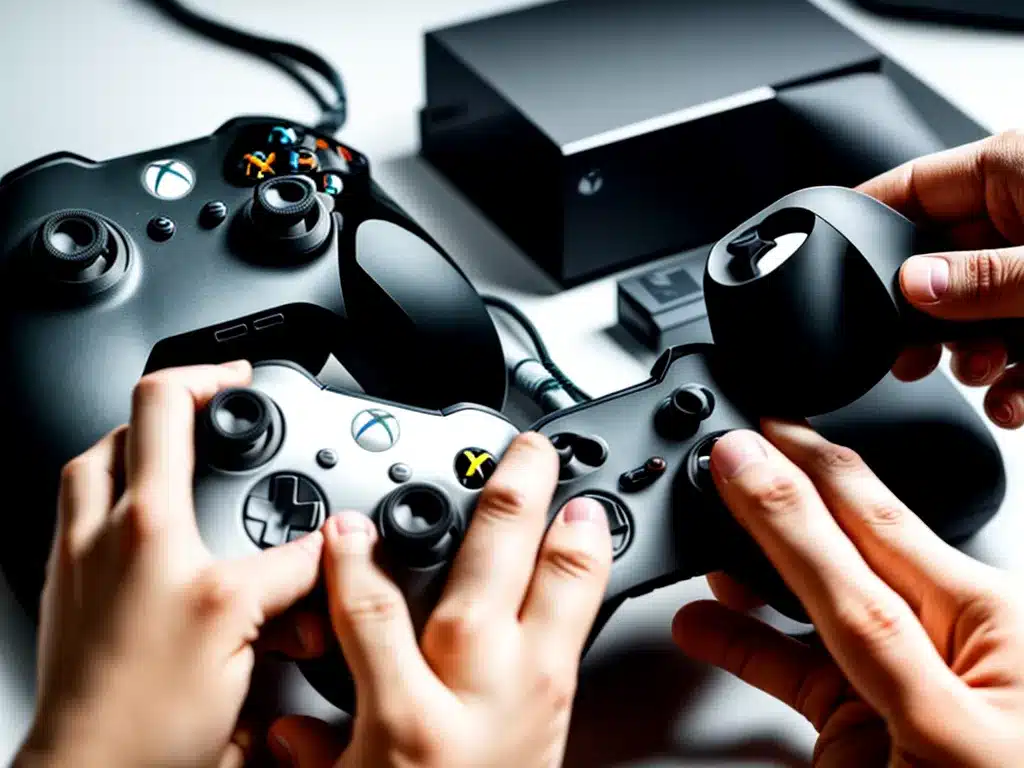
I recently ran into an issue with my Xbox Series X controller where the buttons were becoming sticky and less responsive. This is a common problem that can occur over time with heavy use. Thankfully, there are a few things you can try at home to fix sticky buttons on an Xbox controller without having to send it in for professional repair. In this article, I’ll walk through the steps I took to clean and fix my Xbox Series X controller’s sticky buttons.
Try Cleaning the Buttons
The first thing to try is cleaning the buttons. Dust, dirt, and grime can build up on the buttons over time, especially if you eat and game at the same time.
To clean the buttons:
-
Power off your Xbox and unplug the controller. This prevents any buttons from accidentally being pressed during cleaning.
-
Use a can of compressed air to blow out any debris from under and around the buttons. Hold the can upright and spray short bursts beneath each button.
-
Use a cotton swab dipped in isopropyl alcohol to rub around the edge of each button and wipe away any grime. Be gentle and don’t soak the cotton swab.
-
Allow the controller to fully dry before reconnecting. The isopropyl alcohol will evaporate quickly.
After cleaning, test the buttons to see if their performance has improved. A good cleaning can often resolve light stickiness or sluggish button response.
Fix Stuck Buttons
If cleaning doesn’t fix the issue, the buttons may be physically stuck in place. This can happen if something gets lodged under the buttons or if the pads under them wear out.
To fix stuck buttons:
-
Take the controller apart. There are several small Phillips head screws on the back to remove. Look up a guide online for your controller model.
-
Check under each button for any obvious debris obstructing movement. Remove anything stuck under them with tweezers.
-
Press down on each button pad to ensure it still has springiness. Replace any hard, flattened pads.
-
Apply a small amount of electrical contact cleaner under the buttons to lubricate. Let it dry fully.
-
Carefully reassemble the controller. Slowly press each button while testing to ensure smooth movement.
Taking the controller apart takes some work but allows you to thoroughly inspect each button’s pad and mechanism. Replacing any damaged pads or lubricating with contact cleaner usually resolves physical sticking.
Replace Rubber Button Pads
If the rubber pads under the buttons have worn out or torn, button presses won’t register properly. Replacing these pads can often fix unresponsive buttons.
To replace the pads:
-
Remove the buttons from the controller housing after taking it apart.
-
Note each button’s pad orientation before removing. Carefully lift off each pad with tweezers.
-
Purchase a replacement rubber pad set designed specifically for your Xbox controller model.
-
Install the new pads in the proper orientations. Watch alignment so the slots match up with each button’s pegs.
-
Test thoroughly after reassembly. The new pads should allow each button to depress smoothly.
While requires some disassembly, installing fresh rubber pads is an affordable and effective solution for unresponsive buttons. Take care not to tear the delicate new pads during installation.
Update or Re-calibrate the Controller
Issues like button lag or double presses can sometimes be fixed through software updates or calibration:
-
Make sure your Xbox and controller are updated to the latest firmware. Connect to the internet and allow any pending updates.
-
Re-calibrate the controller in your Xbox settings. Go to Settings > Devices & Connections > Accessories and select “Calibrate” for your controller.
-
Try testing with another game. Some games have less button lag than others. An issue in one game may not appear elsewhere.
-
Reset the controller to factory settings if other software fixes don’t work. This erases all customization but can resolve glitches.
For minor button responsiveness issues, a simple re-calibration or firmware update is worth trying before taking apart the controller. In some cases, the problem may lie with a particular game’s programming rather than a hardware defect.
When to Repair or Replace Your Controller
If you’ve tried all of these fixes thoroughly and the buttons still don’t work properly, the controller may need professional repair or replacement:
-
Send your controller in for repair if it’s under warranty. Xbox offers a 90-day limited warranty against defects.
-
Replace specific components like the printed circuit board if you have the technical skill. Sourcing the right replacement parts can be difficult.
-
Buy a new controller if your current one is several years old. Consumer controllers aren’t designed to be serviced indefinitely.
-
Consider upgrading to an Xbox Elite Wireless controller which offers more customization and longer durability.
While the above DIY fixes can go a long way, at a certain point it makes sense to retire an aging, damaged controller instead of sinking more money into repairs. Know when to cut your losses with an unresponsive controller.
Conclusion
Sticky or unresponsive buttons on an Xbox controller can be extremely frustrating. Thankfully, with some DIY cleaning, repair, and software updates, you can often fix the issue yourself without needing professional help or buying a new controller. Just be willing to take the time to properly clean and inspect each button’s mechanism and pads. With some patience, you can get your Xbox controller working like new again.


