I recently had the misfortune of having my laptop’s charging port break. After some research and tinkering, I was able to fix the problem myself. Here’s how I did it:
Diagnosing the Issue
The first step was figuring out exactly what was wrong with the charging port.
Symptoms:
- The laptop only charged at certain angles.
- I had to wiggle the charger to get it to charge.
- There was visible damage to the port itself.
It was clear the charging port was either loose or broken in some way.
Testing the Charger
To confirm it was the port and not the charger, I tested the charger:
- I used the charger on another laptop. It worked fine.
- I tried a different charger on my laptop. It exhibited the same issues.
This indicated the charger was fine and the problem was with the charging port itself.
Opening the Laptop
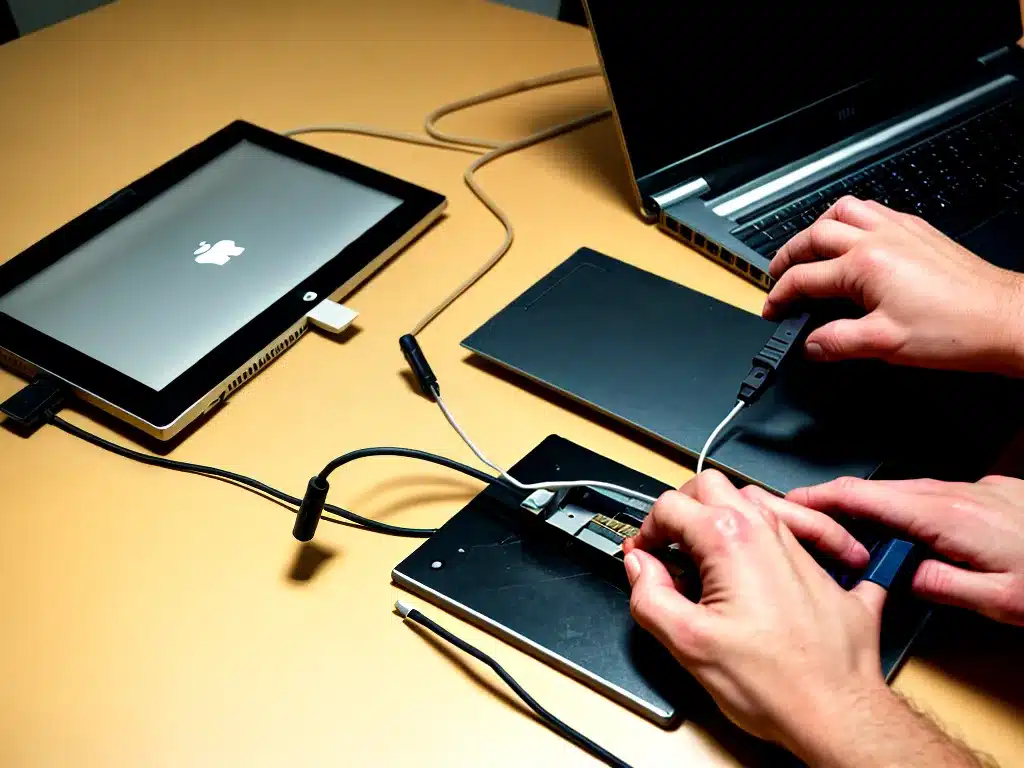
Next I had to open up the laptop carefully to access the charging port.
The steps I took:
- Powered off and unplugged the laptop.
- Removed the battery.
- Unscrewed the bottom panel.
- Slowly pried open the case with a plastic prying tool, being careful of any cables.
With the bottom panel removed I could see the charging port module on the motherboard near the back.
Examining the Charging Port
Closer inspection revealed:
- The plastic housing around the port was cracked.
- The metal charging pins were bent.
It was clear the port was physically damaged and needed to be replaced.
Ordering a Replacement Part
I looked up the make and model of my laptop and ordered the correct replacement charging port module. They are often fairly inexpensive ($10-$20).
I made sure to order from a reputable supplier to get a quality part.
Installing the New Charging Port
Once the new part arrived, I was ready to install it:
- I carefully unscrewed and detached any cables connected to the charging module.
- Then I slowly wiggled it loose and removed it.
- I inserted the new module, aligned it properly, and screwed it into place.
- I reattached all the cables.
Taking Precautions
I took precautions while doing this:
- I used an anti-static wrist strap.
- I organized the screws and kept track of where they went.
- I moved slowly and carefully to avoid damaging anything.
Testing and Reassembly
With the new module installed, it was time to test it:
- I reattached the battery and turned on the laptop.
- I plugged in the charger and verified it was charging correctly!
With the charging issue resolved, I reassembled the laptop. The repair was a success!
Troubleshooting Tips
If you attempt a similar charging port repair, keep these troubleshooting tips in mind:
- Ensure you order the correct replacement part for your specific laptop model.
- Check that all cables are properly connected.
- Take electrostatic discharge precautions when handling components.
- If issues persist, the port may not be properly aligned or secured.
Repairing the Port Myself Saved Me Money
While repairing electronics can seem daunting, fixing the charging port on my laptop was very doable.
The benefits:
- I saved a lot of money compared to replacing the motherboard or buying a new laptop.
- I gained satisfaction from troubleshooting and doing the repair myself.
With patience and care, you can likely replace a broken charging port and get more life out of your laptop. Just be sure to take the proper precautions. Let me know if you have any other questions!

