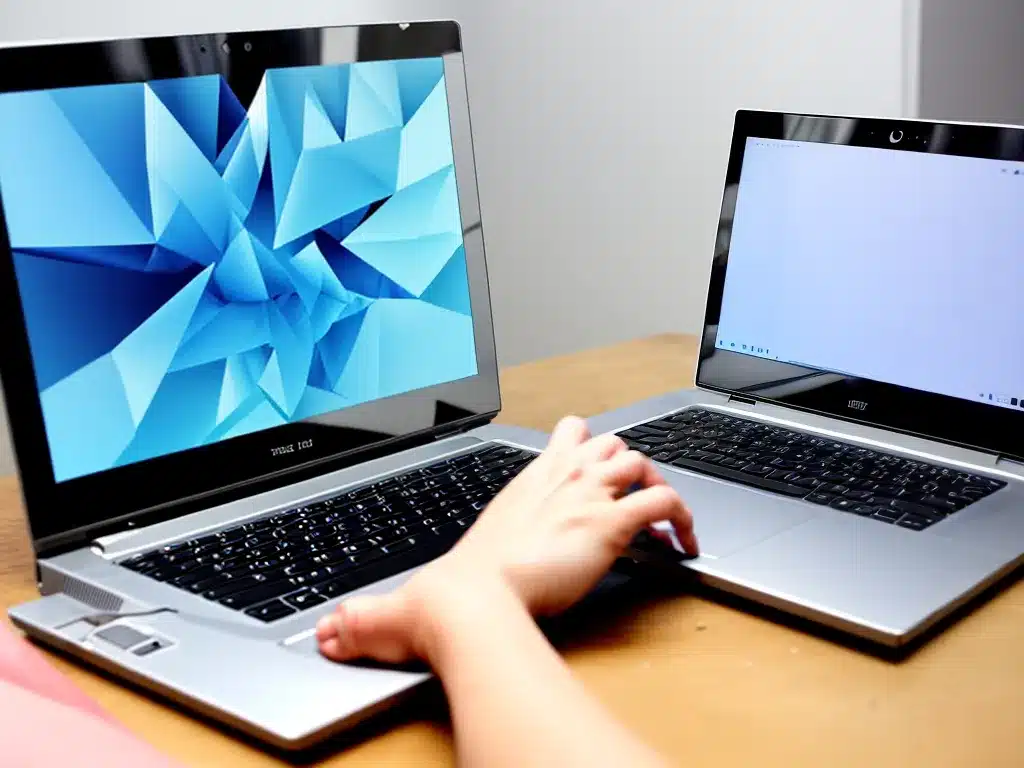
Having a broken laptop screen can be very frustrating. However, before you decide to replace the entire laptop, you may be able to fix the screen yourself in just a few simple steps. With some basic tools and a bit of care, I was able to get my laptop screen working again without too much trouble.
Assess the Damage
The first thing I do when faced with a cracked or broken laptop screen is thoroughly examine the damage. This will help me determine the best course of action for repairing it.
-
Check if the LCD panel itself is cracked or if the damage is limited to the outer glass layer. LCD panel damage is much more difficult and expensive to repair than a cracked glass screen layer.
-
See if there are visible points of impact or stress on the screen. Make note of any particularly bad cracks or splits in the glass/panel.
-
Try turning on the laptop and check if the screen still lights up. This indicates if the LCD panel is still functionally intact.
-
Plug in an external monitor to test if the laptop graphics are still working properly. Faulty graphics can affect the laptop screen display.
Order a Replacement Screen
Once I’ve assessed the type and extent of damage, it’s time to find a suitable replacement screen.
-
Search online or contact the laptop manufacturer to find the exact model of your laptop screen.
-
Make sure to match the screen size, resolution, backlight technology (CCFL or LED) and other specs.
-
Only buy from reputable sellers and check reviews before purchasing. OEM screens provide the highest compatibility and quality.
-
Carefully read the listing to know what tools and parts are included with the screen.
-
Order any additional required tools, cables and screwdrivers for screen installation.
Prep the Workspace
I make sure to take the following precautions before beginning the screen removal and installation process:
-
Clear out a clean, spacious and well-lit work area to comfortably work on the laptop.
-
Use an anti-static mat and wear an anti-static wristband to avoid static discharge damage.
-
Keep all screws, parts and tools organized as you disassemble the laptop.
-
Place a soft towel or cloth down to avoid scratching the laptop body.
-
Follow all laptop manufacturer safety guidelines when working on the device.
Remove the Old Screen
Once my new screen arrives, I’m ready to replace the broken panel:
-
Carefully remove any screen bezel pieces, plastic covers or screwed-on sections on the front of the display.
-
Disconnect the display cable connector attached to the back of the screen. Lift the latch and gently pull the cable out.
-
Check for any adhesive or mounting brackets affixing the screen and remove as needed. Take photos for reassembly.
-
Slowly lift out the broken LCD panel once detached. Place it aside and handle carefully to avoid glass fragments.
-
Thoroughly clean the laptop display housing to prep it for the new screen.
Install the New Replacement Screen
With the old screen removed, it’s time to put in the new replacement LCD panel:
-
Lower the new LCD screen into place aligned with the screw holes and slots in the panel housing.
-
Reattach any adhesive strips or mounting brackets to hold the screen firmly in place.
-
Reconnect the delicate display cable to the connector slot on the back of the new screen.
-
Test the display by turning the laptop on before screwing the panel fully into place.
-
Replace the plastic bezel, covers and screws that hold the screen outer glass layer in place.
-
Calibrate the screen color, brightness and saturation settings in Windows Display settings.
With some careful work and patience, I was able to successfully install a replacement screen and save my broken laptop. Let me know if you need any help fixing your own cracked or faulty laptop display!

