Breathe New Life into Your Old Laptop
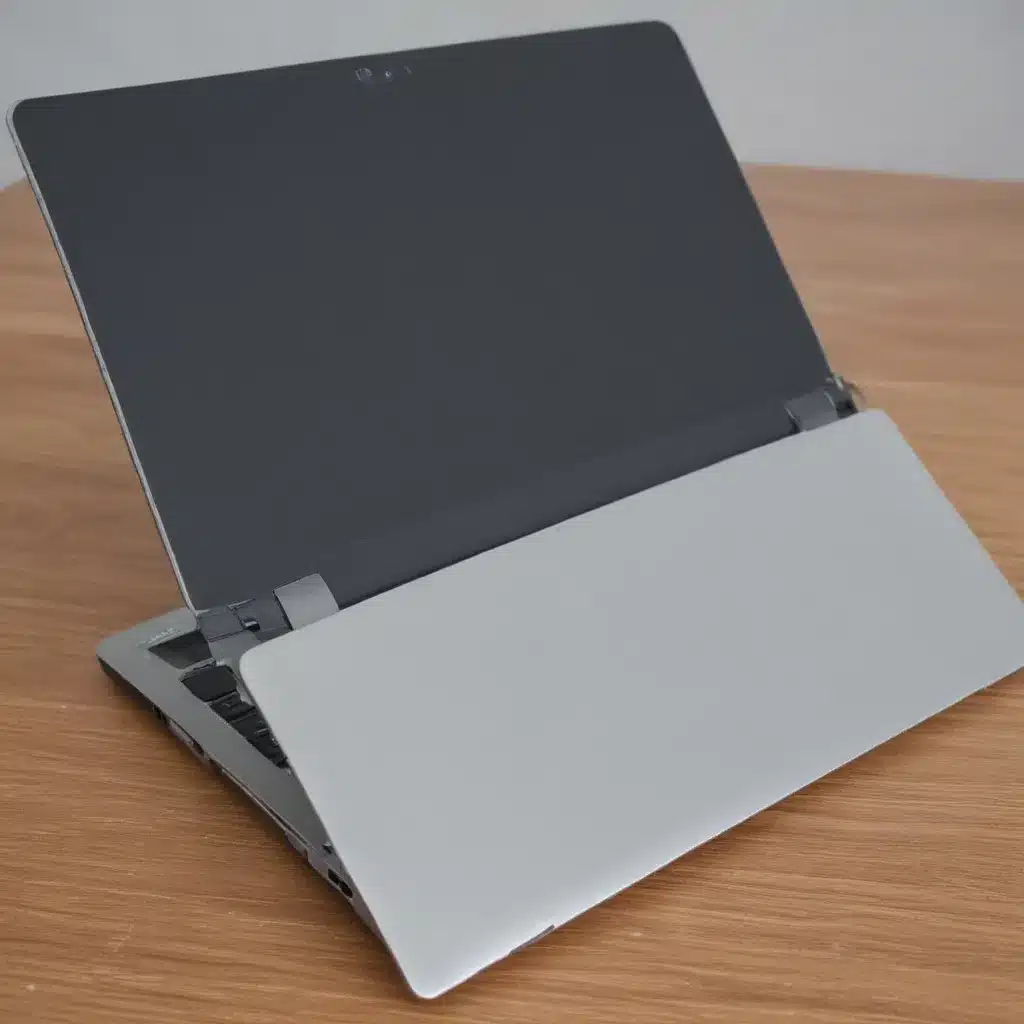
As a self-professed technology enthusiast, I’ve always had a soft spot for aging laptops. There’s something about taking an outdated machine and transforming it into a sleek, high-performing powerhouse that just sparks joy in my nerdy little heart. And let me tell you, the process of refurbishing an old laptop is not only incredibly rewarding, but it can also save you a ton of money compared to buying a brand-new device.
Now, I know what you’re thinking – “But doesn’t refurbishing an old laptop involve a lot of complicated technical know-how?” Well, my friend, that’s where you’d be mistaken. With the right tools and a little bit of elbow grease, even the most tech-averse among us can breathe new life into our aging laptops. [1]
Diagnose the Issues
The first step in any laptop refurbishment project is to conduct a thorough assessment of the device’s condition. This involves looking for any obvious signs of wear and tear, such as a cracked screen, a faulty keyboard, or a sluggish performance. [2]
One of the easiest ways to get a sense of your laptop’s overall health is to run a diagnostic tool like Speccy or HWMonitor. These nifty little programs will give you a detailed breakdown of your machine’s components, including the CPU, RAM, and storage, and can help you identify any potential bottlenecks or issues.
Another important factor to consider is the age of the laptop. As a general rule, the older the device, the more likely it is to require more extensive repairs or upgrades. [3] However, don’t let a little age scare you off – with the right techniques, you can breathe new life into even the most geriatric of laptops.
Upgrade the Storage
One of the most impactful upgrades you can make to an aging laptop is to swap out the old, slow hard disk drive (HDD) for a snazzy solid-state drive (SSD). [4] SSDs are not only faster and more responsive than their HDD counterparts, but they’re also significantly more reliable and energy-efficient.
The process of installing an SSD is relatively straightforward, and there are plenty of handy tutorials available online to walk you through the steps. Just be sure to back up your data first, as the process will involve a complete wipe of your existing storage.
Boost the Memory
Another key component to focus on when refurbishing an old laptop is the RAM. If your machine is running a bit sluggish, chances are it could benefit from a memory upgrade. [5]
Most modern laptops can accommodate up to 16GB of RAM, which should be more than sufficient for most everyday tasks. And the best part? RAM is generally quite affordable, so you can get a significant performance boost without breaking the bank.
Just be sure to check your laptop’s specifications to make sure you’re buying the correct type and speed of RAM. Incompatible RAM can cause all sorts of issues, so it’s crucial to do your research before making a purchase.
Optimize the Operating System
Once you’ve upgraded your laptop’s storage and memory, it’s time to turn your attention to the operating system. [6] Depending on the age of your device, you may be running an outdated version of Windows or even a legacy OS like Windows 7.
In either case, it’s generally a good idea to perform a fresh installation of the latest version of Windows. This will not only ensure that your laptop is running the most up-to-date software, but it will also help to eliminate any lingering issues or performance problems.
During the installation process, be sure to select the “Custom” option rather than the “Upgrade” option. This will ensure that your laptop is starting with a clean slate, free of any unwanted bloatware or residual files from the previous installation.
Restore That Shiny Exterior
Now that you’ve addressed the internal components of your laptop, it’s time to turn your attention to the exterior. After years of use, even the most well-cared-for laptops can start to show signs of wear and tear, with scratches, dents, and discoloration marring the once-pristine surface.
Fortunately, there are a number of easy-to-use products and techniques you can employ to restore your laptop’s luster. [7] A simple wipe-down with a microfiber cloth and a bit of screen cleaner can work wonders, while more stubborn blemishes can be tackled with a gentle abrasive polish or even a touch-up paint pen.
And let’s not forget about the keyboard – after all, it’s the workhorse of your laptop. If the keys are looking a bit grimy or worn, a quick cleaning with a soft-bristled brush and a bit of isopropyl alcohol can have them looking good as new.
Conclusion
Refurbishing an aging laptop may seem like a daunting task, but with the right tools and a bit of elbow grease, it can be an incredibly rewarding and cost-effective endeavor. By upgrading the storage, boosting the memory, optimizing the operating system, and restoring the exterior, you can breathe new life into even the most geriatric of laptops.
So what are you waiting for? Grab your toolbox, put on your thinking cap, and get to work on that old laptop of yours. Who knows – you might just end up with a sleek, high-performing machine that could rival even the newest models on the market. [8]

