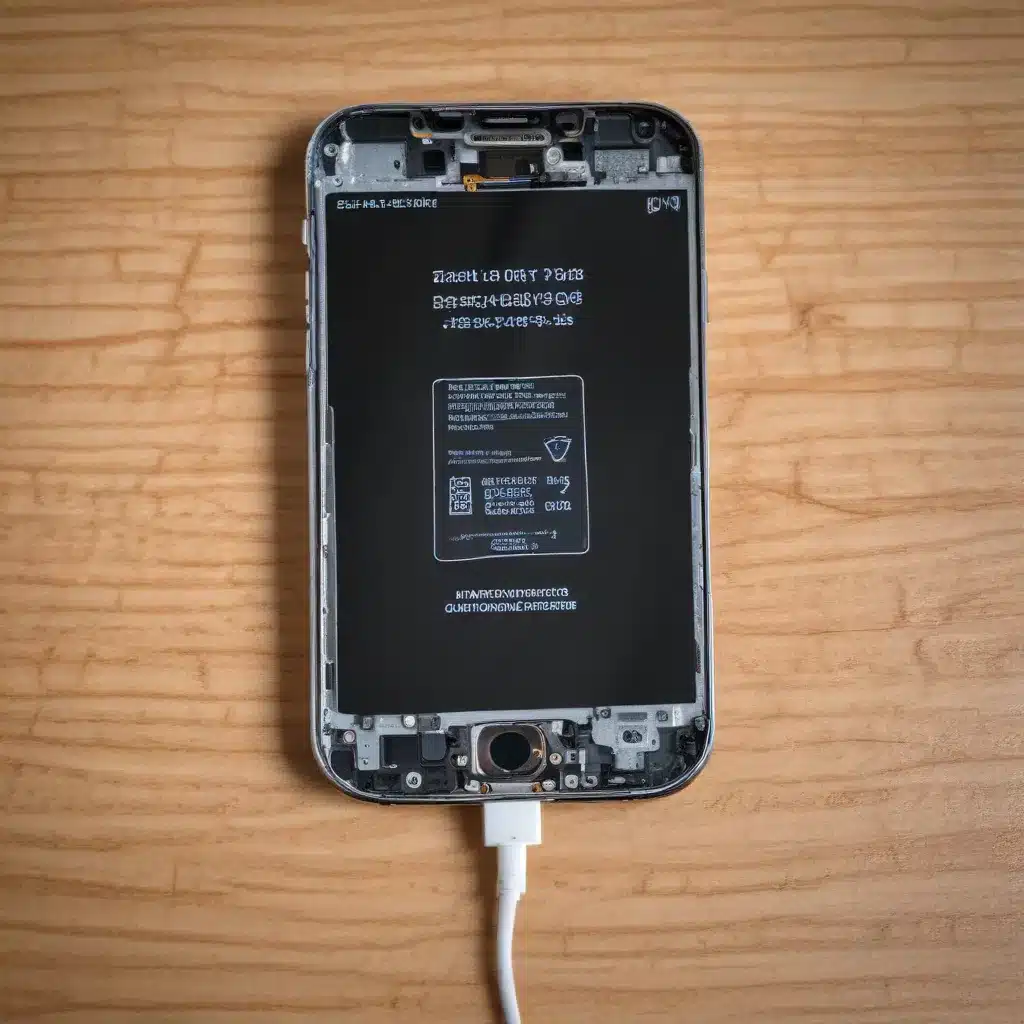
As a seasoned IT professional, I’ve encountered countless smartphone users struggling with charging port issues. Whether it’s a recurring problem or a sudden failure, a malfunctioning charging port can be a frustrating and potentially costly problem. However, with the right knowledge and a bit of DIY skill, you can often resolve these issues without relying on costly professional repairs.
In this comprehensive guide, we’ll explore the step-by-step process of diagnosing, repairing, and even replacing a smartphone’s charging port. By the end, you’ll be equipped with the necessary knowledge and confidence to tackle this common tech challenge on your own.
Diagnosing Charging Port Issues
The first step in addressing a problematic charging port is to properly diagnose the issue. There are several common symptoms that may indicate a problem with your smartphone’s charging port:
- Intermittent or Unreliable Charging: If your device only charges when held in a specific position or if the charging cable frequently disconnects, it’s a clear sign of a charging port issue.
- Corrosion or Debris Buildup: Over time, dirt, dust, and even small debris can accumulate inside the charging port, preventing a secure connection and interrupting the charging process.
- Port Damage: Physical damage to the charging port, such as bent or broken pins, can prevent the charging cable from making a proper connection.
Before attempting any repairs, it’s essential to thoroughly inspect the charging port for visible signs of damage or obstruction. Use a bright light and a pair of fine-tipped tweezers to carefully examine the port and remove any debris or foreign objects you may find.
Cleaning the Charging Port
If the diagnosis points to a buildup of debris or corrosion, the first step is to attempt a thorough cleaning of the charging port. This simple task can often resolve minor charging issues and restore reliable charging functionality.
To clean the charging port:
- Power off your smartphone and disconnect any charging cables.
- Using a can of compressed air, gently blow out any loose debris or particles from the port.
- Carefully insert a soft, thin object, such as a toothpick or a non-metallic probe, into the port to dislodge any stuck-on grime or residue.
- Once the port is clear of visible debris, use a small amount of isopropyl alcohol (70% or higher) and a soft, lint-free cloth to gently wipe down the interior of the port.
- Allow the port to dry completely before reconnecting your charging cable.
After cleaning, try charging your device again. If the issue persists, it may be necessary to move on to more advanced repair or replacement steps.
Charging Port Replacement
If cleaning the port doesn’t resolve the problem, or if the port is physically damaged, it may be time to consider replacing the charging port assembly. This process can be a bit more involved, but with the right tools and attention to detail, it’s a task that many tech-savvy users can tackle themselves.
Before attempting a charging port replacement, be sure to have the following items on hand:
- Appropriate replacement part for your specific smartphone model (e.g., Lightning connector for iPhones, USB-C port for Android devices)
- A high-quality set of precision screwdrivers and tweezers
- Isopropyl alcohol and a lint-free cloth
- Anti-static mat or workspace to prevent static discharge
Follow these steps to replace the charging port:
- Power off your smartphone and remove the battery (if possible) to prevent any potential short circuits during the repair process.
- Carefully disassemble your device, following the manufacturer’s instructions or a reputable online guide (such as the one from iFixit).
- Locate the charging port assembly and disconnect any cables or connectors attached to it.
- Gently remove the old charging port, being careful not to damage any surrounding components.
- Clean the area around the charging port opening using isopropyl alcohol and the lint-free cloth.
- Align the new charging port assembly and securely reconnect any cables or connectors.
- Reassemble your device, taking care to ensure all components are properly aligned and secured.
- Power on your smartphone and test the new charging port to ensure it’s functioning correctly.
It’s important to note that the specific steps may vary depending on your smartphone model, so be sure to refer to a repair guide tailored to your device. Additionally, if you’re not confident in your ability to perform the repair, it’s best to seek the assistance of a professional technician.
Preventive Measures and Maintenance
To help avoid future charging port issues, it’s essential to take proactive steps to maintain your smartphone’s charging system. Here are some tips:
- Use Certified Cables and Chargers: Avoid using uncertified or low-quality charging cables and power adapters, as they can cause damage to your device’s charging port over time.
- Keep the Port Clean: Regularly inspect and clean the charging port using the methods outlined earlier in this guide to prevent debris buildup.
- Avoid Excessive Force: When connecting or disconnecting the charging cable, be gentle and avoid twisting or bending the port, as this can lead to physical damage.
- Monitor Battery Health: Keep an eye on your smartphone’s battery health, as a degraded battery can sometimes contribute to charging issues.
By following these preventive measures and performing regular maintenance, you can help extend the lifespan of your smartphone’s charging port and avoid costly repairs or replacements in the future.
Remember, the IT Fix blog is here to provide you with practical tips and in-depth insights on all things technology-related. If you encounter any other IT challenges or have questions about this guide, don’t hesitate to reach out to our team of experts.


