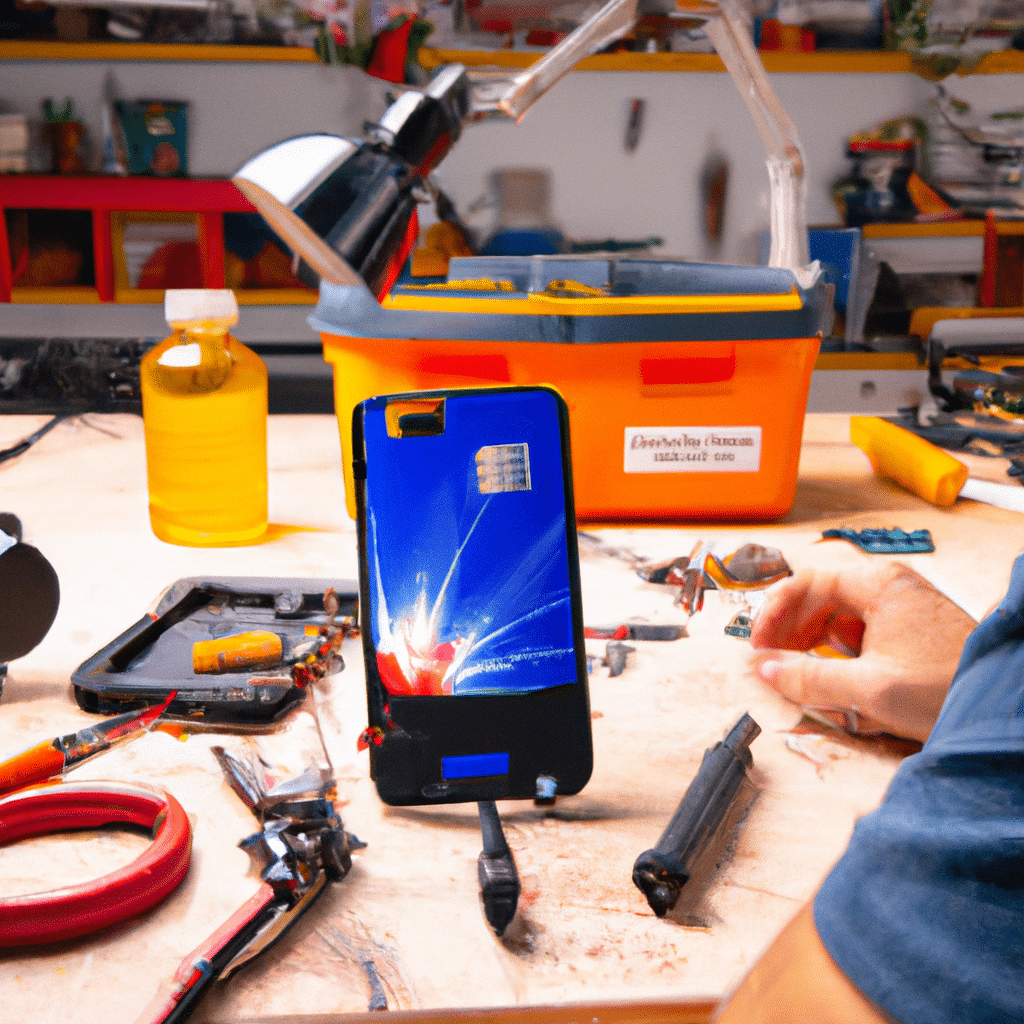
DIY Guide to Replacing a Smartphone Charging Port
Are you tired of having to wiggle your phone charger around to get it to work? Is your phone not charging at all? It may be time to replace your smartphone’s charging port. In this DIY guide, we’ll walk you through the steps to replace your smartphone’s charging port yourself.

What You’ll Need
Before you begin, you’ll need a few things:
- A replacement charging port for your specific smartphone model
- A set of small screwdrivers
- A plastic spudger or guitar pick
- A pair of tweezers
- A heat gun or hair dryer
- A soldering iron and solder (optional)
- A steady hand and some patience
Step 1: Power Off and Remove the Battery
The first step is to power off your smartphone and remove the battery. This will ensure your safety and prevent any damage to your phone.
Step 2: Remove the Back Cover and SIM Card
Next, remove the back cover and SIM card from your phone. This will expose the internal components of your phone.
Step 3: Remove the Screws and Disconnect the Cables
Using your small screwdrivers, remove the screws that are holding the charging port in place. Then, gently disconnect the cables that are connected to the charging port using your plastic spudger or guitar pick.
Step 4: Heat the Adhesive
Using a heat gun or hair dryer, heat the adhesive that is holding the charging port in place. Be careful not to overheat your phone, as this can cause damage.
Step 5: Remove the Charging Port
Once the adhesive is heated, use your plastic spudger or guitar pick to gently pry the charging port away from the internal components of your phone.
Step 6: Solder the New Charging Port (Optional)
If your new charging port does not come with a cable attached, you will need to solder the new charging port to the existing cable. This step should only be attempted by those who have experience with soldering.
Step 7: Reconnect the Cables and Screw in the New Charging Port
Once you have soldered the new charging port (if necessary), reconnect the cables and screw in the new charging port using your small screwdrivers.
Step 8: Reinsert the Battery and Test the Charging Port
Finally, reinsert the battery, SIM card, and back cover, and turn on your phone. Test the charging port to ensure it is working properly.
Conclusion
Replacing your smartphone’s charging port may seem like a daunting task, but with the right tools and a little patience, it can be done. By following these steps, you can save yourself time and money by replacing the charging port yourself. Remember to always be careful when working with electronic components, and if you are unsure about any step, seek the help of a professional.


