Introduction
Replacing a failed hard drive can be a daunting task for someone who has never done it before. However, with the right guidance, tools, and a little bit of patience, it is a very doable DIY project. In this guide, I will walk through the steps for replacing a failed hard drive in a desktop or laptop computer.
Reasons for Hard Drive Failure
Before jumping into the replacement process, it’s helpful to understand why hard drives fail in the first place. Some common causes include:
-
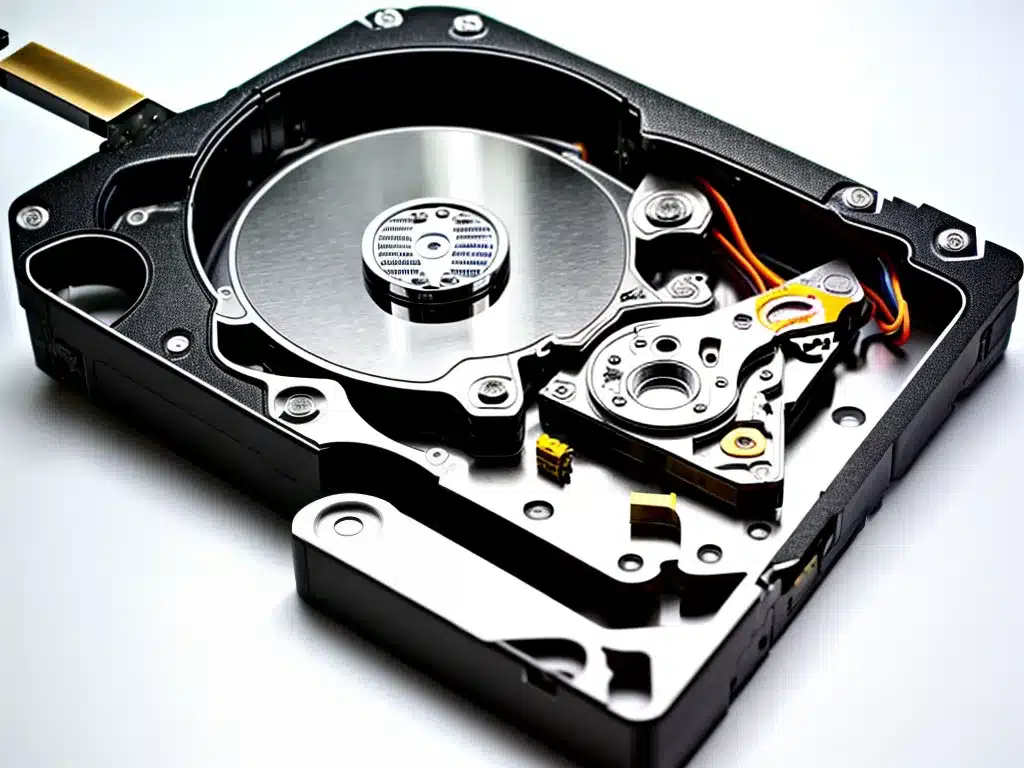
Mechanical failure – The physical components of the drive wear out over time leading to motor or reading/writing head failures. This is the most common cause of failure.
-
Logical failure – Sometimes the drive hardware is fine but corruption in the file system or another logical error prevents the drive from being accessed properly.
-
Power surge – A sudden power spike can damage the circuits in the hard drive.
-
Accidental damage – Dropping a laptop or other physical damage to a hard drive can lead to failure.
Knowing the cause of the failure can help determine if replacement is the right solution. In most cases of mechanical or power failure, replacement is needed. Logical failures may sometimes be repairable without replacing the drive.
Choosing a Replacement Drive
When selecting a new drive, you need to consider compatibility and performance factors.
-
For a desktop PC, you likely want a 3.5″ SATA hard drive. Match the capacity (storage space) of the old drive or get a larger drive if you want more storage. Match the RPM speed and form factor (2.5″ vs 3.5″) as closely as possible.
-
For a laptop, you need a 2.5″ SATA drive. Again, match the capacity and form factor of the old drive. 5400 RPM and 7200 RPM speeds are common.
-
An SSD (solid state drive) is a faster, more durable choice than a spinning hard disk, but also more expensive. This may be a good time to upgrade to an SSD.
-
Check that any new drive is compatible with your computer’s motherboard. Most are, but confirm before purchasing.
What You’ll Need
Gather the following before starting the replacement process:
- New hard drive
- Phillips head screwdriver
- Plastic pry tool (for opening laptop chassis)
- External SATA to USB adapter (to access data from old drive)
- Backup drive for copying data
Backing Up Important Data
Before proceeding, it’s critical to backup any data you want to save from the old drive. If possible:
- Boot into safe mode and copy important files to an external drive.
- If the computer won’t boot, remove the old drive and connect it externally using a SATA adapter to copy data.
- On a Mac, you can boot to target disk mode to access the old drive.
Losing access to a drive is unfortunate, but losing critical data can be devastating. So take time to properly backup your data before continuing!
Replacing the Hard Drive
With your data backed up and a new drive on hand, you’re ready to physically replace the drive. The exact steps vary between desktops and laptops:
Desktop Computer Hard Drive Replacement
-
Open the desktop case and locate the failed hard drive. It will likely be mounted in a drive bay or on a special bracket.
-
Remove any cables connected to the drive, including the SATA data cable and power cable.
-
If needed, use a screwdriver to remove any mounting screws securing the drive in place.
-
Slide the drive out and remove it from the desktop case.
-
Insert the new drive into the bay or bracket in the same orientation. Insert and tighten any needed screws.
-
Connect the SATA data cable and power cable to the back of the new drive.
-
Close up the computer case and boot the desktop from a recovery disk to format the new drive and reinstall the operating system.
Laptop Hard Drive Replacement
-
Turn off and unplug the laptop. Remove the battery as well if possible.
-
Use a plastic pry tool to pop loose any plastic clips securing the bottom cover of the laptop. Lift off the cover.
-
Locate the hard drive, usually tucked in a drive bay or under a cover or bracket.
-
Remove any retaining screws holding the drive in place.
-
Detach the drive’s SATA and power connectors to free it from the system.
-
Lift out the old hard drive and insert the new one in the same orientation.
-
Reconnect the SATA and power cables. Insert any needed screws to secure the new drive.
-
Replace the bottom cover on the laptop and boot from a recovery disk to format the new drive and reinstall the OS.
With some care and patience, you can successfully swap out a failed drive. Be sure to reinstall the operating system, device drivers, and restore any data backups once the new drive is in place.
Troubleshooting Tips
If you encounter issues getting the new drive to work properly, try these tips:
- Ensure all cables are securely connected.
- Try a different SATA cable if you suspect a faulty cable.
- Verify the drive is getting power by checking for activity light on the drive.
- If needed, reformat the new drive to a compatible file system.
- Check your motherboard manual for proper drive installation instructions.
- The drive may need firmware or BIOS updates to be compatible.
With some perseverance and help from online resources, you can typically resolve most issues yourself without professional help.
Benefits of Replacing a Failed Drive
While tackling a failed hard drive replacement has its challenges, there are many benefits to doing it as a DIY project:
-
Save money – Avoid paying for professional repair service.
-
Learn new skills – Gain confidence working inside a computer.
-
Customize your system – Choose a new drive size and type for your needs.
-
Recover lost data – Attempt to recover data yourself from the old drive.
-
Peace of mind – Know your system was repaired properly.
Don’t be intimidated by replacing a drive on your own – take it slow and you can breathe new life into your computer!

