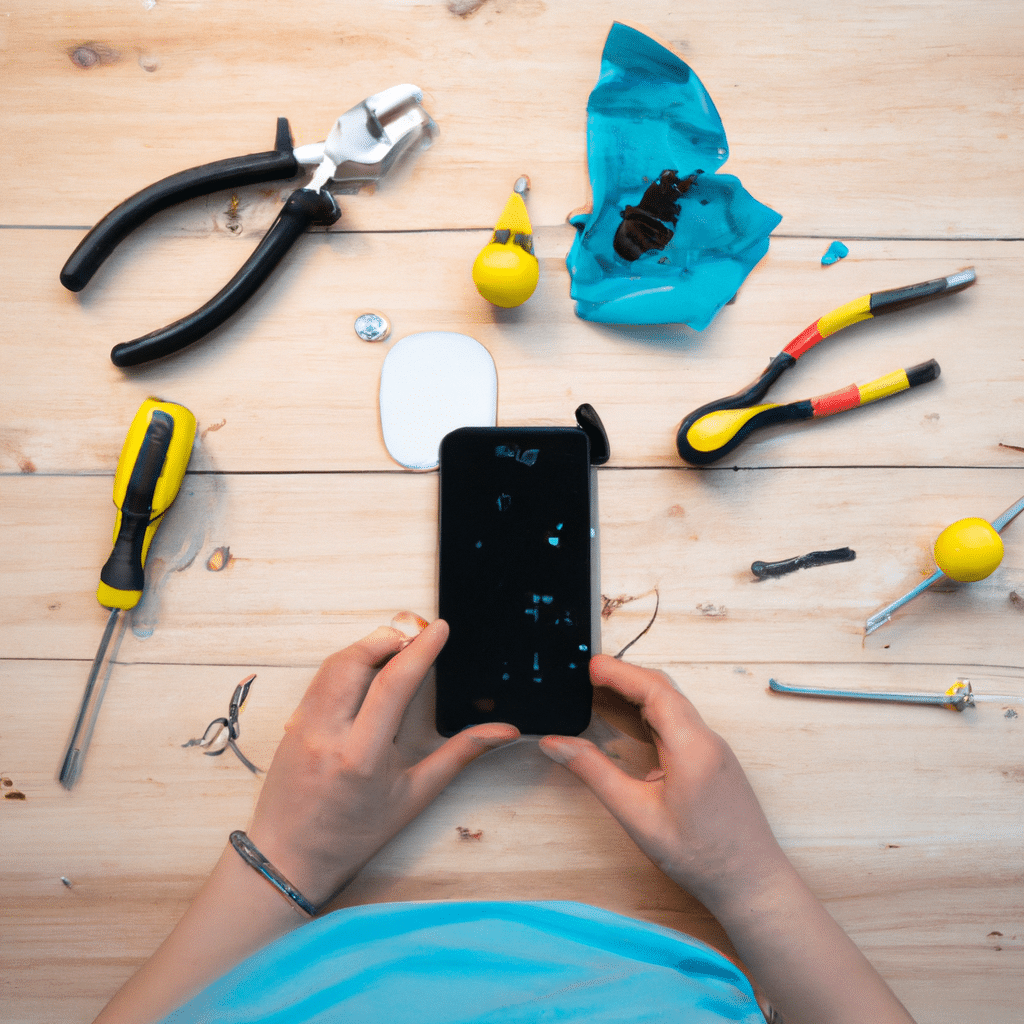
DIY Guide to Replacing a Cracked Smartphone Screen
If you’re reading this, chances are that you’ve cracked your smartphone screen and are wondering what to do next. The good news is that replacing a cracked screen is something that you can do yourself, and it doesn’t have to be a difficult or expensive process. In this guide, we’ll walk you through the steps of replacing a cracked smartphone screen on your own.

What You’ll Need
Before we get started, there are a few things that you’ll need to gather. Here’s a quick list of what you’ll need:
- A replacement screen
- A screwdriver
- A plastic pry tool
- A heat gun or hair dryer
- A suction cup
- A pair of tweezers
You can find replacement screens and toolkits online, and they’re usually quite affordable. Make sure that you purchase a screen that’s compatible with your smartphone model.
Step-by-Step Guide
- Turn off your smartphone and remove the SIM card tray.
- Use the heat gun or hair dryer to heat up the edges of the screen. This will help loosen the adhesive that’s holding the screen in place.
- Place the suction cup on the screen and gently pull up to create a small gap between the screen and the frame.
- Insert the plastic pry tool into the gap and carefully work it around the edges of the screen to loosen the adhesive.
- Once the adhesive has been loosened, use the pry tool to lift the screen out of the frame.
- Disconnect the cables that are connecting the screen to the smartphone’s motherboard.
- Remove the cracked screen from the frame.
- Install the new screen into the frame and reconnect the cables.
- Use the pry tool to press the edges of the new screen down into the adhesive.
- Replace the SIM card tray and turn your smartphone back on.
Tips and Tricks
Here are a few tips and tricks to keep in mind as you replace your smartphone screen:
- Be patient and take your time. Rushing through the process could lead to mistakes and further damage to your smartphone.
- Use a heat gun or hair dryer to warm up the adhesive before you start prying the screen off. This will make the process much easier.
- Use a plastic pry tool instead of a metal one. Metal tools can scratch and damage your smartphone.
- Keep track of the screws and cables as you work. It’s easy to lose track of small parts, so make sure to keep them organized.
- Test your new screen before you reassemble your smartphone. This will ensure that everything is working properly before you put it back together.
Conclusion
Replacing a cracked smartphone screen may seem daunting at first, but with the right tools and a bit of patience, it’s something that you can do yourself. By following the steps outlined in this guide, you’ll be able to replace your cracked screen and get your smartphone back in working order in no time. Remember to take your time, be patient, and double-check your work at every step of the process. Good luck!


