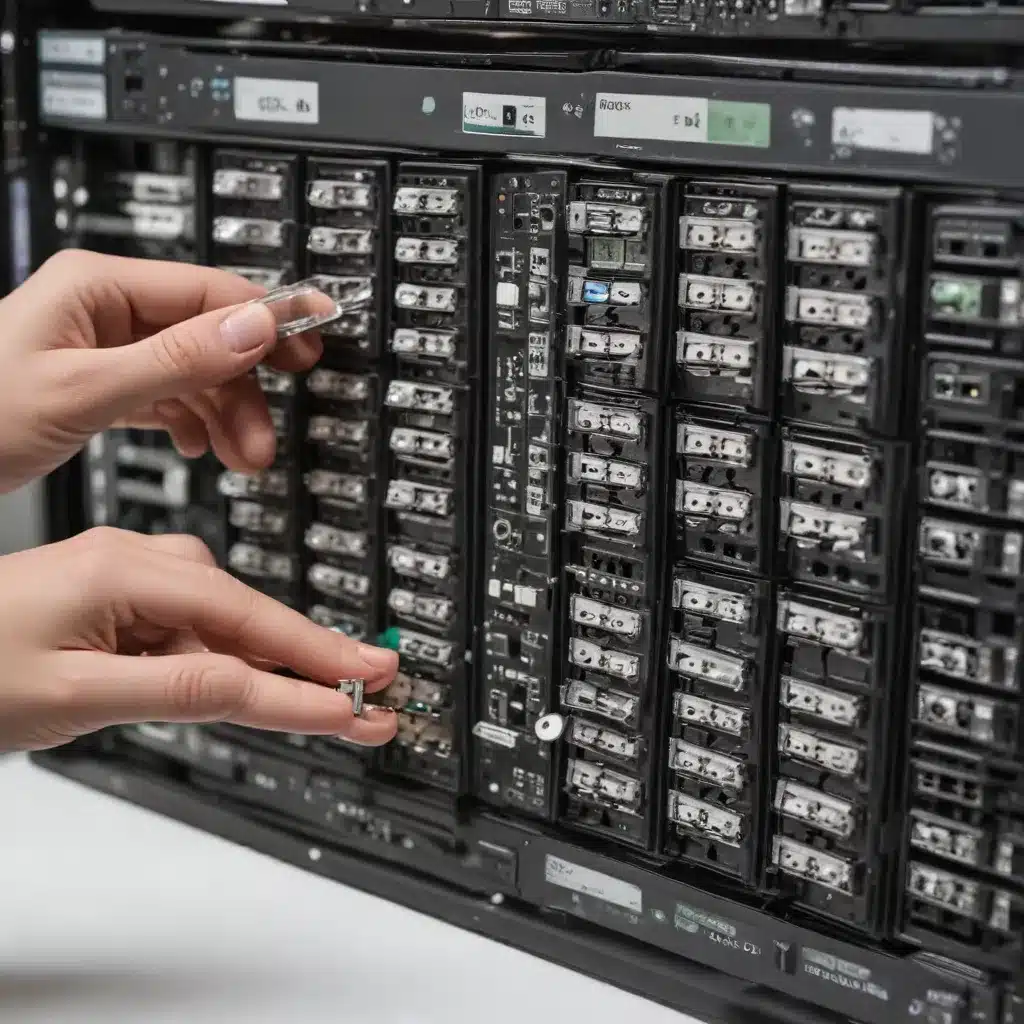
Understanding RAID Arrays and Common Failure Modes
RAID (Redundant Array of Independent Disks) technology has become an essential part of modern IT infrastructure, offering improved data redundancy, increased storage capacity, and enhanced performance. However, RAID arrays are not immune to failures, and when they occur, it’s crucial to have a solid understanding of the diagnosis and repair process.
One of the most common RAID failure modes is the failure of individual drives within the array. This can happen due to a variety of reasons, such as physical damage, firmware issues, or simply the wear and tear of constant use. When a single drive fails in a RAID 1 (mirroring) or RAID 5/6 (striping with parity) configuration, the array can typically continue operating in a degraded state, allowing you to replace the failed drive and rebuild the array.
Another potential issue is the failure of the RAID controller itself. This can manifest in various ways, such as the inability to detect or properly manage the RAID array, or the inability to rebuild the array after a drive replacement. In such cases, diagnosing the root cause and potentially replacing the RAID controller may be necessary.
Diagnosing RAID Array Failures
Identifying the source of a RAID failure is the first step in the repair process. Here are some key steps to diagnose the problem:
Step 1: Check the RAID Controller’s Diagnostic Indicators
The RAID controller, whether it’s a hardware-based or software-based solution, often provides visual cues to indicate the health of the array. Look for any LED lights or error messages that might point to a specific drive or other component failure.
Step 2: Examine the RAID Management Software
Most RAID controllers come with dedicated management software that can provide detailed information about the array’s status, individual drive health, and any errors or warnings. Carefully review the information provided by the software to identify the root cause of the failure.
Step 3: Perform a RAID Array Consistency Check
Depending on the RAID level, you may be able to run a consistency check to identify any data inconsistencies or potential issues with the array. This can be done using the RAID management software or command-line tools.
Step 4: Analyze System Logs
Check the system logs, both on the server and the RAID controller, for any error messages or events that might provide clues about the failure. This information can be invaluable in pinpointing the problem and determining the appropriate course of action.
Step 5: Inspect the Physical Drives
If the diagnostic information points to a drive failure, physically inspect the drives to ensure they are properly seated and connected. Look for any signs of physical damage or unusual behavior, such as unusual noises or excessive heat.
Repairing RAID Array Failures
Once you have identified the root cause of the RAID array failure, you can proceed with the repair process. The specific steps will depend on the nature of the failure and the RAID configuration, but here are some general guidelines:
Replacing a Failed Drive
In a RAID 1, 5, or 6 configuration, if a single drive has failed, you can typically hot-swap the failed drive with a new, compatible drive. The RAID controller will then automatically rebuild the array, restoring data redundancy and full functionality.
Rebuilding the RAID Array
If multiple drives have failed or the RAID controller is not able to automatically rebuild the array, you may need to manually rebuild the RAID. This process can be complex and time-consuming, and may require the use of specialized RAID management tools or even the assistance of a data recovery service.
Recovering Data from a Failed RAID Array
In the worst-case scenario, where the RAID array is completely non-functional, and the data is not recoverable through the standard rebuild process, you may need to resort to data recovery solutions. This can involve using specialized software or enlisting the help of professional data recovery services, which can be a costly but necessary measure to salvage critical data.
Proactive RAID Maintenance and Monitoring
To minimize the risk of RAID failures and ensure the long-term reliability of your storage system, it’s essential to implement proactive maintenance and monitoring practices. This includes:
- Regular RAID Array Checks: Routinely check the health of your RAID array using the management software or command-line tools to identify any potential issues before they escalate.
- Firmware and Driver Updates: Keep your RAID controller’s firmware and drivers up-to-date to address any known issues or vulnerabilities.
- Backup and Data Redundancy: Maintain a robust backup strategy and consider implementing additional data redundancy measures, such as mirroring or replicating your data to another storage system.
- Preventive Drive Replacement: Consider replacing drives proactively, especially if they are nearing the end of their expected lifespan, to avoid unexpected failures.
By following these best practices, you can help ensure the reliability and longevity of your RAID-based storage infrastructure, minimizing the risk of costly and disruptive failures.
Conclusion
Diagnosing and repairing RAID array failures requires a combination of technical knowledge, troubleshooting skills, and a proactive approach to maintenance and monitoring. By understanding the common failure modes, leveraging the diagnostic tools, and implementing effective repair strategies, IT professionals can effectively manage and maintain their RAID-based storage systems, ensuring the integrity and availability of critical data.
For more information on IT solutions and technology tips, be sure to check out the IT Fix blog.


