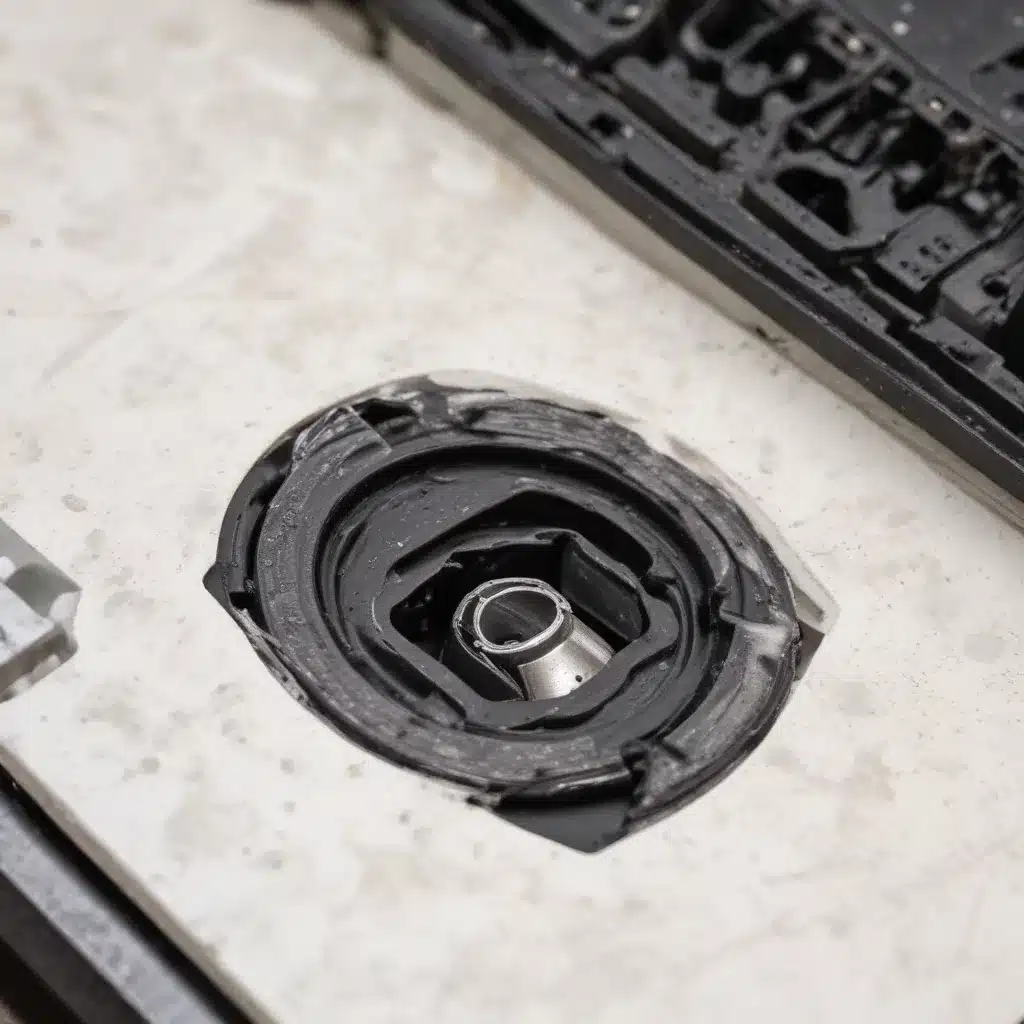
Hardware Damage
When it comes to computer hardware, one of the most common and dreaded problems is liquid spills. Whether it’s a stray cup of coffee, an overturned glass of water, or a sugary soda, any liquid coming into contact with the delicate internal components of a device can spell disaster. In this comprehensive guide, we’ll explore the various ways in which liquid spills can damage computer hardware and provide you with the knowledge and steps needed to diagnose and fix these issues.
Computer Hardware Components
To understand the impact of liquid spills, it’s important to have a basic understanding of the key components that make up a computer or other electronic device. The motherboard is the central hub that connects all the critical components, such as the processor, memory, and storage devices. The power supply provides the necessary electrical current, while the cooling systems (e.g., fans, heatsinks) ensure the hardware operates within safe temperature ranges.
Liquid Spills and Hardware Damage
The type of liquid involved in a spill can have a significant impact on the extent of the damage. Water, while potentially less harmful than other liquids, can still cause electrical shorts and corrosion over time. Coffee, tea, and soda, on the other hand, are more problematic due to their acidic and sugary nature, which can accelerate corrosion and leave behind sticky residues that interfere with electrical connections.
When liquid comes into contact with hardware, it can seep into crevices and reach sensitive components, leading to short circuits and mechanical damage. Over time, the liquid can also cause corrosion, which can gradually degrade the performance and reliability of the affected hardware.
Diagnosing Hardware Damage
Visual Inspection
The first step in diagnosing hardware damage caused by a liquid spill is to conduct a thorough visual inspection. Look for any visible signs of liquid, such as puddles, damp areas, or discoloration on the device’s surface. Pay close attention to the keyboard, ports, and vents, as these are common entry points for liquids.
Assess the extent of the damage by carefully examining the affected components. Look for any signs of discoloration, corrosion, or physical distortion, which may indicate more severe issues.
Electrical Testing
Once you’ve completed the visual inspection, it’s time to perform some electrical testing. Begin by attempting to power on the device. If it fails to boot or exhibits unusual behavior, such as random shutdowns or error messages, it may be a sign of more extensive damage.
You can also use diagnostic tools to check the individual components, such as the processor, memory, and storage devices. These tools can help you identify any faulty or malfunctioning components that need to be repaired or replaced.
Data Recovery
If the device is still functional, but you suspect that the liquid spill may have compromised the integrity of your data, it’s crucial to prioritize data recovery. Disconnect the device from power, remove any storage devices (e.g., hard drives, SSDs), and seek the assistance of a professional data recovery service to safely extract your important files.
Fixing Hardware Damage
Disassembly and Cleaning
If the device is still salvageable, the next step is to disassemble it and clean the affected components. This process requires patience and attention to detail, as you’ll need to carefully remove each component and clean them thoroughly using isopropyl alcohol or a specialized electronics cleaning solution.
Be sure to follow the manufacturer’s instructions for disassembly and reassembly, as improper handling can lead to further damage.
Replacement of Damaged Components
After the cleaning process, inspect the individual components for any signs of permanent damage. If you find faulty or irreparable components, you’ll need to replace them with compatible parts. Consult the manufacturer or a reputable repair service to ensure you obtain the correct replacement parts.
Reassembly and Testing
Once you’ve replaced any damaged components, it’s time to reassemble the device. Take your time and double-check your work to ensure that all connections are secure and that no foreign objects or debris remain inside the device.
After reassembly, power on the device and test each component to ensure it’s functioning correctly. Run any necessary diagnostics or stress tests to verify the overall system’s stability and performance.
Prevention and Maintenance
Hardware Protection Strategies
To prevent future liquid spills from causing damage, consider implementing protective measures, such as using spill-resistant keyboards, placing your devices on waterproof surfaces, and keeping liquids away from your work area.
Regular Maintenance
Regularly cleaning and inspecting your hardware can also help identify and address potential issues before they become more serious. Keep your devices free from dust and debris, and ensure that the cooling systems are functioning correctly.
Additionally, updating your device’s firmware and drivers can help mitigate vulnerabilities and ensure optimal performance.
Remember, dealing with hardware damage caused by liquid spills can be a complex and delicate process. If you’re unsure of your abilities or the extent of the damage, it’s best to seek the assistance of a professional IT technician or repair service. They have the expertise and specialized tools necessary to diagnose and fix these issues effectively.
And remember, lads, if you ever find yourself in a spot of bother with a wet ‘un, just give us a ring at IT Fix – we’re always happy to lend a hand and get your tech back up and running, no matter how much you’ve spilled on it. Cheers!


