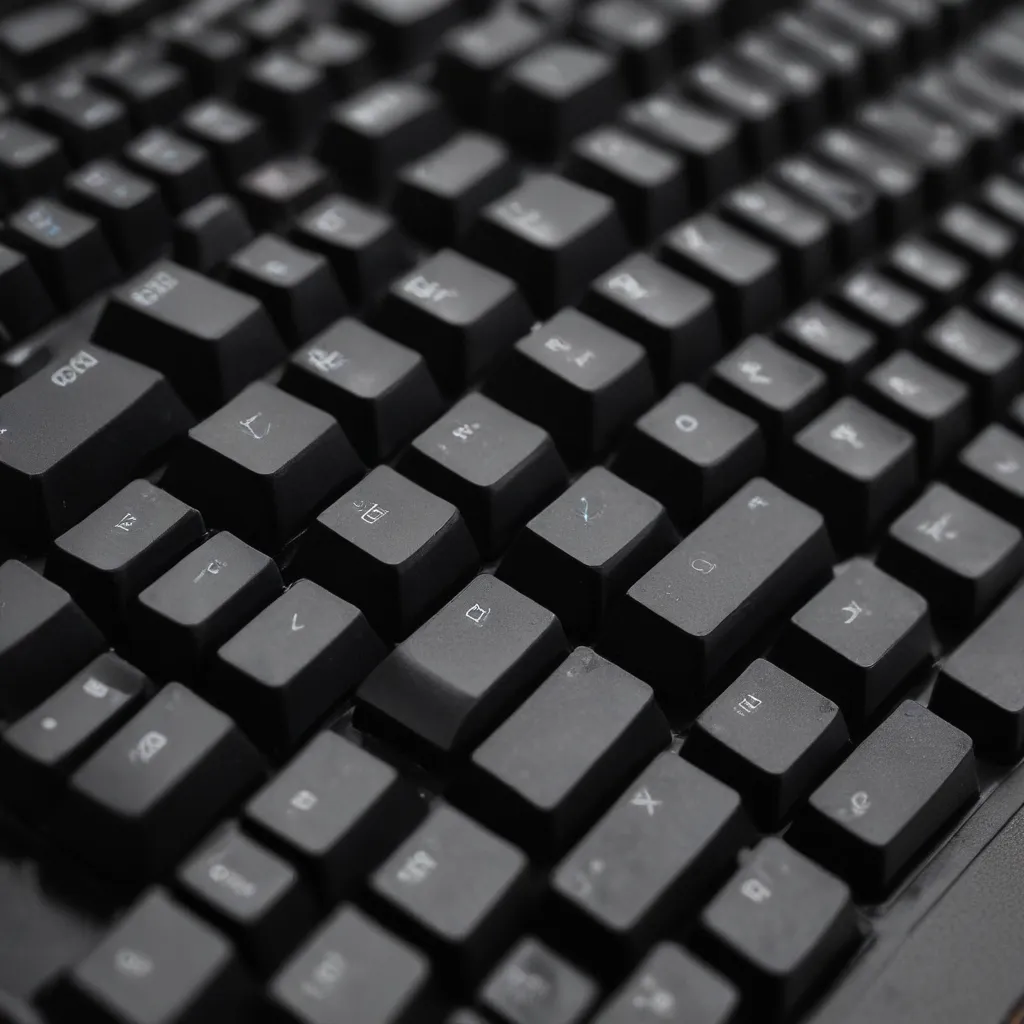
Ah, the mechanical keyboard – the holy grail of typing peripherals. These clicky, tactile marvels have become the must-have accessory for anyone serious about their craft, whether that’s gaming, coding, or just good old-fashioned document typing. But there’s a dark side to these beloved keyboards: the grime, dust, and debris that can accumulate over time, turning your once pristine input device into a grimy mess.
The Horror Beneath the Keys
As a self-proclaimed keyboard goblin, I’ll admit that I’m guilty of sometimes neglecting the deep cleaning of my mechanical keyboard. It’s easy to turn a blind eye to the horrors that fester beneath the surface, especially when you’re in the throes of an intense gaming session or rushing to meet a tight deadline. Even if you make the effort to give your keyboard the occasional surface wipe-down, a surprising amount of gunk and grime can still slip through the cracks and build up over the months and years.
Facing the Filth
But the time has come, my friends, to face the music and address the filth head-on. Once in a while, you need to brave the depths and give your mechanical keyboard a truly thorough, deep clean – pulling off the keycaps, washing them, scrubbing down the entire assembly, and restoring it to its former glory. It’s a task that fills many with dread, but I’m here to guide you through the process, step-by-step.
The Tools of the Trade
To embark on this journey of keyboard cleanliness, you’ll need a few key items in your arsenal:
- A keycap puller – This nifty tool makes the process of removing those pesky keycaps a breeze, rather than relying on the brute force of your fingers [1].
- Compressed air – For blasting away loose debris and dust that’s accumulated in the nooks and crannies [2].
- A soft-bristled toothbrush – Perfect for scrubbing around the delicate key switches without causing any damage [3].
- Isopropyl alcohol – This magical liquid will cut through stubborn grime and gunk, leaving your keyboard sparkling clean [4].
- A microfiber cloth – For gently wiping down the surfaces and drying those freshly-washed keycaps [5].
With this trusty toolkit in hand, let’s dive into the nitty-gritty of deep cleaning your mechanical keyboard.
The Slow Reveal
The first step is to remove the keycaps, one by one, revealing the dark secrets that lie beneath. Start with the spacebar, as this larger key is often secured with stabilizers that can make it trickier to pull off [6]. Gently pry it up, feeling for that satisfying ‘pop’ as it comes free.
Next, tackle the other large keys – the Enter, Shift, and Backspace buttons – using the same careful technique. As you remove each keycap, place it in a bowl or container, ready for their upcoming spa treatment.
Vacuuming the Void
With the keycaps out of the way, it’s time to tackle the keyboard itself. Use a pair of tweezers to gently dislodge any large chunks of debris or hair that have found their way into the crevices [7]. Then, carefully run your vacuum cleaner’s nozzle along the surface, being mindful not to make direct contact with the delicate key switches.
This initial pass will help to remove the bulk of the visible grime, but don’t expect miracles just yet. There’s still deep-seated filth lurking in the shadows, waiting to be vanquished.
The Keycap Cleanse
While the keyboard is in its partially disassembled state, it’s the perfect time to give those keycaps a thorough cleaning. Fill a bowl with hot water and add a drop of dish soap, then submerge the keycaps and let them soak for a few hours [7]. This will help to dissolve any stubborn oils or grime that have built up on the surfaces.
Once the soak is complete, rinse the keycaps in clean water and gently scrub them with a microfiber cloth to remove any remaining residue. Lay them out on a towel to dry, making sure to flip them over so the undersides can air out completely. Trust me, you don’t want any moisture lingering in those crevices.
Attacking the Grime
With the keycaps soaking and the keyboard’s surface cleared of the obvious debris, it’s time to tackle the real enemy: the deep-seated grime that’s nestled between the keys. For this, we’re going to enlist the help of our trusty friend, isopropyl alcohol.
Dip a cotton swab into the alcohol and gently but firmly rub it between the keys, taking care not to snag the delicate switch mechanisms [7]. Keep swapping out the cotton swabs as they start to fray, to avoid leaving any stray fibers behind. Focus on the dirtiest areas, but try to minimize direct contact with the switches themselves.
Once you’ve cleaned every nook and cranny, use a dry, soft-bristled toothbrush to give the entire keyboard a thorough scrubbing [3]. This will help to dislodge any remaining grime and ensure a sparkling clean surface.
Reassembly and Restoration
With the deep cleaning complete, it’s time to put your mechanical keyboard back together and admire your handiwork. Start by reattaching the keycaps that require stabilizers, like the spacebar and larger modifier keys [6]. Then, methodically work your way through the rest of the keys, making sure each one clicks satisfyingly into place.
Take a moment to bask in the glory of your freshly cleaned keyboard. Those tactile, clicky switches should now be free of any cushioning grime, and your fingers will glide across the keys with a renewed sense of precision and responsiveness. It’s like typing on a brand new board, just the way the mechanical keyboard gods intended.
So there you have it, the step-by-step process for deep cleaning your beloved mechanical keyboard. It’s a labor of love, to be sure, but the end result is worth it – a pristine, grime-free typing experience that will have you feeling like a keyboard king (or queen) once more.
Now, if you’ll excuse me, I’ve got some lunch to eat at my desk. Just kidding – I learned my lesson about that a long time ago.
References:
[1] Lifewire. (n.d.). How to Clean a Mechanical Keyboard. https://www.lifewire.com/clean-a-mechanical-keyboard-5184956
[2] PCWorld. (2023, March 16). How to Clean a Mechanical Keyboard. https://www.pcworld.com/article/1477137/how-to-clean-a-mechanical-keyboard.html
[3] TechRadar. (2020, September 21). How to Deep Clean Your Mechanical Keyboard. https://www.techradar.com/how-to/how-to-deep-clean-your-mechanical-keyboard
[4] Hardwarecanucks. (n.d.). How to Deep Clean a Mechanical Keyboard. https://hardwarecanucks.com/forum/threads/how-to-deep-clean-a-mechanical-keyboard.83422/
[5] Lifewire. (n.d.). Clean a Mechanical Keyboard. https://www.lifewire.com/clean-a-mechanical-keyboard-5184956
[6] Reddit. (2023, January 31). I’ve written a quick guide on how to clean a mechanical keyboard. https://www.reddit.com/r/MechanicalKeyboards/comments/sngjm8/ive_written_a_quick_guide_on_how_to_clean_a/
[7] YouTube. (2021, December 23). How to Clean a Mechanical Keyboard – STEP BY STEP. https://www.youtube.com/watch?v=7-52JsgdvsA

