Introduction
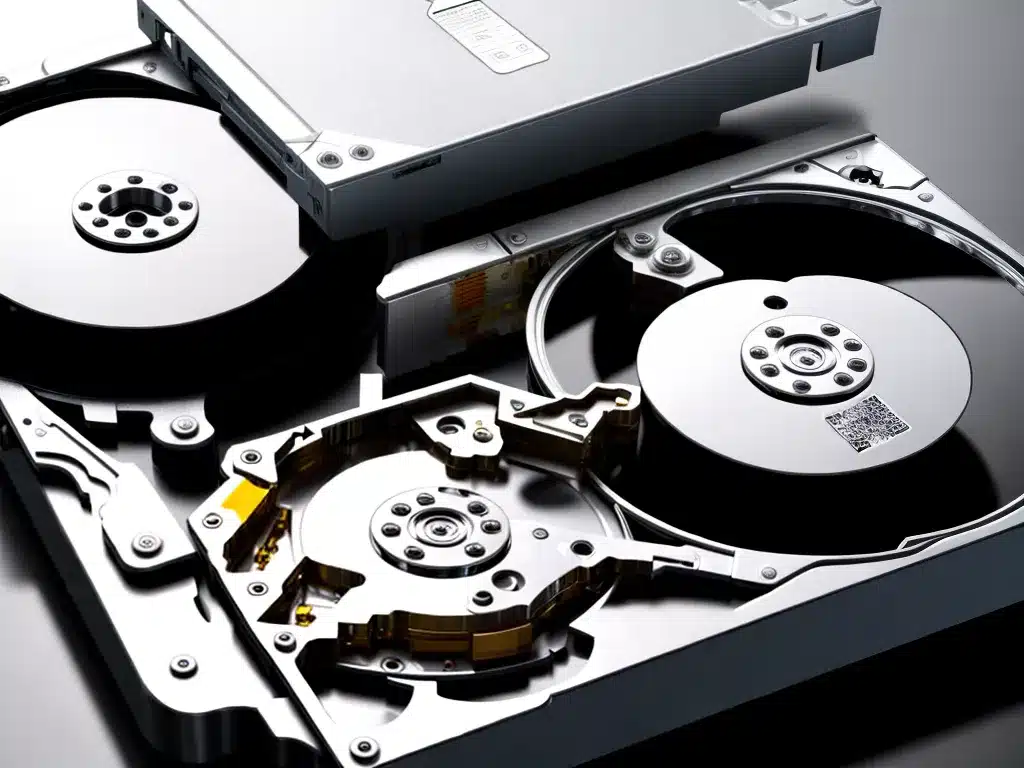
Losing data from external disks like USB drives, SD cards, or external hard drives can be frustrating. As someone who relies heavily on external disks for storage and transfer of important files, I know the sinking feeling when a disk fails or data disappears without warning.
The good news is that with the right tools and techniques, data recovery from external disks is often possible. In this guide, I’ll share the step-by-step process I’ve used successfully to recover files from unresponsive, damaged, or corrupted external disks.
By following these data recovery steps carefully, you can rescue your precious photos, documents, music, and other data from external media. Let’s begin!
Preparation
Before attempting data recovery, it’s essential to prep your computer and external disk properly:
-
Disconnect the external disk – Remove the disk from your computer. Don’t attempt recovery with the disk still connected.
-
Download data recovery software – I recommend Stellar Data Recovery. The free trial allows 1GB of recovered data.
-
Get an external disk enclosure – Use a SATA-to-USB enclosure to connect the external disk to your computer for recovery.
-
Prepare another disk – Have another external disk ready to save the recovered data. This disk should have ample free space.
Connect the External Disk
Once you’ve prepped your computer and downloaded the software, connect the problematic external disk:
-
Attach the USB enclosure and insert the disk into it.
-
Connect the disk enclosure to your computer via USB cable.
-
Power on the enclosure if it has a separate power source.
The computer should detect the attached disk enclosure and install any necessary drivers.
Scan the External Disk
Now it’s time to have the recovery software scan the connected disk for recoverable data:
-
Open the recovery software and click the option to
Recover Data -
Select the external disk you connected from the list of available drives.
-
Click
Scanto begin the process. Scanning can take several minutes to over an hour depending on the disk capacity. -
When the scan completes, you’ll see a list of recoverable files. Select the ones you want to recover.
Save the Recovered Data
With your files scanned and selected, it’s time to save the recovered data to another external disk:
-
Click the
Recoverbutton in the software to begin the data recovery process. -
Select the healthy external disk as the location to save the recovered files.
-
Wait for the recovery operation to finish. This can take a while depending on how much data you are recovering.
-
Eject and disconnect both external disks once recovery completes.
-
You can now access your recovered files from the healthy external disk.
Tips to Avoid Data Loss
Follow these tips to avoid needing data recovery in the future:
-
Keep backups – Regularly back up important data from external disks to another location.
-
Eject disks properly – Use the “Eject” option instead of pulling out disks without warning.
-
Handle disks carefully – Don’t expose disks to moisture, magnets, direct sunlight, etc.
-
Check disk health – Watch for signs of failure like slow performance or file corruption.
-
Encrypt sensitive data – Enable encryption technologies like BitLocker to secure external disks.
Conclusion
I hope this step-by-step external disk data recovery guide has prepared you to rescue lost files from failed, damaged, or unresponsive drives. Just remember – preparation, software scanning, careful recovery, and preventative measures are key. Follow these steps and you can minimize disruptive data loss events. Let me know if you have any other data recovery challenges I can help advise on!

