Confessions of a Serial Screen Breaker
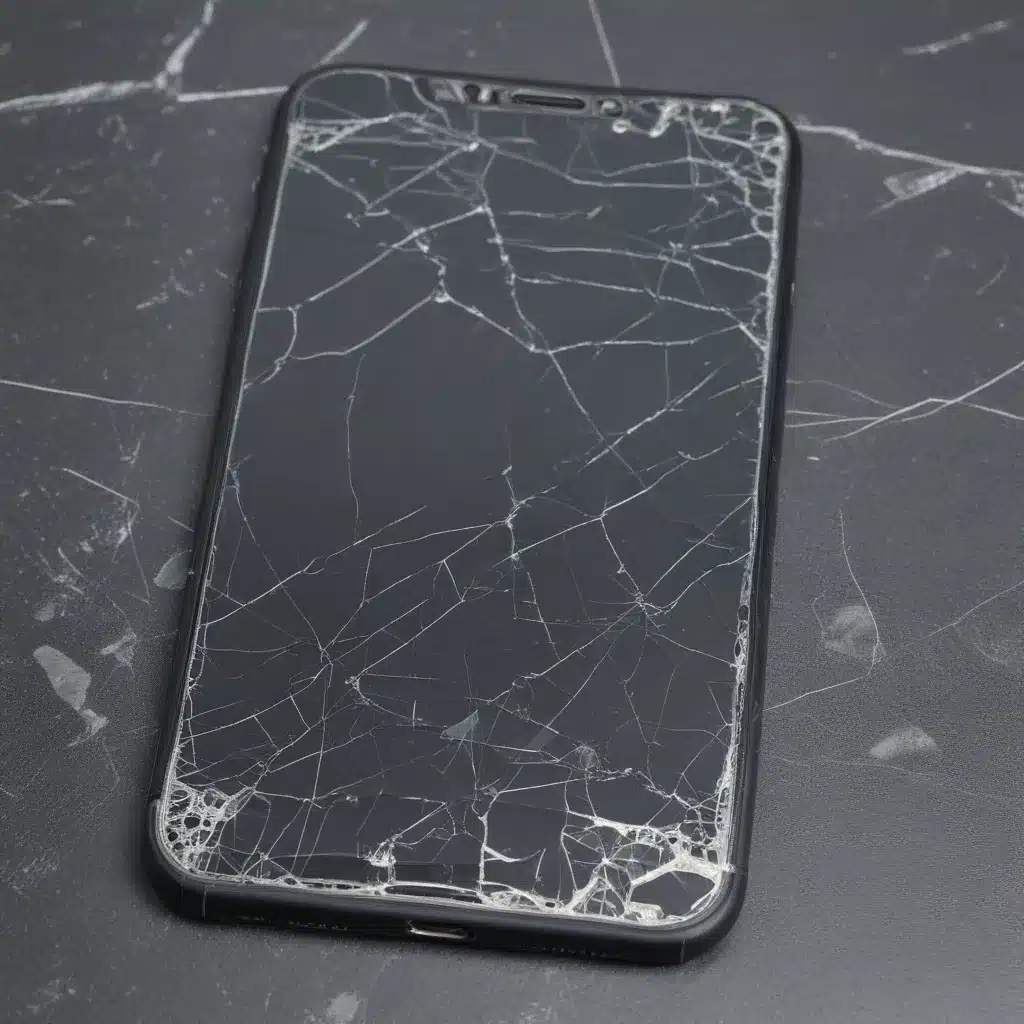
I have a confession to make – I’m a serial screen breaker. It’s not something I’m proud of, but it’s a fact. As part of my job, I’m constantly testing and reviewing the latest mobile devices, and that means I end up dropping, knocking, and generally abusing them on a regular basis. My most recent victim was my trusty iPhone SE, which I uncermoniously dropped onto the concrete during a recent photo shoot. The screen shattered into a spiderweb of cracks, rendering the device unusable.
Now, I could’ve simply taken it to the nearest repair shop and had them fix it for me, but where’s the fun in that? As someone who fancies themselves a bit of a DIY enthusiast, I decided to take matters into my own hands and try to fix the screen myself using Apple’s new Self Service Repair program. It was an adventure, to say the least, but I learned a lot along the way.
Navigating the Self Service Repair Process
The first step in my screen-fixing journey was to head over to Apple’s Self Service Repair website. There, I was able to order the necessary parts and tools to complete the repair on my iPhone SE. The display bundle, which included the replacement screen and all the adhesives and screws I’d need, cost me $129.56 plus tax.
But that wasn’t all – I also needed to rent the specialized toolkit, which set me back another $49. This toolkit contained all the specialized tools required for the repair, including a fancy “display press” that I was excited to try out. Of course, there was a catch – if I managed to lose or damage the toolkit, Apple would slap me with a hefty $1,200 charge on my credit card. No pressure, right?
The Repair Begins
With my parts and tools in hand, I set up a well-lit and static-free work area, just as the repair manual instructed. I carefully reviewed the 79-page guide, making sure I understood every step before diving in. The first obstacle I encountered was removing the old, shattered screen. The “Universal Display Removal Tool” that came with the kit just didn’t seem to want to budge the screen, even with the protective cover installed.
After a few minutes of frustration, I ended up resorting to good old-fashioned brute force, prying the screen off until the adhesive gave way. Not the most delicate approach, but it got the job done. Disconnecting the display cables was a breeze, but keeping track of all those tiny screws was a real challenge. Thank goodness I had the foresight to buy some extra ones!
The Display Press in Action
With the old screen out of the way, it was time to install the new one. Applying the thin strip of adhesive around the frame of the iPhone SE was a nerve-wracking experience, but I managed to get it right on the second try. Then came the moment I’d been waiting for – using the display press.
This tool is essentially a big, heavy-duty clamp that you use to firmly press the new display into place. It has a built-in timer, so you know exactly when to release the pressure. I have to say, it was pretty satisfying to hear that satisfying “click” as the display locked into place.
The Final Hurdle
But my work wasn’t done yet. As the repair manual warned, I still needed to contact Apple’s Self Service Repair support team to initiate the “System Configuration” process. This step ensures that the new parts are properly calibrated and that the phone’s biometric sensors, like Touch ID, are configured correctly.
I reached out to the support team via chat, and they walked me through the process. It took about 20 minutes, but it was well worth it to ensure my freshly repaired iPhone SE was good as new. And when I finally powered it on, I breathed a sigh of relief – no smoke, no fire, just a perfectly functioning screen.
The Verdict: DIY or Pro?
So, was the DIY route worth it? In my opinion, it’s a bit of a mixed bag. On the one hand, I got to exercise my right to repair, and I learned a ton about the inner workings of my iPhone in the process. The sense of accomplishment I felt when I powered on that screen for the first time was unreal.
On the other hand, the process was a bit more of a hassle than I was expecting. That display removal tool was a real dud, and I’m not sure the large toolkit was entirely necessary for my needs. If I were to do it again, I might just opt to purchase the specific tools I need rather than renting the whole kit.
Ultimately, I think whether the DIY route is worth it comes down to your level of experience and comfort with this kind of repair work. If you’re a seasoned tinkerer, then absolutely – give it a go! But if you’re not exactly the handiest person, you might be better off taking your device to a professional repair shop like IT Fix. They’ll be able to get the job done quickly and efficiently, and you can rest easy knowing your device is in good hands.


