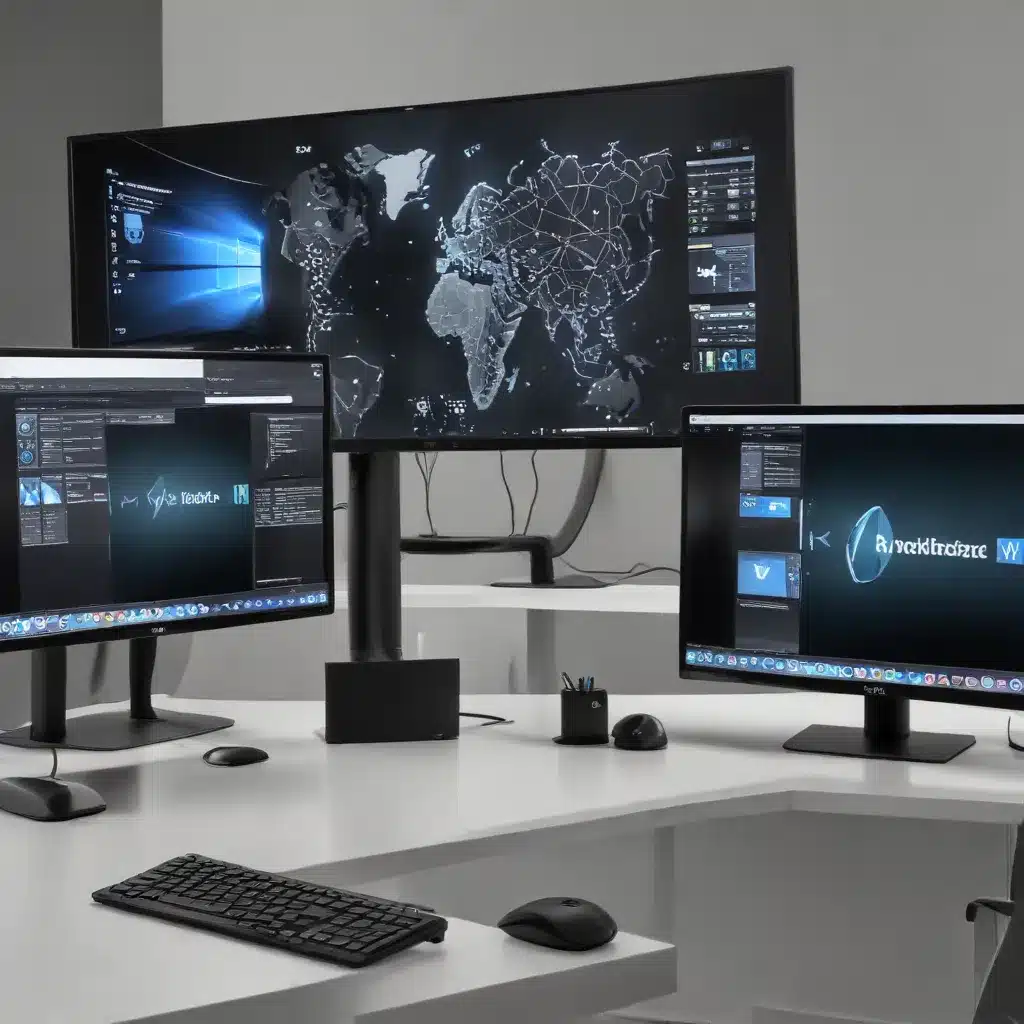
As an experienced IT professional, I’ve had the opportunity to help countless individuals optimize their multi-monitor setups for maximum productivity and convenience. In this comprehensive guide, I’ll walk you through the essential steps to configure displays for multiple monitors, ensuring you can seamlessly manage your digital workspace and unlock the full potential of your hardware.
Understanding Monitor Configurations
When it comes to setting up multiple monitors, Windows 11 and Windows 10 offer a range of configuration options to suit your specific needs. Before we dive into the step-by-step process, let’s explore the different display modes available:
Extend: This mode extends your desktop across multiple displays, allowing you to move windows and applications between them. This is a popular choice for users who want to increase their available workspace.
Duplicate: In this mode, all connected displays will show the same content, mirroring your primary screen. This can be useful for presentations or when you need to share the same information on multiple displays.
Second Screen Only: This mode turns off your primary display and shows the content solely on the secondary monitor. This can be beneficial if you want to use a larger or higher-resolution display as your main workspace.
PC Screen Only: This mode disables all external displays, reverting to using only your primary, built-in screen.
Understanding these display modes will be crucial as we configure your multi-monitor setup.
Connecting and Identifying Displays
The first step in setting up your multi-monitor configuration is to ensure that all displays are properly connected to your computer. This includes verifying that the cables (HDMI, DisplayPort, DVI, etc.) are securely plugged into the appropriate ports on both your PC and the monitors.
Once the physical connections are established, you can identify the displays in your Windows settings. In Windows 11, navigate to Start > Settings > System > Display, and you’ll see your connected displays numbered. In Windows 10, the process is similar: Start > Settings > System > Display > Rearrange your displays.
Use the “Identify” option to display a number on each screen, helping you match the display numbers to their physical locations. This information will be crucial as you arrange your displays in the next step.
Arranging and Customizing Displays
With your displays identified, you can now arrange them to match the physical layout in your workspace. In the Display settings, you can simply click and drag the display icons to position them as needed. This allows you to ensure that the on-screen arrangement accurately reflects the real-world positioning of your monitors.
Tip: Use the “Identify” feature again to confirm that the display numbers match your physical setup.
Once the arrangement is set, you can further customize your display settings. This includes adjusting the resolution, scale, and orientation (landscape or portrait) of each monitor. Windows will often provide recommended settings, but you can experiment to find the configuration that works best for your needs.
Switching Between Display Modes
One of the most powerful features of a multi-monitor setup is the ability to quickly switch between different display modes. Windows 11 and Windows 10 provide a convenient keyboard shortcut to access these options: Windows key + P.
This will open the Project menu, allowing you to choose between the following display modes:
- PC Screen Only: Disables all external displays, using only your primary, built-in screen.
- Duplicate: Mirrors the content across all connected displays.
- Extend: Extends your desktop across multiple screens.
- Second Screen Only: Turns off the primary display, showing the content solely on the secondary monitor.
Familiarize yourself with this shortcut, as it can be a game-changer when you need to quickly adapt your display configuration for different tasks or presentations.
Managing Display Connections and Docking Scenarios
One common challenge with multi-monitor setups is managing the behavior when you undock or disconnect a display. Windows 11 and Windows 10 offer options to help you maintain your preferred configuration in these scenarios.
In the Display settings, under the “Multiple displays” section, you’ll find two helpful toggles:
- Remember window locations based on monitor connection: This setting ensures that your open windows and applications are restored to their respective displays when you reconnect a monitor.
- Minimize windows when a monitor is disconnected: When you undock or disconnect a monitor, this option will minimize the windows on that display, preventing them from getting lost.
Enabling these options can help you maintain your productivity and avoid disruptions when transitioning between different display setups.
Advanced Display Configuration and Troubleshooting
While the built-in Windows display management tools are powerful, there may be instances where you require more advanced configurations or need to troubleshoot specific issues. In such cases, consider exploring third-party utilities like DisplayFusion or MultiMonitor Tool. These applications offer additional customization options, hotkey configurations, and advanced multi-monitor management features.
Additionally, if you encounter any display-related problems, such as screens not being detected or incorrect resolutions, be sure to check for any available Windows updates. Microsoft regularly releases updates that address display-specific issues, so keeping your system up-to-date can help resolve many common problems.
Conclusion
Configuring displays for multiple monitors can be a game-changer for your productivity and workflow. By understanding the various display modes, arranging your screens, and leveraging the built-in Windows tools, you can unlock the full potential of your multi-monitor setup.
Remember, the IT Fix blog is always here to provide practical tips and in-depth insights on technology, computer repair, and IT solutions. If you have any further questions or need additional assistance, feel free to reach out to our team of experienced IT professionals.
Happy multi-tasking with your enhanced display setup!


