Introduction
As someone who uses a mechanical keyboard daily, keeping it clean and well-maintained is essential for performance and longevity. A dirty keyboard can develop stuck or repeating keys, which affects typing accuracy. With proper care, a high-quality mechanical keyboard can last for years or even decades. In this article, I’ll share my tips for effectively cleaning and maintaining a mechanical keyboard.
Regular Maintenance
-
Daily maintenance – I make it a habit to clear my keyboard of debris at the end of each day. Things like crumbs, hair, and dust can accumulate surprisingly quickly. I turn my keyboard upside down and gently shake it to dislodge anything stuck in the keycaps or case. For stubborn debris stuck between the keys, I use a can of compressed air.
-
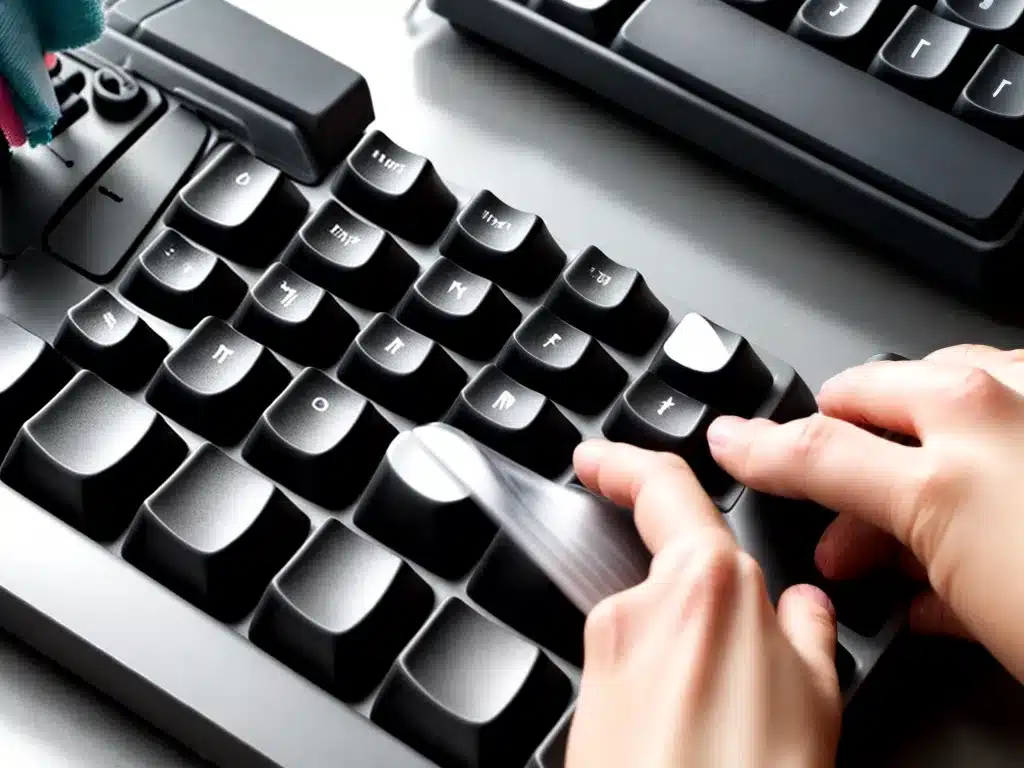
Weekly wipe down – About once a week, I take some isopropyl alcohol on a cotton swab or microfiber cloth and wipe down the keycaps. This keeps them looking shiny and removes any grime buildup. I’m careful not to let any moisture drip down into the switches or internals.
-
Monthly deep clean – More thorough cleaning where I pop off all the keycaps and clean the keyboard internals. This involves using tweezers to remove any hairs or debris from the switch housings, then wiping down the exposed plate and switches with a microfiber cloth and isopropyl alcohol. I clean the underside of each keycap individually.
Deep Cleaning
Every 3-6 months, I do an intensive deep clean on my keyboard which involves completely disassembling it. This allows me to clean every component and internal crevice thoroughly.
-
Remove all keycaps using a mechanical keycap puller tool. Be gentle to avoid cracking stems.
-
With the keycaps removed, use compressed air to blow out any debris from the switch housings and hollow areas under the plate.
-
If there are any stubborn debris or grime, use a small brush dipped in isopropyl alcohol to gently scrub.
-
Once the top plate area is clean, flip over the keyboard and detach the bottom case. This exposes the PCB and allows access to clean around the solder points and controller chip.
-
Reassemble the keyboard, adding a thin layer of dielectric grease on the plastic switch stems before replacing each keycap. This helps prevent stickiness.
-
Finish by wiping down the fully reassembled keyboard with a microfiber cloth. It should look freshly new!
Best Practices
Here are some of my top tips for keeping a mechanical keyboard in great shape:
-
Avoid eating or drinking over your keyboard – This prevents buildup of sticky residues that can be difficult to remove from between switches.
-
Use a keyboard cover – A simple plastic cover prevents dust accumulation in between full cleanings. Just dont keep it on while actively typing.
-
Store properly when not in use – Keep your keyboard inside a protective case or drawer when not typing. This reduces exposure to spills, dust, and damage.
-
Replace keycaps periodically – Keycaps show wear over time. Replacing them restores the keyboard to a like-new appearance.
-
Lubricate stabilizer bars – Lubricating the stabilizer bars with silicone grease improves feel and prevents sticking and squeaking.
Conclusion
Like any precision equipment, mechanical keyboards require proper maintenance for optimal performance and longevity. By cleaning my keyboard regularly and thoroughly, even getting into the internals, I’m able to keep it looking and functioning like new. A immaculate, well-cared for keyboard is a joy to type on. The effort is worth it!


