Introduction: Unlocking the Power of AMD for Your Creative Workflow
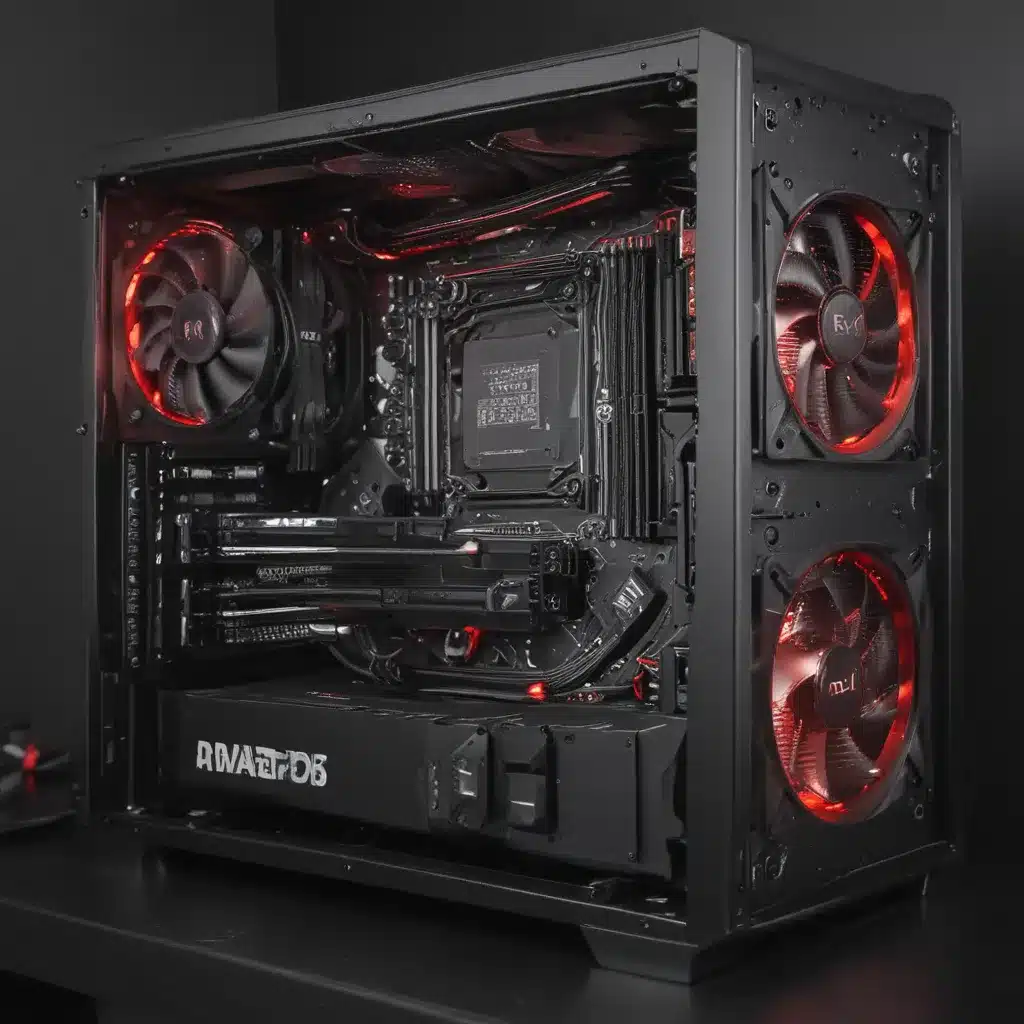
As a passionate content creator, I’ve always been intrigued by the idea of building my own high-performance editing workstation. After spending countless hours researching the best components and configurations, I’m excited to share my findings with you. In this comprehensive guide, I’ll walk you through the process of crafting the ultimate AMD-powered editing rig that won’t break the bank.
The decision to go with an AMD-based system was not a difficult one for me. The AMD Ryzen processors have consistently proven their mettle in the realm of content creation, offering an unbeatable combination of core count, performance, and value. With the latest Ryzen 5000 series, AMD has further solidified its position as a formidable force in the desktop CPU market, making it an incredibly tempting choice for my editing needs.
In this article, I’ll delve into the key considerations when selecting the right components to build an AMD-powered editing powerhouse for under £1500. I’ll cover everything from the CPU and motherboard to the graphics card, storage solutions, and memory, ensuring that you have a well-rounded understanding of the building blocks that will shape your ultimate AMD editing rig.
Choosing the Ideal AMD Processor: Balancing Performance and Budget
At the heart of any high-performance editing system lies the CPU, and for this build, I’ve set my sights on the AMD Ryzen 5 5600X. This 6-core, 12-thread processor strikes an impressive balance between raw power and affordability, making it an excellent choice for my editing workload.
The Ryzen 5 5600X boasts a base clock speed of 3.7 GHz, with a maximum boost clock of 4.6 GHz, ensuring smooth and responsive performance across a wide range of tasks. Coupled with the impressive advancements in the Zen 3 architecture, this processor delivers a significant uplift in single-threaded performance compared to previous Ryzen generations, which is crucial for many editing applications.
One of the key factors that makes the Ryzen 5 5600X such an appealing choice is its impressive multi-threading capabilities. With 12 threads, this CPU can effortlessly handle the demands of video editing, 3D rendering, and other CPU-intensive creative workloads. The inclusion of 32MB of L3 cache also contributes to its overall performance, providing a substantial boost in responsiveness and reduced latency.
Additionally, the Ryzen 5 5600X’s TDP (Thermal Design Power) of 65W makes it a power-efficient option, which is particularly important for managing heat and keeping energy costs in check, especially in the context of a tightly budgeted build.
Motherboard Selection: Unlocking the Full Potential of AMD Ryzen
With the CPU choice firmly in place, the next step is to select the right motherboard to complement the Ryzen 5 5600X. For this build, I’ve opted for the ASUS ROG Strix B550-F Gaming (WiFi) motherboard, a feature-rich and well-rounded option that provides excellent value for money.
The B550 chipset from ASUS offers a compelling balance of performance, connectivity, and overclocking capabilities, making it an ideal match for the Ryzen 5 5600X. The ROG Strix B550-F Gaming (WiFi) boasts a robust 12+2 power stage design, ensuring stable and efficient power delivery to the CPU, which is crucial for unlocking the full potential of the Ryzen processor.
One of the standout features of this motherboard is its comprehensive connectivity options. It offers ample PCIe 4.0 lanes, which are essential for high-bandwidth storage solutions and the latest generation of graphics cards. The inclusion of dual M.2 slots, along with support for RAID configurations, allows for the creation of a lightning-fast storage array, further enhancing the overall system performance.
Additionally, the ROG Strix B550-F Gaming (WiFi) comes equipped with Wi-Fi 6 and Bluetooth 5.1 connectivity, providing seamless wireless capabilities for effortless file transfers, remote collaboration, and more. The integrated Ethernet controller, with support for 2.5Gb networking, ensures reliable and high-speed wired connectivity, which is crucial for tasks like video uploads and cloud-based backups.
Graphics Card Selection: Balancing Power and Budget
While the CPU and motherboard form the foundation of the editing rig, the graphics card plays a pivotal role in accelerating various creative workloads. For this build, I’ve selected the NVIDIA GeForce RTX 3060 Ti, a powerful mid-range GPU that offers exceptional value.
The RTX 3060 Ti, part of NVIDIA’s latest Ampere architecture, delivers remarkable performance for its price point. With 8GB of high-speed GDDR6 video memory and 4,864 CUDA cores, this GPU can handle a wide range of editing tasks with ease, from real-time 4K video playback to GPU-accelerated effects and rendering.
One of the key advantages of the RTX 3060 Ti is its support for hardware-accelerated video encoding and decoding, which can significantly improve the efficiency of your video editing workflow. The inclusion of NVIDIA’s NVENC and NVDEC engines allows the graphics card to offload these tasks from the CPU, freeing up valuable processing power for other demanding operations.
Moreover, the RTX 3060 Ti’s support for ray tracing and DLSS (Deep Learning Super Sampling) technology makes it a versatile choice for tasks that involve 3D rendering, motion graphics, and visual effects. The ray tracing capabilities can enhance the realism of your projects, while DLSS can provide a substantial boost in performance without sacrificing image quality.
Storage Solutions: Optimizing Speed and Capacity
The storage configuration plays a crucial role in the overall performance and responsiveness of an editing system. For this build, I’ve opted for a hybrid approach, combining the speed of solid-state drives (SSDs) with the expansive capacity of a traditional hard disk drive (HDD).
Primary Storage: SSD for System and Applications
At the heart of the storage setup, I’ve selected the Samsung 980 Pro 1TB PCIe 4.0 NVMe SSD. This high-performance drive takes full advantage of the PCIe 4.0 interface provided by the B550 motherboard, delivering blistering read and write speeds of up to 7,000 MB/s and 5,000 MB/s, respectively.
The Samsung 980 Pro’s blazing-fast performance makes it an excellent choice for the operating system, primary applications, and frequently accessed project files. The rapid access times and low latency of this SSD will ensure a snappy and responsive user experience, significantly reducing waiting times during tasks like project loading, file exports, and software launches.
Secondary Storage: HDD for Media and Archival
To complement the primary SSD, I’ve opted for a Western Digital Blue 4TB HDD as the secondary storage solution. This high-capacity hard drive provides ample space for storing large media files, project archives, and other non-critical data that doesn’t require the extreme performance of an SSD.
While the HDD’s read and write speeds are not as impressive as the SSD, it offers a cost-effective way to expand the overall storage capacity of the system. By separating the operating system, applications, and frequently accessed files onto the SSD, and using the HDD for media storage and archival, I can strike a balance between blazing-fast performance and ample storage space.
Memory Configuration: Optimizing for Editing Workloads
The memory configuration is a crucial factor in ensuring the smooth operation of an editing rig, as many creative applications benefit from ample RAM and high-speed memory performance.
For this build, I’ve selected a dual-channel kit of 32GB (2 x 16GB) of Corsair Vengeance LPX DDR4-3600 memory. The choice of 32GB of RAM provides a generous amount of headroom for handling resource-intensive tasks, such as working with large project files, running multiple applications simultaneously, and managing complex video compositions.
The Corsair Vengeance LPX memory modules are designed to deliver exceptional performance, with a clock speed of 3600 MHz and CAS latency of 18. This configuration aligns well with the capabilities of the Ryzen 5 5600X processor, as the AMD Zen 3 architecture benefits greatly from high-speed, low-latency memory.
Additionally, the dual-channel memory configuration ensures that the CPU can access data from both memory channels simultaneously, further enhancing overall system performance and responsiveness. This is particularly beneficial for content creation workloads that rely on efficient memory access patterns.
Cooling and Power Supply: Ensuring Reliable and Efficient Operation
To ensure the stability and longevity of the AMD editing rig, the cooling and power supply components play a crucial role.
Cooling Solution: Efficient Heat Dissipation
For the cooling solution, I’ve chosen the Noctua NH-D15 air cooler. This premium-quality cooler is renowned for its exceptional cooling performance and whisper-quiet operation, making it an ideal choice for the Ryzen 5 5600X processor.
The Noctua NH-D15’s dual-tower heatsink design, combined with its large, high-performance fans, ensures efficient heat dissipation from the CPU. This cooling solution can effectively handle the thermal load of the Ryzen 5 5600X, even under heavy sustained workloads, without compromising system stability or generating excessive noise.
Moreover, the NH-D15’s compatibility with the latest AMD and Intel sockets, as well as its easy installation process, make it a reliable and user-friendly cooling option for this editing rig.
Power Supply Unit: Reliable and Efficient Power Delivery
Powering the entire system, I’ve selected the CORSAIR RMx Series RM650x 650W power supply. This high-quality, fully modular PSU is renowned for its impressive efficiency, low noise output, and robust construction, ensuring stable and reliable power delivery to all the components.
The 650W power rating of the CORSAIR RMx series provides ample headroom for the Ryzen 5 5600X, the NVIDIA RTX 3060 Ti, and the rest of the system, allowing for future upgrades and overclocking potential, if desired.
Furthermore, the modular design of the power supply allows for a clean and organized cable management, which is crucial for maintaining optimal airflow and a visually appealing system.
Building the AMD Editing Rig: A Step-by-Step Guide
Now that we’ve covered the key components that make up the ultimate AMD editing rig, let’s dive into the step-by-step process of assembling the system.
Step 1: Prepare the Workspace
Start by ensuring that you have a clean, well-lit, and static-free work area. Gather all the necessary tools, such as a screwdriver, anti-static wrist strap, and cable ties, to facilitate a smooth and organized build process.
Step 2: Install the CPU and Cooler
Carefully unpack the Ryzen 5 5600X processor and align it with the socket on the ASUS ROG Strix B550-F Gaming (WiFi) motherboard. Gently lower the CPU into the socket, ensuring that all the pins are properly seated.
Next, install the Noctua NH-D15 cooler by following the manufacturer’s instructions. This may involve applying a small amount of thermal paste and securing the heatsink to the motherboard using the provided mounting brackets.
Step 3: Install the Memory and Storage Drives
Slot the Corsair Vengeance LPX DDR4-3600 memory modules into the appropriate DIMM slots on the motherboard, ensuring that they are firmly seated and locked in place.
For the storage configuration, start by installing the Samsung 980 Pro NVMe SSD into one of the M.2 slots on the motherboard. Then, mount the Western Digital Blue 4TB HDD into the designated drive bay of your case, using the appropriate cables and connectors.
Step 4: Install the Graphics Card
Gently insert the NVIDIA GeForce RTX 3060 Ti graphics card into the primary PCIe x16 slot on the motherboard, making sure that it is securely locked in place. Connect the necessary power cables from the power supply to the graphics card.
Step 5: Connect the Power Supply and Peripheral Cables
Route the modular cables from the CORSAIR RMx Series RM650x power supply to the appropriate connectors on the motherboard, CPU, graphics card, and storage drives. Ensure that all the cables are neatly organized and secured using cable ties for a clean and tidy appearance.
Step 6: Install the Operating System and Drivers
With the hardware components in place, it’s time to install the operating system of your choice. I recommend using a fresh installation of Windows 10 or 11, as it will ensure a clean and optimized environment for your editing workloads.
After the operating system is installed, download and install the latest drivers for the motherboard, graphics card, and any other peripherals to ensure optimal performance and stability.
Step 7: Configure the BIOS and Perform Necessary Tweaks
Enter the BIOS (Basic Input/Output System) of the ASUS ROG Strix B550-F Gaming (WiFi) motherboard and make any necessary adjustments, such as enabling XMP (Extreme Memory Profile) to ensure that the memory is running at the desired 3600 MHz speed.
Additionally, you can explore options for CPU overclocking, if desired, to extract even more performance from the Ryzen 5 5600X processor. However, it’s important to proceed with caution and follow recommended settings to maintain system stability.
Step 8: Install and Configure Editing Software
Finally, install your preferred video editing software, such as Adobe Premiere Pro, DaVinci Resolve, or Final Cut Pro (if using a macOS system), and configure the software to take advantage of the hardware capabilities of your AMD editing rig.
Remember to keep your system updated with the latest software and driver releases to ensure optimal performance and security.
Conclusion: Embracing the Power of AMD for Your Creative Endeavors
By carefully selecting the right components and following the step-by-step guide, you’ve now assembled the ultimate AMD editing rig for under £1500. This system, powered by the impressive Ryzen 5 5600X processor, paired with the high-performance NVIDIA RTX 3060 Ti graphics card and a robust storage and memory configuration, is poised to handle your most demanding creative workloads with ease.
As you embark on your content creation journey with this AMD-powered editing rig, I’m confident that you’ll experience a noticeable increase in productivity, efficiency, and overall creative satisfaction. The combination of AMD’s impressive processing power, NVIDIA’s GPU acceleration, and the carefully curated components in this build will enable you to tackle complex projects, explore new creative avenues, and push the boundaries of what’s possible.
Remember, the beauty of building your own system lies in the ability to tailor it to your specific needs and preferences. Feel free to experiment, upgrade, or even explore overclocking further down the line, as your creative ambitions and requirements evolve.
Embrace the power of AMD, and let this editing rig be the catalyst that propels your creative endeavors to new heights. Happy editing!


