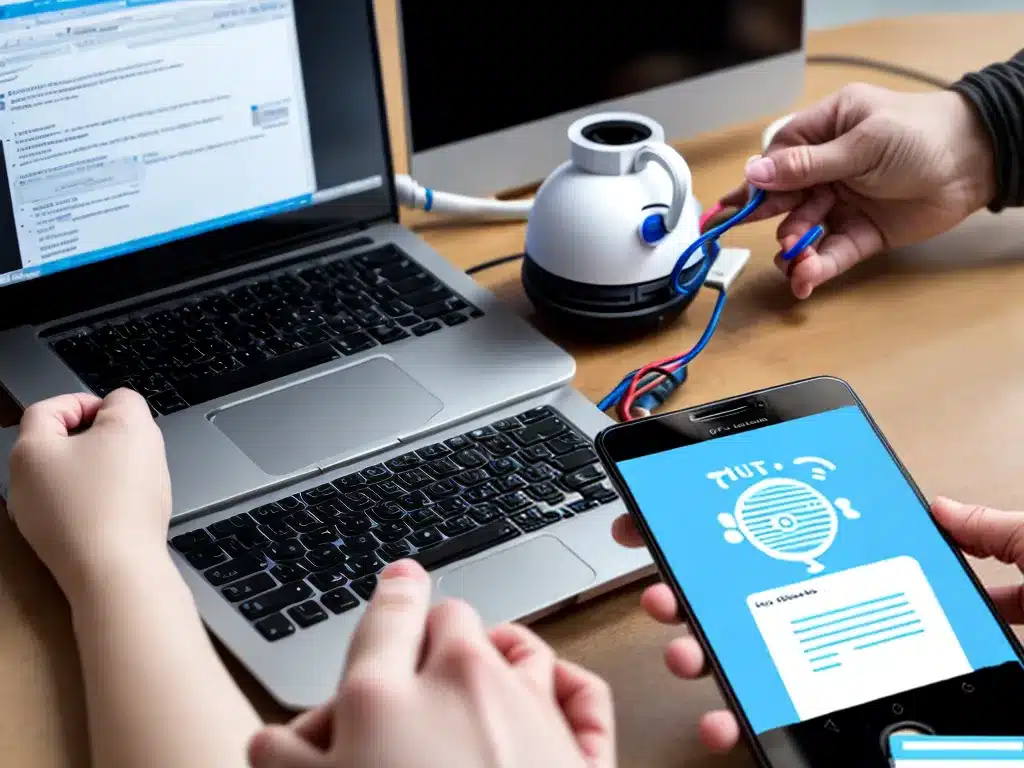
Building an IoT Prototype: A Step-by-Step Guide
Building an Internet of Things (IoT) prototype can seem daunting, but breaking it down into logical steps makes the process manageable. As an IoT engineer, I have built numerous prototypes, and have found that following this systematic approach helps ensure success.
1. Define the Problem You Want to Solve
First, I think carefully about the real-world problem I want to address. For example, I may want to automate temperature monitoring in a warehouse. **Clearly defining the problem** provides focus and guides all subsequent decisions.
To get a full understanding, I ask questions like:
- What specific issues does this problem cause?
- Who benefits from solving it?
- What data inputs are needed?
- What actions should the system take?
2. Outline System Requirements
Next, I outline what functionality the system needs to solve the problem. For the warehouse use case, key requirements could include:
- Measure temperature every minute
- Transmit data to cloud platform
- Send alert if temperature is too high or low
- Powered by long-lasting battery
Documenting requirements helps guide selection of hardware components and software functionality.
3. Select Key Components
With requirements defined, I can start selecting components. A typical IoT prototype includes:
- Microcontroller – The brains of the device
- Sensors – Detect environmental conditions like temperature
- Communication hardware – Enables internet connectivity
- Power supply – Batteries or a plug-in supply
For the warehouse use case, I would choose components capable of delivering the needed functionality within budget constraints.
4. Design Circuitry and Connections
Next, I map out how all the electronic components will connect together, producing a circuit diagram. This ensures I understand how everything will physically fit and communicate. For a simple prototype, I may use a breadboard for quick testing. For long-term durability, I will design a PCB circuit board.
5. Program Device Logic
With my hardware design complete, I write firmware to program the device’s logic and functionality. Most IoT prototypes use an Arduino, Raspberry Pi, or similar development board along with a programming language like C++ or Python. I make sure code delivers core requirements identified earlier.
6. Develop Cloud/App Components
Many IoT solutions rely on cloud platforms to receive, process, analyze and store sensor data. I develop any needed cloud components and mobile or web apps to complete my prototype. For the warehouse monitor, I would build a cloud database to store temperature history and a dashboard to view alerts.
7. Test Intensively
With my prototype built, I run rigorous tests to catch issues early. I verify key functions like sensor readings, wireless connectivity, data flows, and alert generation. I fix any problems and re-test until satisfied with performance. Thorough testing gives me confidence in the prototype.
8. Iterate and Refine
After initial testing, I refine and enhance my prototype through several iterations:
- Add features to improve functionality
- Simplify clumsy designs
- Try alternative components for better performance or lower cost
- Tweak software for greater stability and efficiency
Each round of incremental improvement gets me closer to an optimal IoT prototype.
9. Build Enclosure
With the electronics and software tested, I design and build a protective enclosure. This could involve 3D printing, laser cutting, or molding a plastic case. The enclosure keeps components safe and streamlines the product’s look and feel.
10. Plan Next Steps
For the final step, I assess potential next steps like further product development, pilot deployments, or intellectual property protection. By budgeting additional time and resources, I can smoothly transition my validated IoT prototype into a commercial product.
In summary, moving methodically through requirements analysis, design, development, testing and refinement allows me to efficiently build IoT prototypes. Following best practices at each stage gives me confidence I will achieve my goals.


