Diving Into the Water Cooling Abyss
I have to admit, I’ve always been a bit of a PC enthusiast. Ever since I was a kid, I’ve been obsessed with squeezing every last bit of performance out of my rigs. From my first gaming mouse to the top-tier graphics cards I’ve hoarded over the years, I’ve never been one to shy away from a little hardware tinkering.
But recently, I stumbled upon something that took my passion to a whole new level – custom water cooling. At first, the idea of building my own liquid-cooled setup seemed a bit daunting. Visions of leaks, failed bends, and fried components danced in my head. But after doing some research and talking to fellow enthusiasts, I realized that with the right guidance, anyone can dive into the world of custom loops.
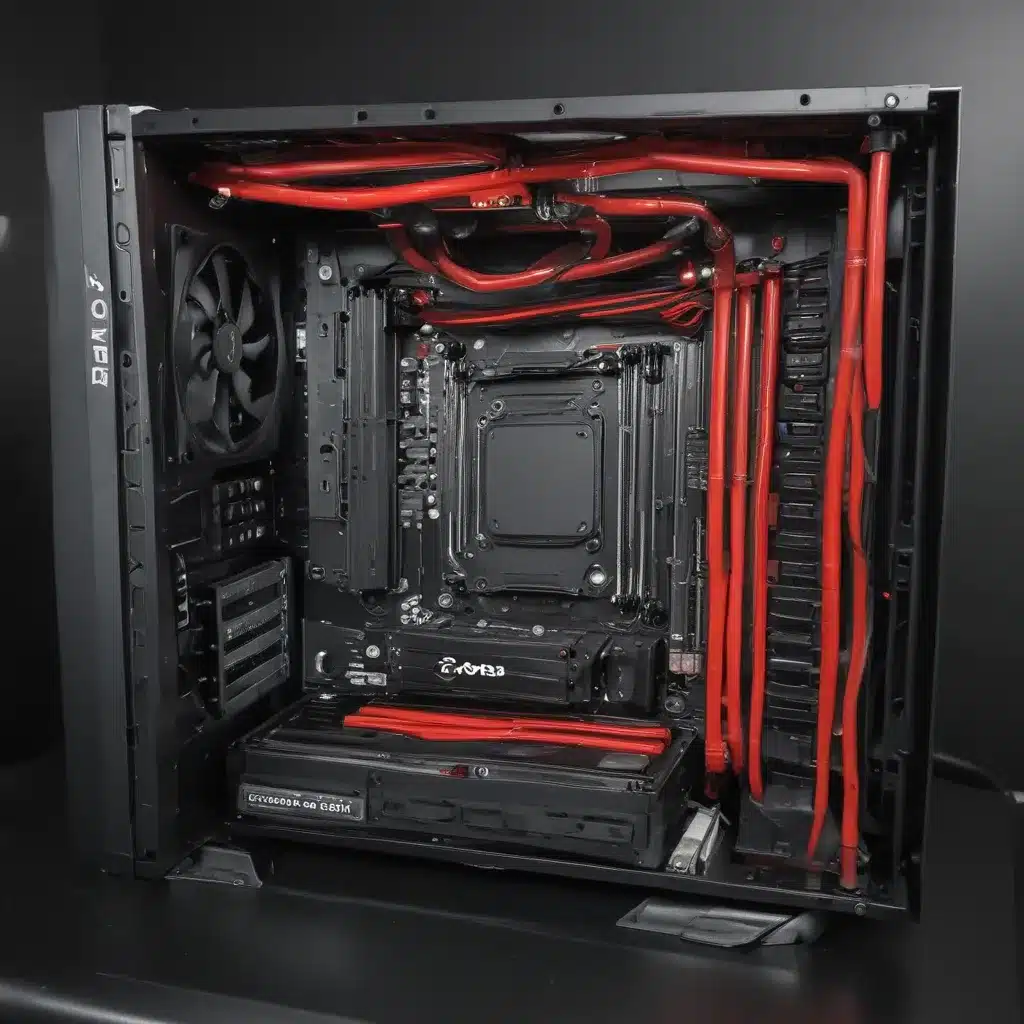
And let me tell you, it’s a journey worth taking. Not only does a water-cooled rig offer unparalleled cooling performance, allowing for some serious overclocking, but the end result is a true work of art. Elegant tubing runs, shimmering blocks, and vibrant coolant – it’s a sight to behold. Plus, the sense of accomplishment you get from planning and executing a successful custom loop is just unbeatable.
So, if you’re like me and you’ve been eyeing that AMD 7900X and Asus 3090 combo, let’s dive in and explore how to build your very own water-cooled AMD rig. Trust me, once you see that first boot with your custom loop up and running, you’ll be hooked for life.
Choosing Your Components
Before we get our hands dirty with the actual build, let’s talk about the core components that make up a custom water cooling system. After all, proper planning is the key to a successful loop.
First and foremost, you’ll need to decide on the type of tubing you want to use – flexible or rigid. Flexible tubing, also known as soft tubing, is the easier option. It’s a breeze to install and doesn’t require any specialized tools or skills. However, if you’re after that truly stunning, sleek look, then rigid tubing is the way to go. [1]
The trade-off? Rigid tubing, like acrylic or PETG, requires a bit more elbow grease. You’ll need to master the art of bending and cutting the tubes to fit your specific setup. But trust me, the effort is worth it when you see the final result. [1]
Next up, you’ll need to choose your reservoir and pump. These two components work hand-in-hand to keep the coolant flowing through your loop. While you can opt for a standalone reservoir and pump, many enthusiasts prefer the convenience of a combo unit. These take up less space and ensure your pump is always fed directly from the reservoir. [1]
When it comes to radiators, size definitely matters. The more surface area you can provide, the better your cooling performance will be. As a general rule of thumb, aim for at least 120mm of radiator per component you’re cooling. So, if you’re water-cooling both your CPU and GPU, a 240mm or 280mm radiator would be a good starting point. [1]
And let’s not forget about those all-important water blocks. These bad boys are responsible for transferring heat from your components into the coolant. Make sure to do your research and get blocks that are compatible with your specific CPU and GPU models. [1]
Finally, don’t forget the little things like fittings, adapters, and coolant. These may seem like minor details, but they can make or break your custom loop. Stick to high-quality components from reputable brands, and you’ll be golden.
Navigating the Tubing Maze
Alright, now that we’ve got the basics covered, let’s dive into the fun part – planning out your tubing runs. This is where the real artistry comes into play, and it’s also where a lot of first-time builders tend to get a bit overwhelmed.
The key is to take it step-by-step and not get too ahead of yourself. Start by visualizing the overall layout of your loop. Where will your components be placed? How will the coolant flow from one part to the next? Sketching out a rough plan on paper or using a CAD program can be incredibly helpful. [3]
Next, consider the type of fittings and adapters you’ll need to make those tight bends and changes in direction. Angled fittings and extenders can be your best friends here, allowing you to navigate even the most cramped of cases. Just remember to keep the number of fittings to a minimum – each one adds a bit of restriction to your loop. [3]
Now comes the real challenge: bending that rigid tubing. This is where having the right tools and a bit of practice can make all the difference. I highly recommend investing in a dedicated tubing bending kit, like the one from Corsair. [1] These come with everything you need, from a bending mandrel to a handy vice, to help you get those perfect 90-degree angles.
The key thing to remember when bending is to go slow and keep the tube heated. Don’t be afraid to practice on some scrap pieces first – it’s better to waste a bit of tubing than to end up with a ruined, kinked run. [1]
And don’t forget about that crucial first tube – the one that runs from your reservoir to your pump. This is the lifeblood of your loop, so make sure it’s rock-solid. After all, a dry pump is a dead pump.
Putting it All Together
Alright, with all the planning and preparation out of the way, it’s time to put this custom loop together. But before you start, there’s one important step you can’t skip: flushing those radiators.
Even brand-new radiators can be chock-full of manufacturing debris and other nasties. Give them a good rinsing with distilled water to make sure you’re not introducing any contaminants into your pristine loop. [8]
Once your rads are squeaky clean, it’s time to start the assembly. Begin by mounting your radiators and fans in their designated spots, making sure to orient the ports in a way that works with your planned tubing runs. [8]
Next, it’s time to tackle those water blocks. Make sure to give your CPU and GPU a thorough cleaning before applying a fresh layer of thermal paste and mounting the blocks. [8]
Now comes the fun part – routing your tubing. Take your time with this step, test-fitting each run before you commit to bending the tube. Once you’ve got the perfect path mapped out, start carefully bending and cutting your tubes to length. [1]
Don’t forget to pressure test your loop before filling it with coolant. This simple step can save you from a world of hurt down the line. Attach a pressure tester to your loop, pump it up, and let it sit for 15 minutes. If the pressure holds, you’re good to go! [8]
Finally, it’s time to fill ‘er up. Slowly add your coolant of choice, keeping a close eye on your reservoir to make sure it’s staying full. You may need to do a bit of jiggling and tilting to work out any stubborn air bubbles, but with a little patience, your loop will be burping and gurgling its way to perfection. [8]
The Finishing Touches
Whew, you made it! Your custom water-cooled AMD rig is now up and running, and let me tell you, the sense of accomplishment is unreal. But we’re not quite done yet – there are a few final touches to put on this masterpiece.
First and foremost, make sure to keep a close eye on your loop for the first few days of operation. Chances are you’ll still have a few lingering air bubbles that need to work their way out. Don’t be afraid to power the system on and off, or give the case a gentle shake, to help encourage that pesky air to escape. [8]
And speaking of that case, don’t be afraid to get a little creative with your cable management and component placement. After all, you’ve put so much work into this rig – you might as well make it look good, right? Zip ties and Velcro straps are your friends here, as are those handy cable combs.
Oh, and one last thing – don’t forget to keep an eye on your coolant levels and condition over time. Depending on the type of fluid you’re using, you may need to top it up or even do a full coolant change every 6-12 months. [8] Trust me, it’s a small price to pay to keep your custom loop running at its best.
So, there you have it – your comprehensive guide to building a water-cooled AMD rig, from start to finish. It’s a journey that’s equal parts challenging and rewarding, but the end result is something truly special. So, what are you waiting for? Grab those components, fire up those bending tools, and let’s make some custom cooling magic happen!
References
[1] Knowledge from https://www.youtube.com/watch?v=5ZnDESqJdyU
[2] Knowledge from https://www.reddit.com/r/watercooling/comments/xqs65h/first_ever_pc_build_custom_loop_water_cooling_a/
[3] Knowledge from https://medium.com/@meohoh/an-ultimate-beginners-guide-to-pc-water-cooling-1dd4c68f1474
[4] Knowledge from https://www.reddit.com/r/watercooling/comments/qyms54/how_easy_is_it_to_get_into_building_custom_loops/
[5] Knowledge from https://steamcommunity.com/app/621060/discussions/0/1742229167215736720/
[6] Knowledge from https://www.corsair.com/us/en/s/hydro-x-series-custom-cooling
[7] Knowledge from https://www.titanrig.com/blog/post/pc-guides-loop-planning
[8] Knowledge from https://loonylabs.org/2021/10/18/beginners-guide-to-watercooling/

