Introduction
Gaming has become one of the most popular hobbies and pastimes today. With the advancement of technology, playing video games is no longer just pressing buttons on a controller. Modern games feature stunning graphics, complex gameplay mechanics, and online multiplayer modes that let you play with friends or compete against players from around the world.
To get the most out of today’s games, you need a gaming PC (also called a gaming rig) built with powerful components. The good news is, you don’t need to spend a fortune to build a gaming PC that can run the latest games at high settings. In this article, I will walk you through how to build a killer gaming rig on a $1,000 budget.
Choosing the Right Components
Building a gaming PC is like assembling a puzzle – you need to pick each component carefully so they all work together seamlessly. Here are the main parts you need to choose when building your rig on a $1,000 budget:
CPU (Processor)
The CPU or processor is essentially the brain of your gaming rig. It handles all the complex calculations required to run game software.
For a budget of $1,000, I recommend going with an AMD Ryzen 5 5600X. This 6-core, 12-thread CPU offers incredible performance for both gaming and multitasking. It outperforms similarly priced Intel chips in most gaming benchmarks.
GPU (Graphics Card)
The graphics card, or GPU, handles all the complex graphics rendering required for high-fidelity gaming visuals. This is the most important component for gaming performance.
In the current market, the best GPU you can get for a $1,000 budget is the Nvidia RTX 3060 Ti. This Ampere-based card delivers smooth 60+ fps gameplay at 1080p and 1440p resolutions with max settings in all popular games. The 8GB GDDR6 memory future-proofs it for next-gen games.
Motherboard
The motherboard serves as the foundation of your gaming rig, allowing all components to communicate with each other. For our CPU, a good budget option is the MSI B550-A Pro motherboard. It has robust power delivery and good VRMs to support overclocking.
RAM
RAM stores data needed for quick access while gaming or multitasking. 16GB of DDR4 RAM running at 3200Mhz is the sweet spot for gaming today. Go with reputable brands like Corsair or G.Skill.
Storage
Games take up significant storage space. A 1TB NVMe SSD offers fast load times and ample storage for your game library. Add a 2TB HDD for additional mass storage.
Power Supply
Don’t skimp on the PSU. A reliable 80+ Gold certified 650W PSU from Corsair, EVGA or Seasonic will efficiently deliver clean power to your components. This leaves headroom for future upgrades.
Case
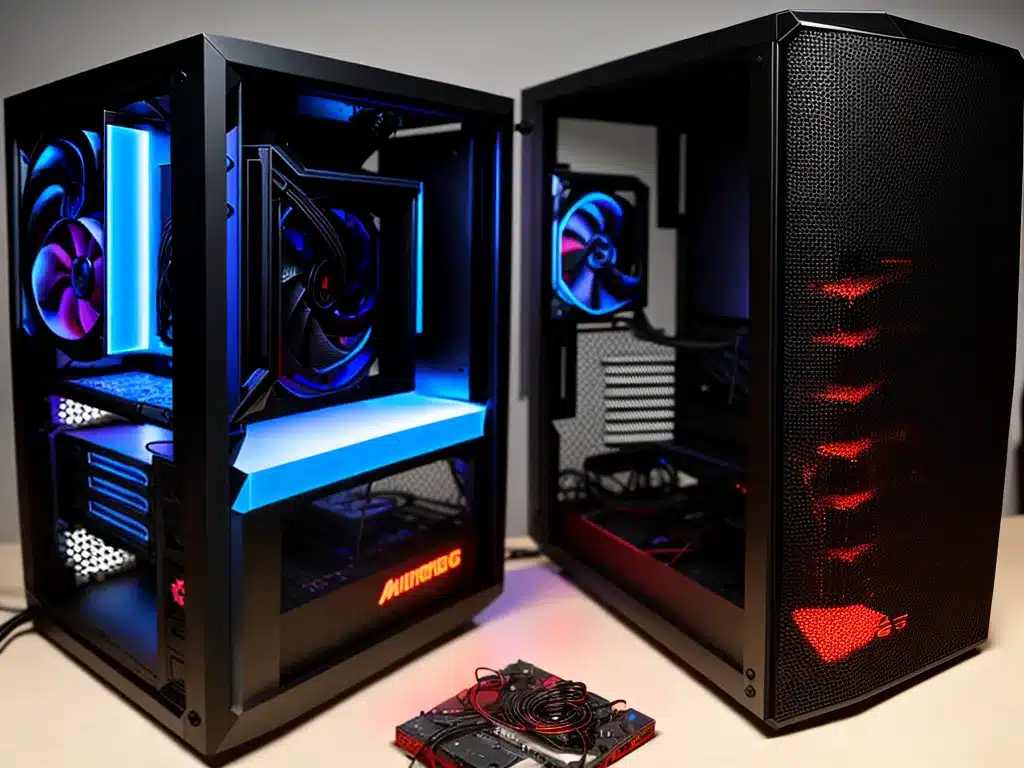
Get a case with good airflow and cable management options. The Phanteks P360A is an excellent budget case with mesh panels and integrated RGB lighting.
Assembling the Parts
Once you’ve selected compatible parts for your budget gaming rig, it’s time to assemble them into a complete system. Here are some tips for smoothly putting everything together:
-
Carefully study the motherboard manual and your case to connect front panel cables properly.
-
Keep cable management in mind when routing and tying down cables with zip ties. Good airflow is key.
-
Install components in the recommended order in the motherboard manual. Apply thermal paste properly when attaching the CPU cooler.
-
Avoid static discharge while handling components. Use an anti-static wrist strap.
-
Plug components into the right motherboard headers according to the manual.
-
Secure the graphics card properly in the PCIe slot and connect power cables to it.
-
Connect all the right power cables from the PSU to components. Double check pin layouts.
-
Slot RAM sticks in the recommended slots as per the motherboard manual.
-
Secure all screws, slots and connections tightly. Loose fittings can cause issues.
Take your time and be gentle when assembling your parts. With care and patience, you’ll have a gaming rig fully built and ready for action within a few hours!
Installing Software and Overclocking
After the physical build is complete, it’s time to install Windows and get down to gaming! Here are the remaining steps:
-
Install Windows 10 or 11 on a flash drive and boot from it to install the OS on your NVMe SSD.
-
Install drivers from Nvidia, AMD and your motherboard manufacturer to enable full functionality.
-
Install anti-virus, games launchers, games and essential software. Configure Windows for optimal gaming performance.
-
Run stress tests and benchmarks to validate stability and temperatures under load.
-
Enable XMP in the BIOS to run your RAM at the rated speeds.
-
Tweak CPU and GPU settings for overclocking if you wish to push performance further. Test for stability before intensive gaming.
With all the above steps done, your budget $1,000 gaming rig is complete! Enjoy playing the latest games in high fidelity and take pride in your DIY build. Happy gaming!
Summary
-
For a $1,000 gaming PC build, go with a Ryzen 5 5600X CPU, RTX 3060 Ti GPU, B550 motherboard, 16GB DDR4 RAM, 1TB NVMe SSD, reputable 80+ Gold PSU and a well-ventilated case.
-
Assemble components carefully by following motherboard manual and case instructions. Pay attention to cable management.
-
Install Windows, drivers, games and software. Overclock components to extract additional performance if desired after stress testing.
Building a killer gaming rig on a $1,000 budget is very doable. With smart component selection, careful assembly and optimal software installation, you can enjoy a powerful gaming PC to play the latest titles without breaking the bank! The hands-on experience of putting it together yourself makes gaming that much more fun and rewarding.


