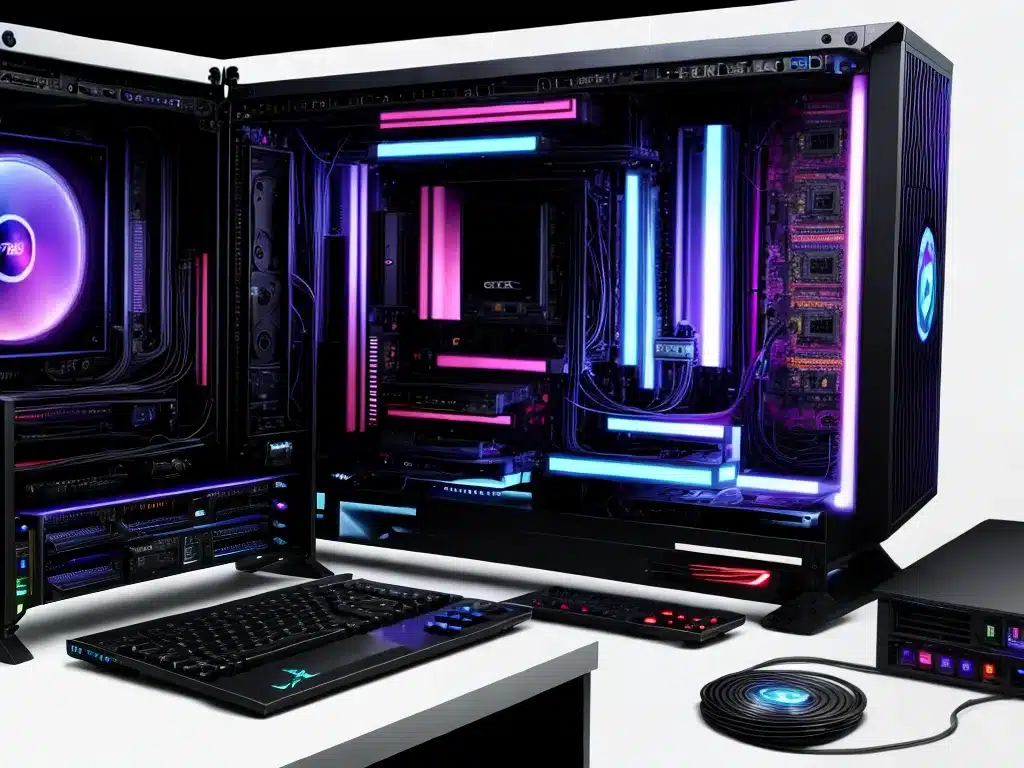
As a video editor looking to build a capable yet affordable video editing computer, there are several key components to consider that will greatly impact performance and cost. With some strategic planning and smart component selection, you can build a budget video editing PC to meet your needs without breaking the bank.
Determine Video Editing Needs
The first step is deciding what type of video editing you will be doing. This helps establish the minimum hardware requirements for smooth video editing and playback.
Some key questions to ask yourself:
-
What video resolution and frame rates will you be editing? 1080p? 4K? 60fps? 120fps? The higher the resolution and frame rate, the more demanding the editing will be.
-
What video codec will you use? Codecs like H.264 are processor intensive to decode and playback.
-
Will you editing multi-layered timelines with lots of clips? The more layers and effects, the more resources needed.
-
Do you need to edit and render quickly? Faster components speed up previewing and exports.
-
What software will you use? Look up recommended system requirements.
By analyzing your workflow, you can determine what components matter most – CPU power, GPU processing, RAM capacity, storage speed, etc. Understanding your goals and needs keeps your budget focused on the components that matter.
Choose a Powerful CPU
The CPU (central processing unit) is one of the most vital components for video editing. The CPU powers the real-time effects and transitions as you edit and assemble a timeline.
Look for these CPU features ideal for video editing:
-
High core count – 4 cores minimum, 6-12 cores ideal. More cores spread encoding/decoding over multiple processors.
-
High clock speeds – Aim for 3.0+ Ghz base frequency for fast timeline responsiveness.
-
Overclocking support – Unlock extra speed from K-series Intel chips or unlocked AMD Ryzen chips.
Some examples of great budget CPU options:
- Intel Core i5-12600K
- AMD Ryzen 7 5700X
- AMD Ryzen 5 5600X
Spend a bit more here for 6+ core CPUs to ensure smooth editing. The CPU is not an area to cut costs.
Add a Video Editing GPU
While the CPU handles timeline playback, a graphics card (GPU) accelerates rendering and effects, especially 4K. Most GPUs work, but consider these features:
-
4GB+ VRAM – More video memory ensures smooth high resolution previews.
-
NVIDIA Studio Driver – Specialized driver enhances creative app performance.
-
Multiple monitors – Extra ports for dual display workflow efficiency.
Great budget options like:
- NVIDIA GeForce GTX 1660 Super
- AMD Radeon RX 5500 XT
Avoid low-end cards. Video editing leans heavily on the GPU.
Install Enough RAM
When editing high resolution multi-layer timelines, RAM (random access memory) keeps preview files accessible for quick editing. Insufficient RAM results in constant disk swapping that can cripple editing.
-
16GB RAM minimum – Allows complex 2K-4K edits.
-
32GB ideal – Smooths more intricate 4K+ projects with many effects.
-
Fast 3000+ MHz speed – Faster RAM improves preview/render times.
Buy two identical RAM modules for dual channel bandwidth. Prioritize capacity and speed over cosmetics.
Use a Fast NVMe System SSD
Files load speed depends greatly on your primary system drive. Using a fast SSD (solid state drive) vs a sluggish mechanical HDD avoids interface bottlenecks.
For video editing, you need an NVMe M.2 SSD with:
-
PCIe 3.0 x4 or higher – NVMe SSDs connect via fast PCIe lanes vs SATA.
-
500GB+ capacity – Operating system, programs, cache files fill space quickly.
-
3000+ MB/s reads – Fast reads load video files and libraries quickly.
Great budget NVMe SSD options:
- Crucial P5
- Samsung 970 Evo
- WD Black SN750
The system drive speed affects everything – pay for performance here.
Add Secondary Hard Drives
Large video files quickly fill up smaller SSDs. Use traditional hard disk drives (HDDs) for actual media storage. Ideal specs:
-
2+ TB capacity – Green 6TB+ options offer ample storage.
-
7200 RPM – Faster than 5400 RPM drives for quicker data access.
-
Cache of 64MB – Larger cache improves transfer speeds.
-
USB 3.0, USB-C, or Thunderbolt – Faster external interfaces if storing media externally.
Hard drives store raw footage. An external USB/Thunderbolt RAID array works well for holding media libraries long term.
Choose a High Wattage Power Supply
The power supply (PSU) converts outlet power and feeds components. An underpowered PSU causes instability and shutdowns under load.
-
650W+ wattage – Provides safe overhead for power spikes under load.
-
80+ Bronze or better efficiency – Less wasted heat, lower energy bills.
-
Semi or fully modular – Only use necessary cables for tidier builds.
Quality PSU brands like Corsair, EVGA, Seasonic ensure steady power delivery. Don’t just grab any cheap PSU – this powers everything.
Put it All in a Spacious Case
The PC case houses all your components. Consider these features:
-
Micro ATX or ATX size – Larger cases offer more expansion room.
-
Good airflow – Mesh panels, multiple fans keep components cool.
-
Cable management – Hidden channels for organized cables.
-
Drive bays – Multiple 3.5″ bays to add storage down the line.
A roomy case makes building easier and improves cooling and upgrades. Browse reviews to avoid cramped budgets cases.
Additional Tips and Advice
Here are some other tips for your video editing build:
-
Shop sales and combo deals – r/buildapcsales is a great resource!
-
Consider used parts – eBay or r/hardwareswap for deals on CPUs, GPUs, etc.
-
Don’t buy more than needed – It’s easy to overspend on parts you won’t fully utilize.
-
Check system requirements – Research components suggested by your editing software.
With some careful planning and component selection, you can put together a capable budget video editing PC and still have money left over to actually make some videos! Let me know if you have any other questions.


