Oh, the joys of a brand new laptop – that fresh-out-of-the-box smell, lightning-fast performance, and the feeling of infinite possibilities. But what about our trusty old laptops sitting in the corner, collecting dust? Can we really just toss them aside and move on to greener pastures? Well, my friends, I’m here to tell you that with a little elbow grease and some nifty hardware upgrades, you can breathe new life into that old laptop and get it running better than ever.
Reviving an Old Friend
I’ve got to admit, I was once guilty of the age-old sin of laptop neglect. My poor HP Probook, which I affectionately call Priscilla, had been with me through thick and thin – from tethering on location shoots to late-night Photoshop marathons. But lately, she’s been chugging along like an asthmatic hamster on a wheel. The 320GB, 3Gbps, 5200RPM hard drive that once served me so well had finally thrown in the towel, and I knew it was time for an upgrade.
Now, I could have just thrown in the towel and gone out to buy a shiny new laptop, but where’s the fun in that? No, I was determined to give Priscilla a new lease on life. So, I decided to crack open her chassis and see what I could do.
A Tale of Two Drives
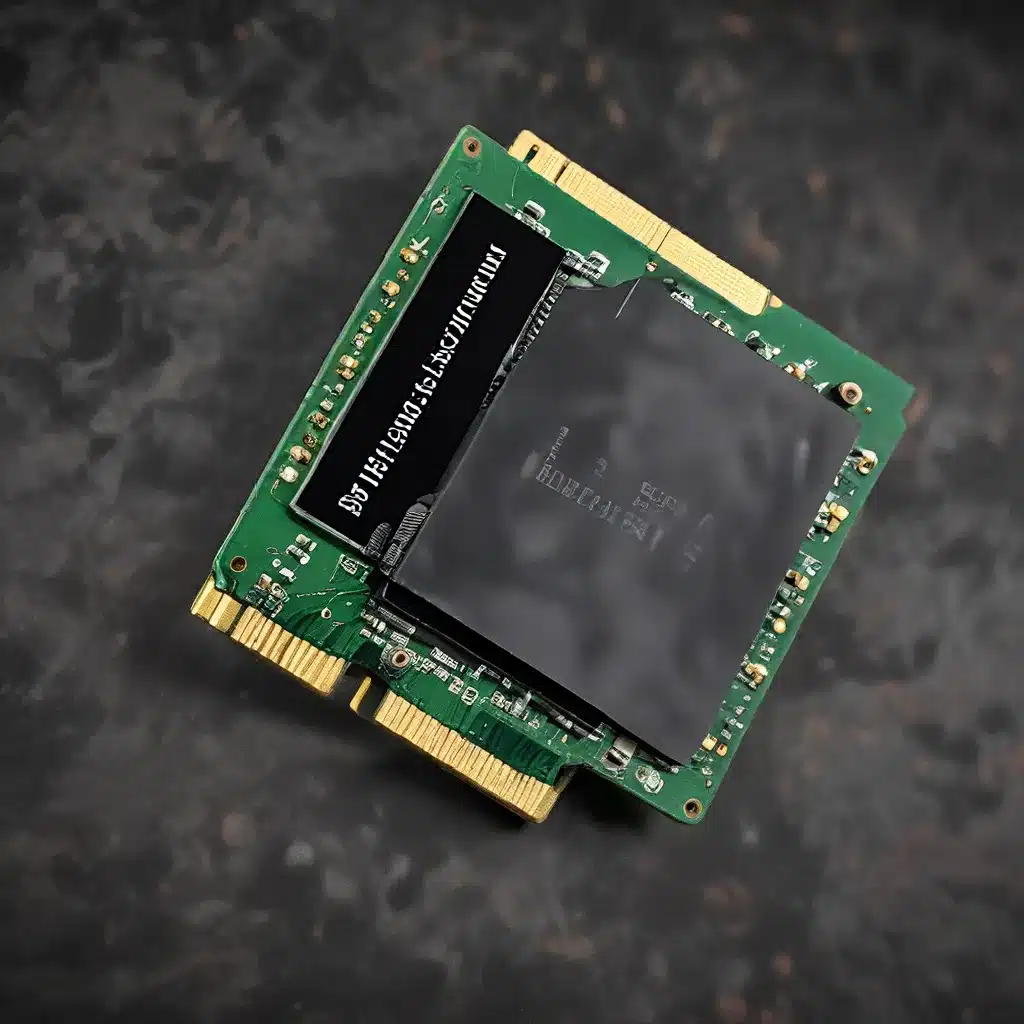
The first step was to replace that ailing hard drive with something a little more spry. I opted for a 500GB, 6Gbps, 7200RPM drive, and let me tell you, the difference was night and day. Gone were the days of watching the cursor dance across the screen like an interpretive ballet. Priscilla was now zipping along, ready to tackle my writing and photo editing tasks with ease.
But I wasn’t done there. You see, Priscilla’s optical drive – the trusty CD/DVD player that I’d used maybe twice in the past decade – was taking up valuable real estate inside her chassis. “That’s it,” I said to myself, “time to kick that old drive to the curb and make room for something more useful.”
The Optical Drive Vanishing Act
Now, I know what you’re thinking – “But Paul, how will I watch my vast collection of Blu-ray discs without an optical drive?” Well, my friends, the answer is simple: you can always buy an external optical drive for a fraction of the cost. I picked up a sleek little LG unit from Amazon for just $28, and now I have the best of both worlds.
With the optical drive gone, I had the perfect opportunity to install a second hard drive in its place. And let me tell you, this little trick has been a game-changer. I now have a lightning-fast SSD for my operating system and essential applications, while the old 7200RPM drive serves as a spacious scratch disk and file storage hub. Talk about efficiency!
The Hardware Upgrade Bonanza
Now, I know what you’re thinking – “But Paul, I’m not the most tech-savvy person in the world. How on earth am I supposed to pull off a hardware upgrade like this?” Well, fear not, my fellow laptop enthusiasts, because I’m here to tell you that it’s actually a lot easier than you might think.
The first step is to make sure you have the right tools for the job. That means a good set of screwdrivers, an antistatic wristband (to protect those delicate components), and a healthy dose of patience. Trust me, you don’t want to be in a hurry when you’re working with the insides of a laptop.
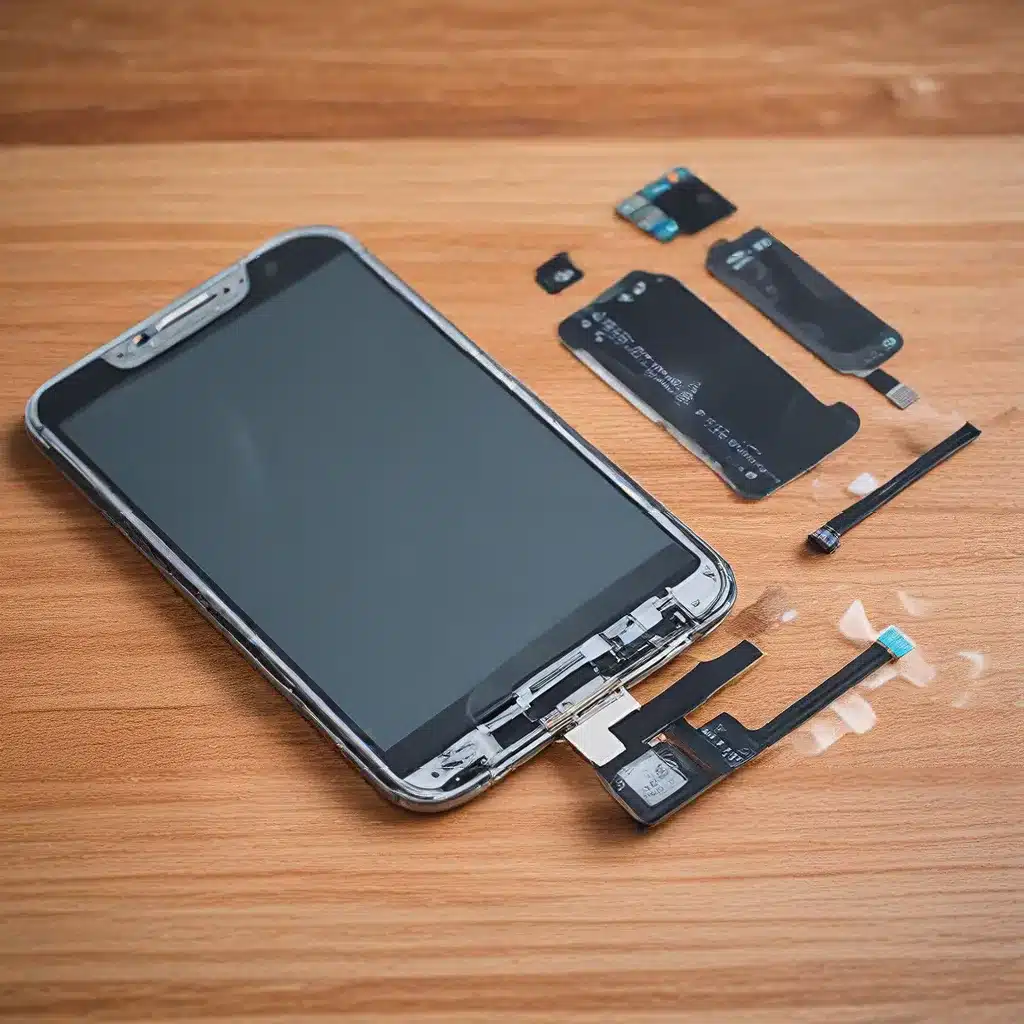
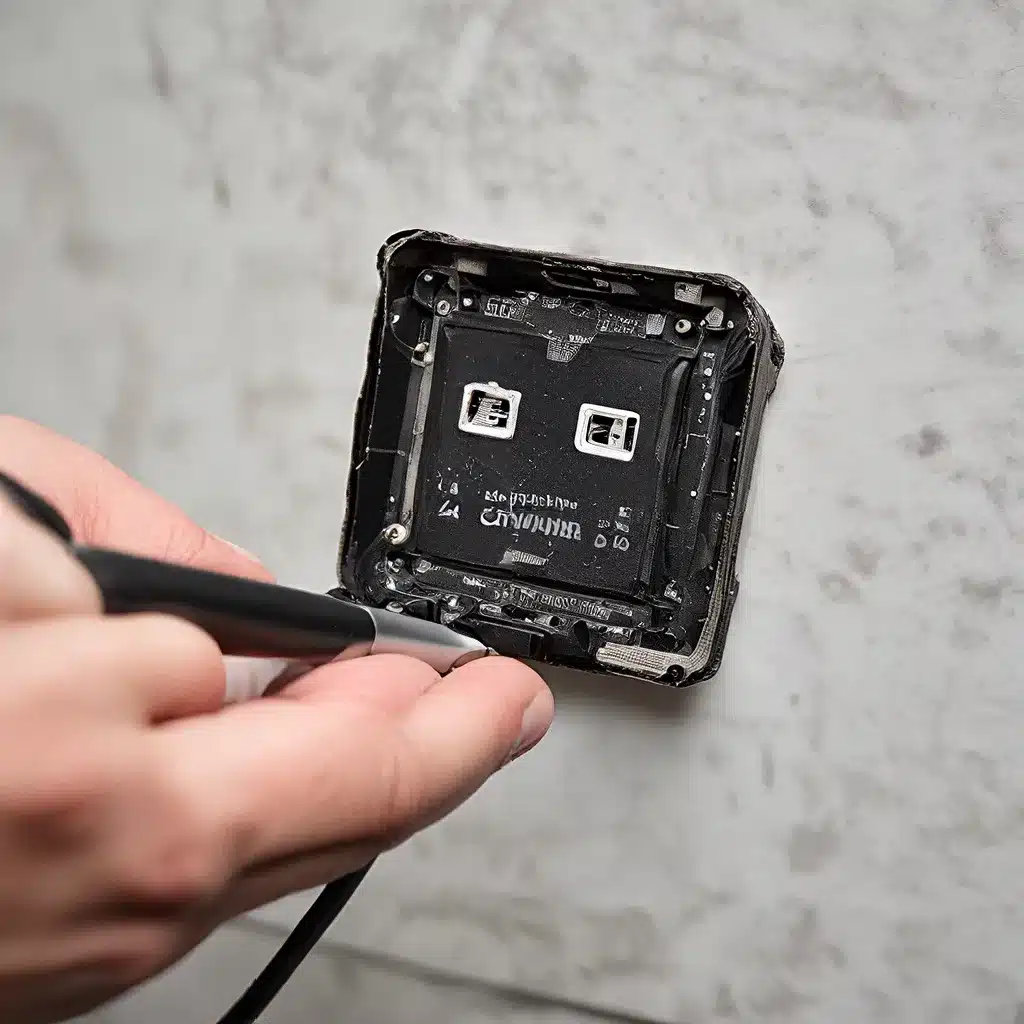
Once you’ve got your tools ready, it’s time to get to work. Start by removing the old optical drive – just look for the screw that’s holding it in place, and then gently pry it out. From there, it’s just a matter of slotting in your new hard drive caddy and connecting it to the SATA port inside the laptop.
Customizing Your New Setup
But the fun doesn’t stop there, my friends. Once you’ve got that second drive installed, the possibilities are endless. You could use it as a dedicated backup drive, mirroring your main SSD for that extra peace of mind. Or, if you’re like me and you’re constantly juggling photo editing and music production tasks, you could use it as a high-speed scratch disk to keep your system humming along.
And let’s not forget about the aesthetic factor. After all, we want Priscilla to look as good as she performs, right? That’s why I decided to ditch the boring old hard drive caddy faceplate and get a little creative. I carefully removed the original optical drive faceplate, trimmed it down to size, and then superglued it onto the new caddy. Voila – a seamless, custom-tailored look that blends right into the curves of my trusty old laptop.
Breathe New Life Into Your Old Laptop
So, there you have it – the ultimate guide to breathe new life into an old laptop. Whether you’re looking to boost performance, add extra storage, or just give your old friend a fresh new look, this hardware upgrade process is the way to go.
And the best part? It’s all relatively inexpensive. I mean, come on, a hard drive caddy for just $8? That’s a small price to pay for a whole new lease on life for your laptop. So, what are you waiting for? Grab your tools, roll up your sleeves, and let’s get to work on reviving that old laptop of yours. Who knows, maybe you’ll even have a little fun in the process!
Oh, and before I forget – if you’re in the market for top-notch IT services and support, be sure to check out https://itfix.org.uk/. They’ve got a team of experts who can help you with everything from hardware upgrades to software troubleshooting. Trust me, you’ll be glad you did.
Happy upgrading, my friends!


