Introduction
Keeping your PC clean and dust-free is important for optimal performance and longevity. Dust buildup in a computer can lead to overheating, component failure, and even electrical shorts. Thankfully, cleaning dust from a PC is not difficult if you use the right tools and techniques. In this article, I will share the best methods I have found for effectively cleaning dust from inside your computer.
Turn Off and Unplug the Computer
The first step is always to turn off and unplug the computer before opening it up. This eliminates the risk of shock and allows the components to fully power down. Be sure to unplug both the power cable and any other connected cables, like Ethernet, USB, or display cables.
Open Up the Case
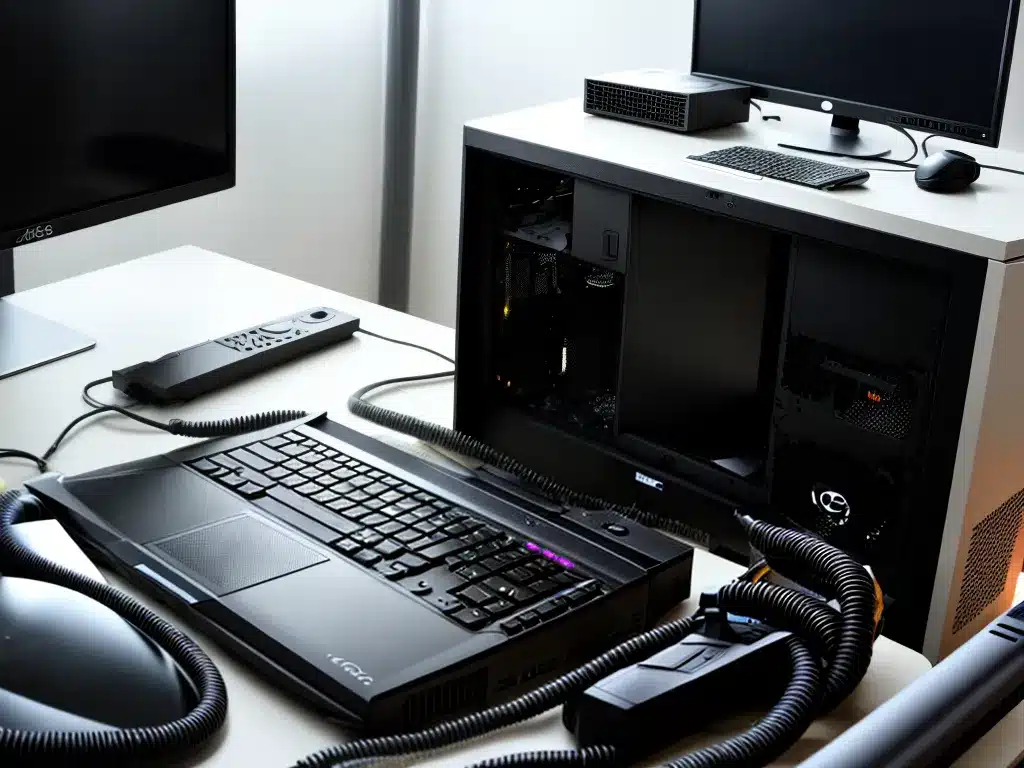
To access the inside of your computer, you’ll need to open up the case. Desktop cases are typically held closed by thumbscrews that can be loosened by hand. Laptops require removing screws from the bottom cover. Refer to your computer’s manual if you need help with disassembly. Take care when removing side panels – don’t force anything.
Once the case is open, you’ll have full access to the internal components. This is where dust builds up on fans, heatsinks, expansion cards, etc.
Use Compressed Air
The best tool for removing dust is compressed air, available as a spray can at any computer or office supply store. Hold the can upright and slowly sweep the air nozzle across the computer’s internals. This blasts away most loose dust and debris.
Caution – don’t tilt the can when spraying, as the propellant can drip onto components. Also, avoid touching the fans with the nozzle to prevent damage.
Clean Components and Filters
For stubborn dust, use a soft-bristle brush or microfiber cloth. Gently brush or wipe down components to dislodge caked-on dust. Be careful not to be too forceful, which could knock loose delicate parts.
Many computer cases also have removable dust filters, typically over the front air intakes. These can be rinsed under running water to clean thoroughly. Let them fully dry before reinstalling.
Check Heat Sinks and Fans
Pay special attention to heat sink fins and cooling fans inside your computer. These are common areas for heavy dust buildup that can severely affect cooling capabilities. Use compressed air, your brush, and cotton swabs to clean between fins and fan blades. You can also use isopropyl alcohol if needed to dissolve caked-on dust.
Reassemble and Restart
Once everything looks dust-free, carefully reassemble your computer. As you replace parts like the side panel, double check that any cables are cleanly routed and reconnected properly.
With the case sealed up, plug your computer back in and restart it. Power it up and briefly run some programs to verify normal functioning. The improved airflow should allow your system to run cooler and quieter.
Best Practices to Prevent Dust Buildup
- Use dust filters on intakes
- Clean PC routinely every few months
- Keep computer off floor and in clean area
- Ensure proper case airflow and ventilation
- Replace old intake and exhaust fans
Thoroughly cleaning the dust from your computer on a regular basis will keep it running in tip-top shape for years to come! Let me know if you have any other tips for effectively removing dust.

