Introduction
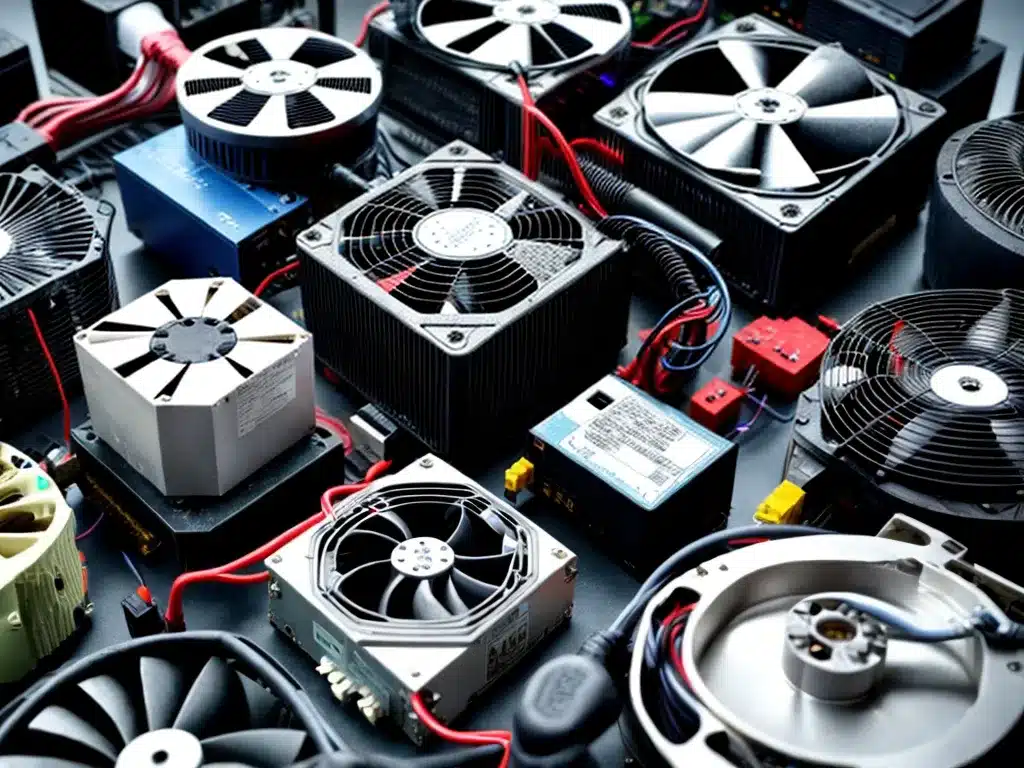
Replacing a failed power supply unit (PSU) is an essential skill for any PC builder or repair technician. While the process is relatively straightforward, beginners will benefit from following some basic guidelines to ensure success and avoid potential problems. In this beginner’s guide, I will walk through the steps required and provide tips for safely and effectively replacing a dead PSU.
Step 1: Identify That the PSU Has Failed
Before doing anything else, you need to confirm that the PSU is actually the culprit behind your PC’s problems. A failed PSU often presents the following symptoms:
- The PC will not turn on at all when the power button is pressed
- The PC immediately turns off after being powered on
- Fans spin briefly then stop when attempting to turn on the PC
- PC randomly restarts or powers off during use
However, these symptoms could also indicate other hardware failures. Use the process of elimination to rule out other components. For example, disconnect all drives and expansion cards and try to power on the system. If the PC then starts normally, it points to a drive or expansion card issue rather than the PSU.
Step 2: Select a Replacement PSU
Once verified, it’s time to pick out a new power supply unit. Consider the following factors:
- Wattage – Select a PSU with at least the same wattage as the current one, if not slightly higher. Insufficient wattage can lead to instability.
- Connectors – The new PSU must have all the necessary connectors to match your components (motherboard power, GPU power cables, SATA power, etc).
- Efficiency Rating – Look for an 80 Plus Bronze or ideally 80 Plus Gold PSU for better energy efficiency.
- Modularity – A modular PSU with detachable cables allows for easier installation and cable management.
- Brand/Reviews – Stick with reputable PSU brands and check reviews to avoid poor quality units.
Step 3: Disconnect and Remove the Old PSU
Once you have the new PSU ready, it’s time to remove the old one:
- Unplug the power cable from the back of the PSU to ensure it’s not receiving power.
- Open the case and disconnect all cables connected to the PSU, including the 24-pin motherboard cable and PCIe/CPU power cables.
- Unscrew and remove any screws securing the PSU to the case. These are often located on the back panel.
- Slide the old PSU out from the back of the case. Note which direction the fan is facing to match it later.
Step 4: Install the Replacement PSU
To install the new power supply unit:
- Position the PSU in the case with the fan facing the proper direction – typically either up or down.
- Secure it to the case using the appropriate screws.
- Reconnect all the cables in their correct positions – 24-pin motherboard cable, CPU/GPU power cables, SATA cables, etc. Ensure the cables are firmly seated.
- Tidy up cables by bundling and routing them out of the way using cable ties as desired. Proper cable management enhances airflow.
- Close the case and reconnect the power cable to the new PSU’s AC input.
The physical installation is now complete.
Step 5: Power Up and Verify Operation
With the new PSU installed, the final step is to power up the PC and verify normal operation:
- Turn on the power supply’s switch if it has one.
- Press the power button. If the system starts up and appears stable, the PSU replacement was successful.
- Load test the PC by running intense 3D games or stress tests. Listen for abnormal noise from the PSU and monitor temperatures.
- If the PC fails to boot or randomly powers off, it could indicate an incorrect installation or incompatibility with the new PSU. Double check all connections.
Assuming it passes testing, you can start enjoying your PC again with the peace of mind of a working power supply unit!
Summary of Steps
- Confirm the PSU is faulty through diagnostic testing.
- Select an appropriate replacement PSU.
- Disconnect and remove old PSU.
- Install the new PSU properly.
- Power on PC and verify normal operation.
Replacing a failed PSU yourself can save money compared to taking the PC to a repair shop. By following this beginner’s guide, you’ll be able to get your desktop back up and running in no time. Just be sure to stay safe – working with computer components can be hazardous if proper precautions are not taken.

