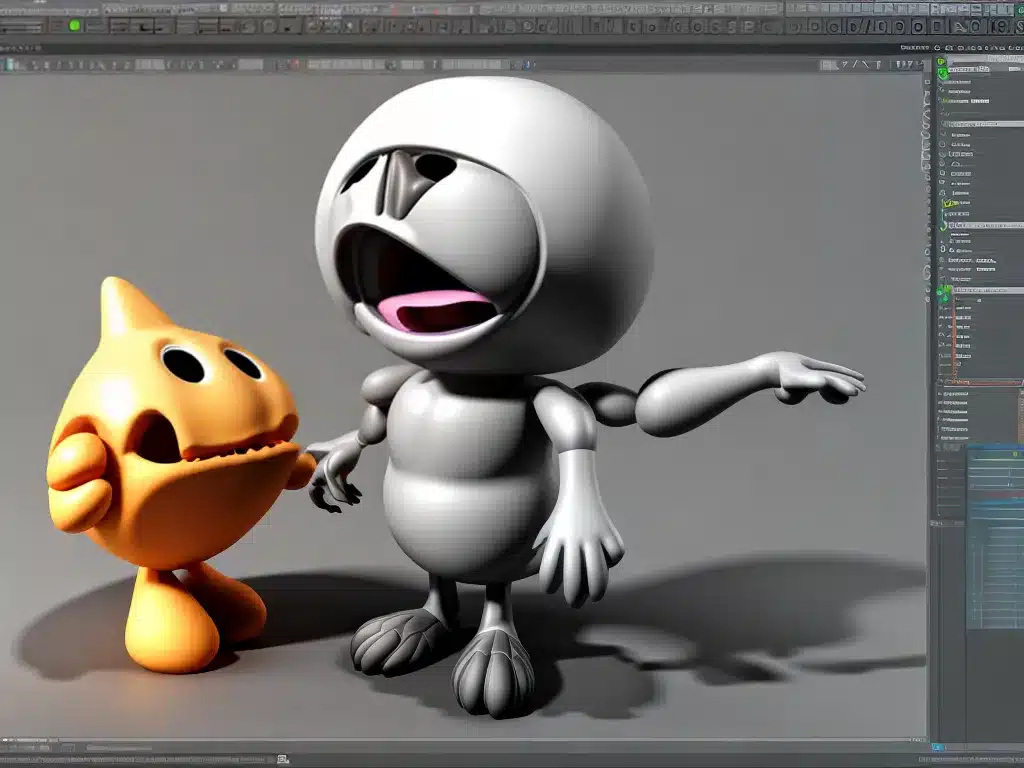
Introduction to Blender
Blender is a powerful open-source 3D modeling and animation software. As a beginner, Blender can seem daunting at first because of its extensive features and complex interface. However, with some guidance, you can learn the basics of 3D modeling and animation in Blender.
In this beginner’s guide, I will walk you through the key concepts, tools, and techniques for getting started with 3D modeling and animation using Blender. I will cover the basics of navigating the interface, modeling, texturing, lighting, animation, and rendering. Whether you want to create 3D models for 3D printing or create stunning 3D animations, this guide will set you up with the foundation you need to start your Blender journey. So let’s get started!
Getting Familiar with Blender’s Interface
When you first open Blender, you are greeted with its default startup interface. For beginners, Blender’s interface can seem overwhelming at first glance. Here are some key areas of Blender’s interface that you should get familiar with:
Viewport
The 3D viewport is the main area where you will model, animate, and interact with your 3D scene. This is where you can view your models and animations. You can switch between different views like camera view, top, front, etc.
Toolbar
The toolbar contains various tools for modeling, sculture, animation, etc. The tools available will change based on the mode you are in. Some key tools are the move, rotate, scale tools for manipulating objects.
Sidebar
The sidebar contains panels for modifying objects, adding modifiers, changing materials, etc. For example, the Properties panel lets you modify settings for models, materials, lighting, and more.
Timeline
The timeline allows you to control the animation playback and visualize keyframes. This is where you will spend most of your time when animating objects.
Learning how to navigate these core areas will go a long way in mastering Blender. I recommend spending time playing with the interface to grow more comfortable. The viewport navigation is similar to most modeling software. Right click to select, middle mouse to pan, mouse wheel to zoom.
Basic Modeling in Blender
Modeling is the process of creating 3D objects by pulling, extruding, and deforming geometry. In Blender, everything is modeled by manipulating vertices, edges, and faces. To start modeling:
-
Switch to Object Mode – This is Blender’s default mode for manipulating objects
-
Add a basic primitive – Add a cube, plane, or circle to begin modeling. In Object mode, press Shift + A to open the add menu.
-
Enter Edit Mode – Tab into edit mode to start manipulating the object’s geometry. Here you can grab, extrude, and alter faces/edges.
-
Use modeling tools – Use tools like extrude, loopcut, and more to add detail. E key extrudes, Ctrl+R adds edge loops.
-
Adjust selection – Limit your selection to edges, faces, or vertices with shortcuts like Ctrl+Tab.
-
Modifiers – Add modifiers like subdivision surface to add complexity.
With practice, you’ll get comfortable modeling harder surfaces like furniture, props, architecture. Reference images are great for recreating real-world objects.
Texturing and Materials
Texturing is the process of adding color, patterns, and detail to the surface of objects. This helps give them visual interest and realism. In Blender, you can add the following textures:
-
Color – Assigns a simple color to an object’s material
-
Image Texture – Uses an image like a jpeg to texture an object
-
Procedural – Textures generated mathematically like Voronoi, Musgrave, etc.
To texture objects:
-
UV Unwrap Model – UV unwrapping maps model UVs for texturing
-
Create Material – Add a new material then select desired texture
-
Adjust Mapping – Fine tune tiling, offset, rotation of textures
-
Mix Textures – Combine different textures with nodes for added realism
Proper lighting and texturing can take basic models to the next level. Experiment with different texture combinations to achieve your desired look.
Lighting the Scene
Lighting is a key aspect of creating realistic 3D visuals. Blender provides various lighting options from simple lamps to complex studio setups.
Some tips for lighting a scene:
-
Three-Point Lighting – Key, Fill, and Rim lights mimic real studio lighting
-
Sun Lamps – Simulate natural outdoor lighting with sun lamps
-
Area Lights – Soften shadows by increasing size of lamp area
-
HDRI Images – High definition images used as environmental lighting
-
Light Paths – Bounce light around scene for added realism
-
Multiple Lights – Use several lights of differing intensities
Proper lighting can dramatize your models, set moods, and enhance textures. Pay attention to light direction, intensity, and color for maximum impact. Use shadows to add depth and contrasts.
Animating Objects and Scenes
Animation brings your models to life by moving them through space and time. In Blender, you animate objects by manipulating keyframes along the timeline. Some key principles:
-
Set keyframes for object transforms at different times
-
Adjust timing with spacing between keyframes
-
Use interpolation modes like linear, bezier, etc.
-
Animate along motion paths for dynamic animations
-
Add effects like motion blur for realism
-
Control relationships through parenting/constraints
-
Use the graph editor to refine animations
Start simple by animating a bouncing ball or a rotating cube. Once you grasp the basics, try animating multiple objects, particle effects, and camera movements to gain skill. Good animation takes time and patience.
Rendering and Compositing
To complete your animations, you’ll need to render out image sequences or video files. Blender’s Cycles render engine provides powerful photorealistic rendering.
Some tips for rendering:
-
Use GPU compute for faster render times
-
Adjust sample counts to reduce noise
-
Render layers and passes for compositing
-
Setup lighting and materials properly
-
Add effects like Bloom, Lens Flare, Vignette
-
Use the compositor to combine passes
-
Render animations as image sequences or video formats
Take the time to fine-tune your render settings based on your specific project. Rendering can be time intensive so be patient and optimize where possible.
Final Thoughts on Learning Blender
Learning the basics of Blender does require an investment of time and effort. But the payoff is huge. You gain skills to create professional 3D art and animations. Along the way, don’t hesitate to reference Blender’s excellent documentation, manuals, and video tutorials for help. Start simple, be patient with yourself, and have fun with the process. Blender is extremely capable, and a wonderful free tool for all your 3D endeavors.


