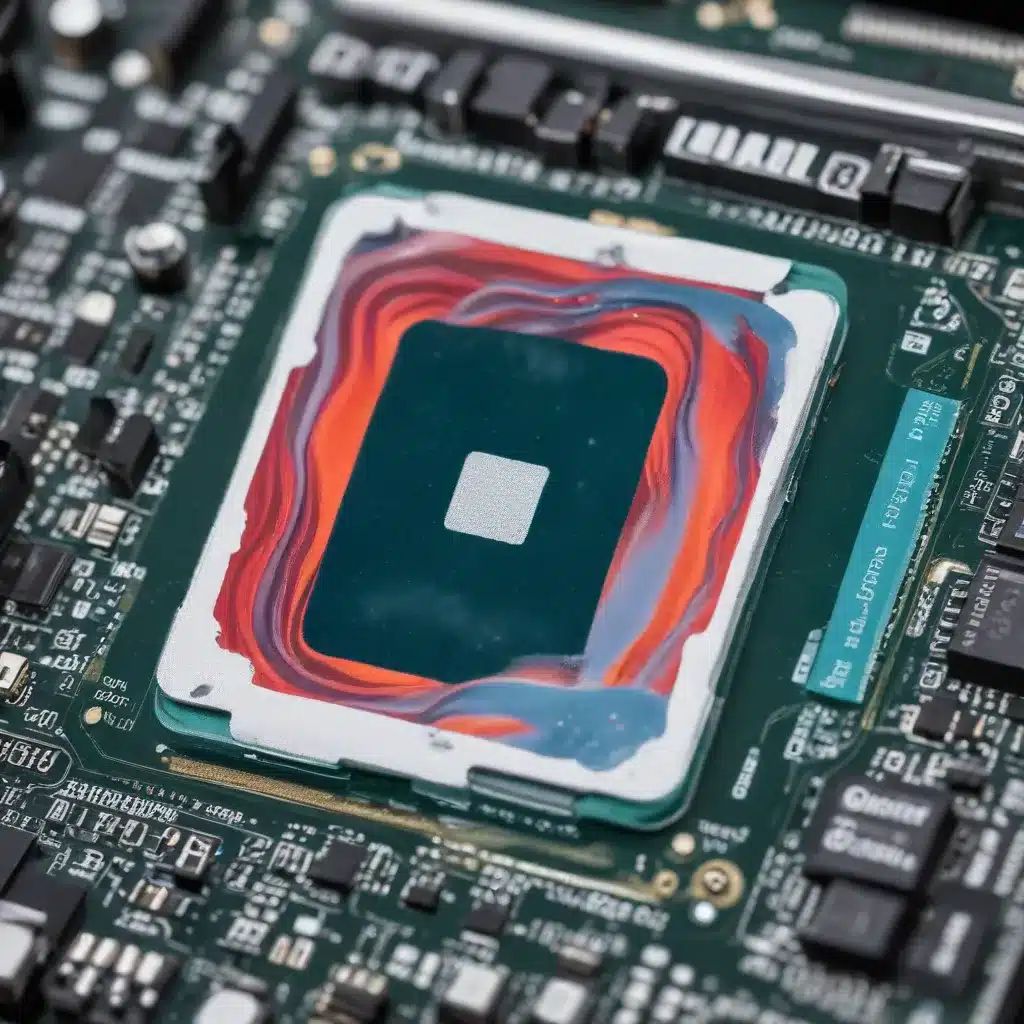
Understanding the Importance of Thermal Paste
As a seasoned IT professional, I’ve encountered countless laptop users struggling with overheating and performance issues. One of the most effective solutions to this problem is the replacement of thermal paste, a vital component in maintaining optimal cooling efficiency. Thermal paste, also known as thermal grease or thermal compound, is a thermally conductive material applied between the CPU (or GPU) and the heatsink or cooling system in laptops.
Over time, the effectiveness of thermal paste can degrade due to various factors, such as heat cycling, oxidation, and the accumulation of dust and debris. This can lead to an increase in operating temperatures, triggering fan noise, performance throttling, and even system crashes. Replacing the thermal paste is a simple yet impactful solution that can significantly improve your laptop’s cooling performance and extend its lifespan.
Identifying the Need for Thermal Paste Replacement
The need for thermal paste replacement can be indicated by several signs:
-
Increased Fan Noise: If you’ve noticed that your laptop’s fans are running at higher speeds more frequently, it could be a sign that the cooling system is struggling to dissipate heat effectively.
-
Elevated Temperatures: Monitoring your laptop’s internal temperatures, either through software or by feeling the chassis, can reveal if it’s running hotter than usual, even during normal use.
-
Performance Throttling: If your laptop’s CPU or GPU is experiencing noticeable performance drops, particularly during demanding tasks, it may be due to thermal throttling to prevent overheating.
-
Inconsistent Cooling: You may notice that certain areas of your laptop’s chassis feel significantly warmer than others, indicating an uneven distribution of heat.
If you’ve experienced any of these issues, it’s highly recommended to investigate the condition of your laptop’s thermal paste and consider a replacement.
Preparing for Thermal Paste Replacement
Before embarking on the thermal paste replacement process, it’s essential to gather the necessary tools and materials:
-
Thermal Paste: Choose a high-quality thermal paste recommended for laptop use. Look for products with good thermal conductivity and compatibility with your specific laptop model.
-
Isopropyl Alcohol: This is used to clean the CPU and heatsink surfaces before applying the new thermal paste.
-
Soft Cloths or Cotton Swabs: These are needed to gently wipe away the old thermal paste and clean the surfaces.
-
Screwdrivers: You’ll need the appropriate screwdrivers to disassemble your laptop and access the CPU and heatsink.
-
Anti-Static Gloves or Mat: These help prevent static discharge, which can damage sensitive electronic components.
Ensure you have a clean, well-lit work area and follow proper safety procedures to avoid any damage to your laptop during the process.
Applying the Thermal Paste Effectively
Once you’ve gathered the necessary tools and materials, follow these steps to replace the thermal paste:
-
Power Down and Unplug: Shut down your laptop and unplug it from the power source to ensure safety during the process.
-
Disassemble the Laptop: Carefully remove the laptop’s bottom panel and locate the CPU and heatsink assembly. Consult your laptop’s service manual or online guides for specific disassembly instructions.
-
Clean the Surfaces: Use isopropyl alcohol and a soft cloth or cotton swabs to thoroughly clean the CPU and heatsink surfaces, removing any traces of the old thermal paste.
-
Apply the New Thermal Paste: Place a small, pea-sized amount of the new thermal paste directly on the center of the CPU. Avoid applying too much, as this can lead to uneven coverage and increased temperatures.
-
Reassemble the Laptop: Carefully replace the heatsink and secure it in place, ensuring proper alignment and a tight fit. Reassemble the laptop, paying attention to the order and placement of all components.
-
Power On and Monitor: Power on your laptop and monitor the temperatures and fan behavior. If the cooling performance has improved, you’ve successfully replaced the thermal paste.
Remember, the quality of the thermal paste and the application method can significantly impact the cooling efficiency, so take your time and follow the manufacturer’s recommendations for the best results.
Maintaining Optimal Cooling Performance
To maintain the benefits of your thermal paste replacement, consider the following tips:
-
Periodic Cleaning: Regularly clean the laptop’s air vents and fans to prevent dust buildup, which can impede airflow and reduce cooling efficiency.
-
Cooling Pad Consideration: While cooling pads can provide additional airflow, they should be used with caution, as they can potentially introduce more dust and debris into your laptop’s internals. Ensure the cooling pad is placed on a clean, dust-free surface.
-
Thermal Management Settings: Adjust your laptop’s power management and thermal settings to optimize performance and cooling. Many laptops offer built-in utilities or settings that allow you to customize these parameters.
-
Avoid Excessive Heat: Limit the use of your laptop in hot environments and ensure proper ventilation to prevent excessive heat buildup, which can degrade the thermal paste over time.
-
Consider Reapplying Thermal Paste: Depending on your usage patterns and the quality of the thermal paste, you may need to reapply it every 12-24 months to maintain optimal cooling performance.
By following these guidelines, you can ensure your laptop’s cooling system remains efficient, extending the lifespan of your device and preventing performance issues caused by overheating.
Conclusion
Replacing the thermal paste in your laptop is a simple yet impactful task that can significantly improve its cooling efficiency and overall performance. By understanding the importance of thermal paste, identifying the need for replacement, and following the proper application techniques, you can take control of your laptop’s thermal management and enjoy a more reliable and responsive computing experience.
Remember, regular maintenance and proactive cooling solutions are essential for keeping your laptop running at its best. For more IT insights and computer repair tips, be sure to visit IT Fix, your go-to resource for all things technology.


