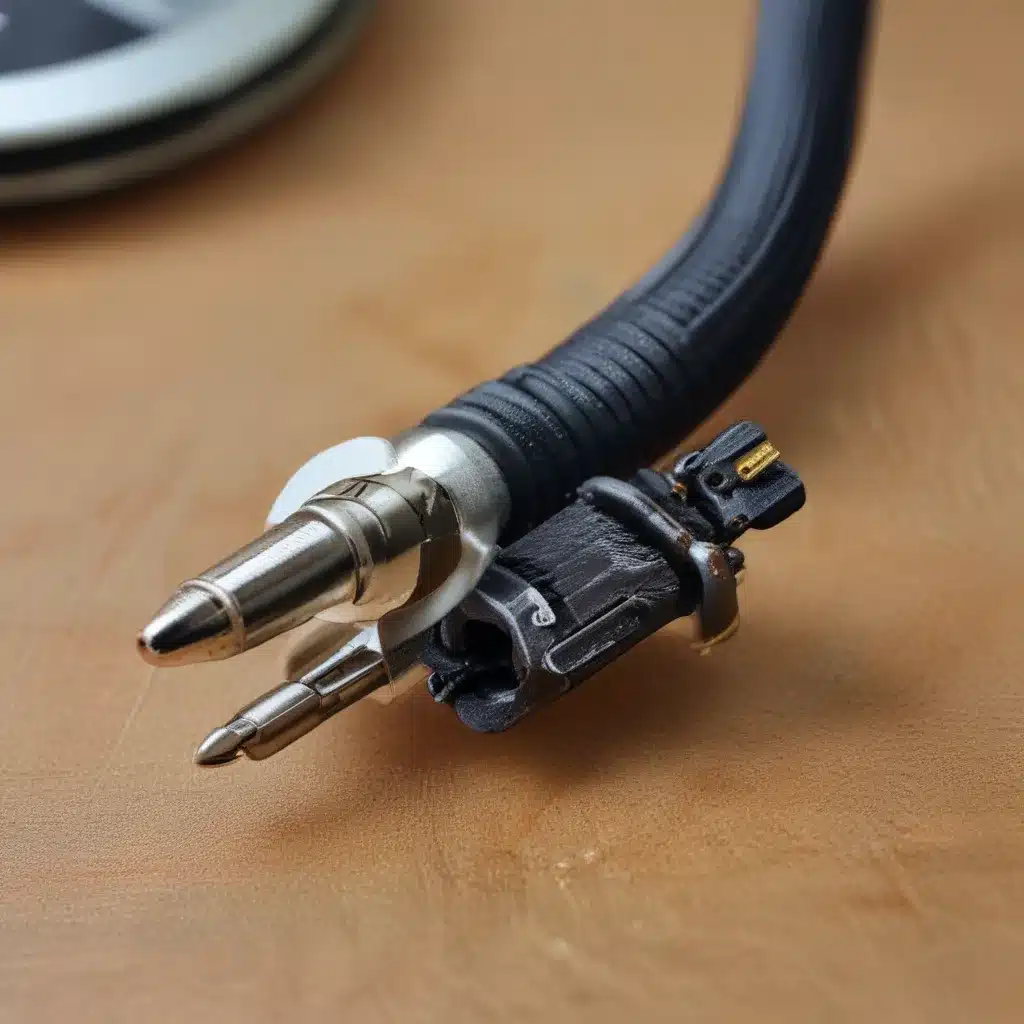
A Tale of Woe and Triumph
Ah, the humble headphone jack – a ubiquitous piece of technology that we often take for granted until, of course, it decides to betray us. Yep, that’s right, I’m talking about that dreaded moment when you go to plug in your trusty cans and… nothing. Nada. Zilch. A sinking feeling in the pit of your stomach as you realize your audio lifeline has been severed, leaving you in a state of utter despair.
Well, my friend, fear not! For I, your friendly neighborhood tech wizard, am here to guide you through the murky waters of headphone jack repair. It’s time to ditch the sad trombone and replace it with the sweet, sweet sounds of victory.
Diagnose the Issue
The first step in any troubleshooting journey is to assess the situation and determine the root cause of the problem. In the case of a faulty or broken headphone jack, there are a few common culprits to consider.
One possibility is that the port itself has become physically damaged. Perhaps you were a bit too enthusiastic when plugging in your headphones, or maybe the jack has simply seen better days. Either way, this can result in a port that no longer recognizes any input, leaving you in a lurch.
Another potential issue could be a software or driver problem. Sometimes, the headphone jack can become “de-registered” from your system, causing it to stop functioning properly. This can happen after a software update or if you’ve been tinkering with your audio settings.
And, of course, there’s always the chance that the problem lies with the headphones themselves. If you’ve tried the jack with multiple devices and it’s still not working, the issue may actually be on the other end of the cord.
Time for a Closer Look
Alright, now that we’ve identified the possible culprits, it’s time to put on our detective hats and get to the bottom of this mystery. Grab a screwdriver and let’s take a peek inside that tower of yours.
First, let’s check the headphone jack itself. Gently insert a toothpick or a small, non-metallic tool into the port and see if there’s any debris or obstruction blocking the connection. Sometimes, a bit of dust or lint can be enough to disrupt the signal.
If the port looks clean and clear, the next step is to inspect the internal components. Carefully remove the front panel of your computer and take a look at the headphone jack assembly. Are there any loose or damaged connections? Any signs of corrosion or wear and tear?
If you’re feeling particularly adventurous, you can even try a bit of gentle cleaning and re-seating the jack. Just be sure to take all the necessary precautions to avoid any static discharge or other mishaps. After all, we don’t want to turn your computer into a fancy paperweight, do we?
A Swift Repair
Now, if the internal inspection reveals that the headphone jack is well and truly kaput, don’t despair. This is where the true magic happens. With a bit of elbow grease and a steady hand, you can actually replace the entire assembly.
This handy video tutorial will walk you through the process step by step. From gathering the necessary tools to carefully dismantling the old port and installing the new one, it’s a surprisingly straightforward procedure.
And if you’re not the DIY type, or if you simply don’t have the time to tackle this project yourself, fear not. The fine folks over at ITFix are more than happy to lend a helping hand. Their team of experienced technicians can quickly diagnose the issue and get your headphone jack back in working order in no time.
Facing the Future with Confidence
Now, I know what you’re thinking: “But what if this happens again? How can I prevent this headache from rearing its ugly head in the future?”
Well, my friend, I’ve got a few tips up my sleeve to help you avoid any further audio-related disasters.
First and foremost, be gentle when plugging in and unplugging your headphones. Those little jacks are surprisingly delicate, so treat them with the care and respect they deserve. And if you’re the type who’s prone to yanking cords out of their sockets, consider investing in a set of headphones with a detachable cable. That way, if disaster strikes, you can replace the cord without having to mess with the port itself.
Secondly, keep a close eye on your audio settings and drivers. Make sure they’re up to date and functioning properly, and don’t be afraid to tinker with them if you notice any strange behavior. A little bit of proactive maintenance can go a long way in keeping your headphone jack happy and healthy.
And finally, if you do find yourself in a headphone jack-related pickle in the future, don’t panic. Remember, the good folks at ITFix are always here to lend a hand. With their expertise and the knowledge you’ve gained from this article, you’ll be back to jamming out in no time.
So, there you have it – a comprehensive guide to tackling that pesky headphone jack issue. Armed with this information, you can conquer any audio-related challenge that comes your way. Now, go forth and reclaim your rightful place in the digital symphony!


