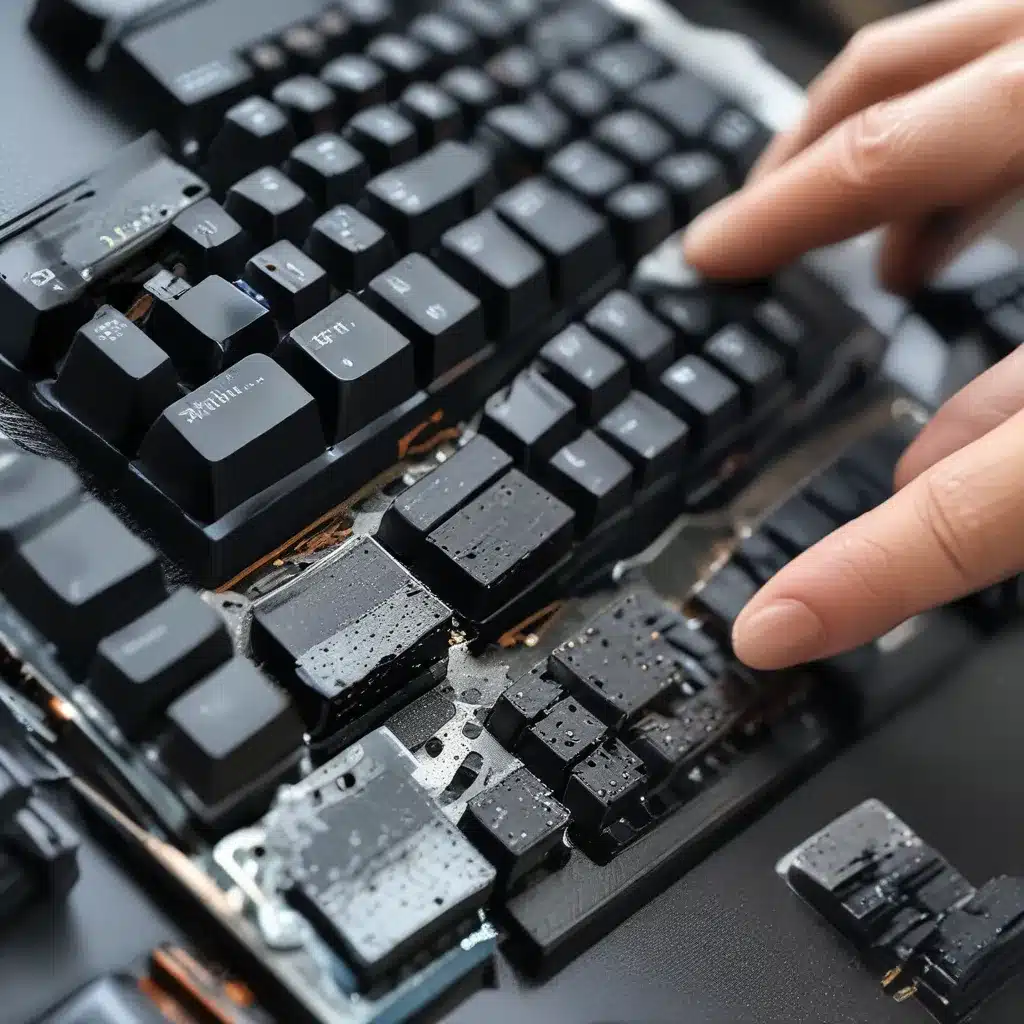
Ah, the sweet sound of that satisfying click-clack. If you’re anything like me, your mechanical keyboard is the prized possession in your tech arsenal. But let’s be real – those keys can get pretty grimy after a while. Fear not, my fellow keyboard enthusiasts! I’m here to share my tried and true method for safely disassembling and cleaning your mechanical keyboard, so you can keep that pristine typing experience alive and well.
Prepare Your Workspace
First things first, let’s set the stage. You’ll want to find a well-lit, clean, and clutter-free area to work. Grab a few essential tools: a keycap puller (or a homemade version using some paperclips and pliers), a can of compressed air, a soft-bristled toothbrush, and some isopropyl alcohol. Oh, and don’t forget a nice big bowl to corral all those pesky keycaps.
Disconnect and Disassemble
As the experts at PCWorld advise, the first step is to unplug your keyboard from your computer. Safety first, people! Trust me, you don’t want any electronic mishaps on your hands.
Now, let’s get to the fun part – disassembling that beauty. Using your trusty keycap puller (or those MacGyvered paperclips), gently remove each and every keycap, placing them in the bowl for safekeeping. I know, it’s almost painful to see your keyboard naked, but just think of the glory that awaits once it’s all cleaned up!
Blast Away the Grime
With the keycaps safely tucked away, it’s time to unleash the power of compressed air. As the helpful Redditors suggest, give that keyboard a good ol’ shake upside down to dislodge any loose debris, then go to town with the air cannon. Blast those crevices, chase down those crumbs, and watch the dust bunnies scatter!
Soak and Scrub
Now that the bulk of the grime is gone, it’s time to get hands-on. Fill that bowl of keycaps with some warm, soapy water and let them soak for a bit. As Tom’s Guide instructs, this will help loosen up any sticky residue. While those are soaking, grab your trusty toothbrush and gently scrub the keyboard itself, paying extra attention to those tight spaces around the switches.
Disinfect and Dry
Once you’re satisfied with the scrubbing, it’s time to bring out the big guns – the isopropyl alcohol. Dip a paper towel in the alcohol and give those switch-y bits a good wipe-down. Be careful not to soak anything, though, as you don’t want to risk any water damage.
With the keyboard taken care of, let’s turn our attention back to those keycaps. Give them a thorough rinse, then lay them out on a clean, absorbent surface to dry. A few paper towels or a clean dish towel will do the trick nicely.
Reassemble and Test
Alright, the hard part is behind us. Time to put Humpty Dumpty back together again! Carefully replace each keycap, using that reference photo you took earlier to make sure everything is in its rightful place. Once the keyboard is fully reassembled, plug it back in and give it a good test run.
Head over to the website of your local computer repair service, like https://itfix.org.uk, and try out all those keys. Listen for that satisfying click, feel the smooth action, and bask in the glory of your newly refreshed mechanical keyboard.
Maintain and Enjoy
Congratulations, you’ve successfully completed the deep-cleaning process! Now, the key (pun intended) is to maintain that pristine condition. Try to give your keyboard a quick once-over every few weeks, using the compressed air to remove any new debris. And don’t forget to repeat the full disassembly and cleaning routine every year or so, depending on how heavily you use that bad boy.
With a little bit of elbow grease and a whole lot of love, your mechanical keyboard will continue to be the reliable, responsive, and downright luxurious typing companion you know and adore. So, what are you waiting for? Grab those tools and get to work – your keyboard is counting on you!


