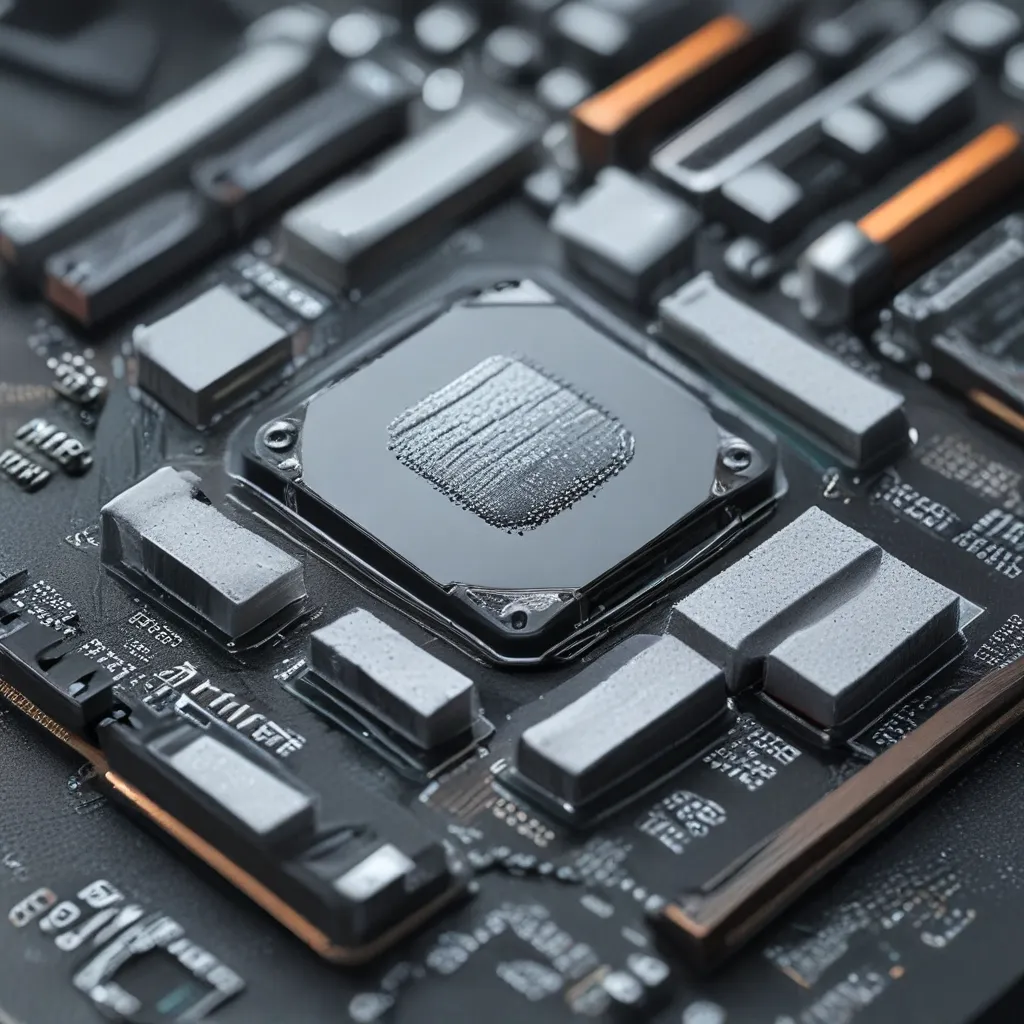
Staying Cool Under Pressure
As a self-proclaimed tech enthusiast, I’ve seen my fair share of computers in need of a little TLC. From overheating laptops to high-end gaming rigs running a little too hot, one of the most common issues I encounter is the need to refresh the thermal paste on the CPU and GPU.
Now, I know what you’re thinking – “Thermal paste? Isn’t that just the gooey stuff between the processor and the heatsink?” Well, my friend, let me tell you, that “gooey stuff” is the unsung hero of your computer’s cooling system. It plays a critical role in ensuring your components stay nice and chilly, even under the most intense workloads.
Why Refresh Thermal Paste?
Over time, that trusty thermal paste can start to degrade, causing it to lose its effectiveness. Imagine trying to sunbathe on a beach covered in sand – it’s just not going to work as well, is it? The same principle applies to your CPU and GPU. As the thermal paste dries out and becomes less pliable, it creates air pockets that act as insulation, preventing heat from being efficiently transferred away from the processor.
This is where the “refresh” comes in. By regularly replacing the thermal paste, you can keep your components running at their best, with improved cooling and lower temperatures. Think of it as giving your computer a little spa day – a fresh, rejuvenating layer of paste that will have your CPU and GPU feeling refreshed and ready to tackle any task you throw their way.
The Benefits of Refreshing Thermal Paste
Now, you might be wondering, “But do I really need to bother with this thermal paste thing? My computer seems to be running fine.” Well, let me tell you, the benefits of regularly refreshing that little layer of goo are more substantial than you might think.
For starters, lower temperatures mean your components are less likely to suffer from thermal throttling, a phenomenon where the processor or GPU slows down to prevent overheating. This can lead to a noticeable performance boost, especially in resource-intensive tasks like gaming or video editing.
But the benefits don’t stop there. Maintaining optimal cooling can also extend the lifespan of your hardware. After all, components that run at higher temperatures are more prone to premature failure. By keeping them nice and cool, you’re effectively giving your computer a fighting chance to stick around for the long haul.
When Should You Refresh Thermal Paste?
Alright, so we’ve established that refreshing thermal paste is a good idea, but when should you actually do it? Well, the general consensus seems to be that every 12 to 24 months is a good rule of thumb. According to the Reddit community, it’s a good idea to re-apply thermal paste every 2 years or so, especially if you’re overclocking your system or running it under heavy loads.
But, as with most things in the tech world, there’s no one-size-fits-all answer. Some users on Quora recommend refreshing the paste every 6 months to a year, particularly if you have a laptop or a system that’s constantly under heavy use.
The best way to know when it’s time to refresh your thermal paste is to keep an eye on your temperatures. If you start noticing a gradual increase in CPU or GPU temperatures, even under normal usage, it might be a sign that the paste is starting to degrade. When in doubt, it’s always better to err on the side of caution and give your components a fresh layer of thermal goodness.
How to Refresh Thermal Paste
Alright, now that you’re convinced of the benefits of refreshing your thermal paste, let’s talk about how to actually do it. Don’t worry, it’s not as daunting as it might sound – with a little bit of care and attention, you can have your CPU and GPU running like new in no time.
First and foremost, you’ll need to gather a few supplies: a high-quality thermal paste (I recommend something like ITFixUK’s premium thermal compound), some clean, lint-free cloths, and a few small tools like a screwdriver and a pair of tweezers.
Once you have everything you need, it’s time to get to work. Begin by shutting down your computer and unplugging it from the power source. Then, carefully remove the heatsink or cooler from the CPU or GPU, taking note of how it’s oriented so you can put it back the same way.
Next, use the tweezers or a clean cloth to gently remove the old thermal paste. Be sure to clean the surfaces of the processor and the heatsink/cooler thoroughly, removing any residue or debris.
Now, it’s time to apply the new thermal paste. I like to use a small, pea-sized amount in the center of the processor, then carefully lower the heatsink/cooler back into place, allowing the paste to spread evenly across the surface.
Finally, secure the heatsink or cooler, reconnect your computer, and power it back on. Keep an eye on the temperatures to ensure everything is running smoothly, and don’t be afraid to make any adjustments as needed.
Conclusion
Refreshing the thermal paste on your CPU and GPU might not be the most glamorous task, but it’s one that can pay huge dividends in terms of improved cooling, better performance, and extended hardware lifespan. So, the next time you notice your computer running a little too hot for comfort, don’t hesitate to give it a little spa treatment – your components will thank you for it.
And remember, if you ever need a little extra help or advice, the team at ITFixUK is always here to lend a hand. Happy cooling!


