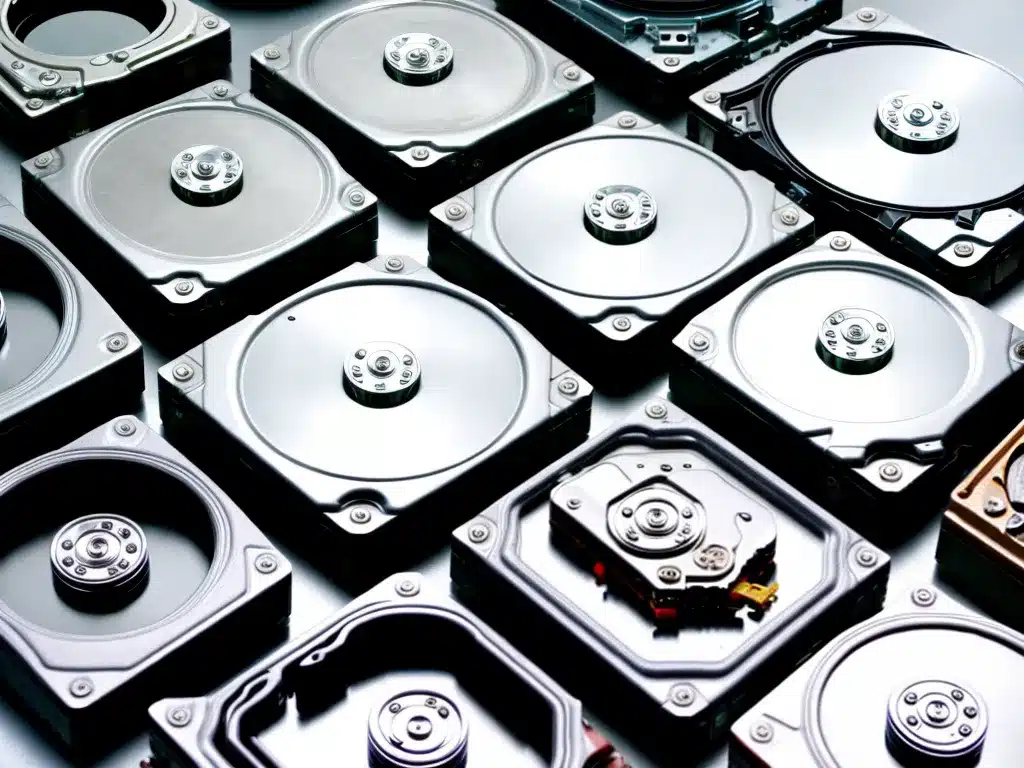
Why You Should Wipe Old Hard Drives Before Disposal
When it’s time to replace an old hard drive, it’s important to properly wipe the drive before disposing of it. Simply deleting files or formatting the drive is not enough to fully erase the data. Hard drives can retain data in sectors that are not actively being used. This means sensitive information could potentially be recovered.
To prevent data leakage, the best practice is to completely wipe hard drives using disk wiping software before disposal. This overwrites the entire drive with junk data, making it virtually impossible to recover the original contents. Properly wiping old drives ensures data security and protects your privacy.
Below I’ll go through the steps to securely wipe a hard drive and recommend the best disposal methods. Following proper hard drive wiping and disposal procedures gives you peace of mind knowing your data remains secure.
Choosing Disk Wiping Software
There are several options available for securely overwriting the contents of a hard drive:
Darik’s Boot and Nuke (DBAN)
DBAN is a popular free wiping utility that runs from a bootable CD or USB drive. It provides different data sanitation algorithms, including a DOD compliant 3-pass wipe. DBAN is easy to use but can be slow on larger drives.
Parted Magic
Parted Magic is another free bootable OS option. Along with disk partitioning tools, it includes options for erasing data with procedures that meet DOD 5220.22-M standards.
Active@ KillDisk
For a more robust wiping tool, Active@ KillDisk provides verified data sanitation and full drive erasing capabilities. It can wipe entire drives as well as partitions and virtual machines. KillDisk supports a wide range of interfaces and offers advanced scheduling features.
Apple Disk Utility
For Mac users, the built-in Disk Utility app can be used to securely erase data. Make sure to choose the most secure erase option, which overwrites the drive with zeros.
Step-by-Step Hard Drive Wiping Procedure
Follow these steps to securely wipe a hard drive before disposal:
1. Backup Any Important Data
Before wiping, be sure to backup any important files or data. The disk wipe process will permanently erase everything on the drive.
2. Download and Install Wiping Utility
Choose a recommended wiping utility and download the software onto a working computer. For bootable tools, create the appropriate CD/DVD or flash drive startup disk.
3. Connect Hard Drive to Be Wiped
Disconnect the target hard drive from any non-target machines. Connect it directly to the computer being used for wiping. External drives should be attached via USB/eSATA and internal drives connected to SATA ports.
4. Boot Utility and Select Wiping Options
For bootable tools like DBAN, configure computer boot sequence to boot from the disk before system hard drive. Boot into the wiping utility, select the target drive, then choose the appropriate sanitation algorithm. The DOD 5220.22-M 3-pass wipe is recommended for thorough data destruction.
5. Start Wiping Procedure
Initiate the disk wipe process. The utility will begin overwriting the entire drive with random data to obliterate any traces of the original contents. Larger drives can take hours to complete.
6. Verify Wipe and Dispose of Drive
Once complete, the wiping utility can perform verification passes to confirm successful sanitation. The drive is now prepared for secure disposal.
Secure Hard Drive Disposal Methods
Once a hard drive has been fully erased, you need to properly dispose of it to complete the data destruction process. Here are recommended methods:
Recycle at Electronics Collection Center
Many local waste management authorities offer electronics collection days or sites to recycle old drives and computers. This is a convenient eco-friendly disposal option.
Send to Data Destruction Service
For absolute certainty, utilize a reputable data destruction service. They shred drives into small pieces to provide unrecoverable physical destruction. This incurs a fee but guarantees data is obliterated.
Physically Destroy Yourself
As a do-it-yourself alternative, you can physically destroy the wiped hard drive yourself using a hammer, drill or other tools to break the platters into unreadable shards. This DIY destruction can be risky if not done properly.
By following these best practices for secure wiping and disposal of old hard drives, you can ensure sensitive data remains protected even after the drives are long gone. So don’t just throw hard drives in the trash. Take the extra steps to properly sanitize and destroy them. Your data will thank you.


