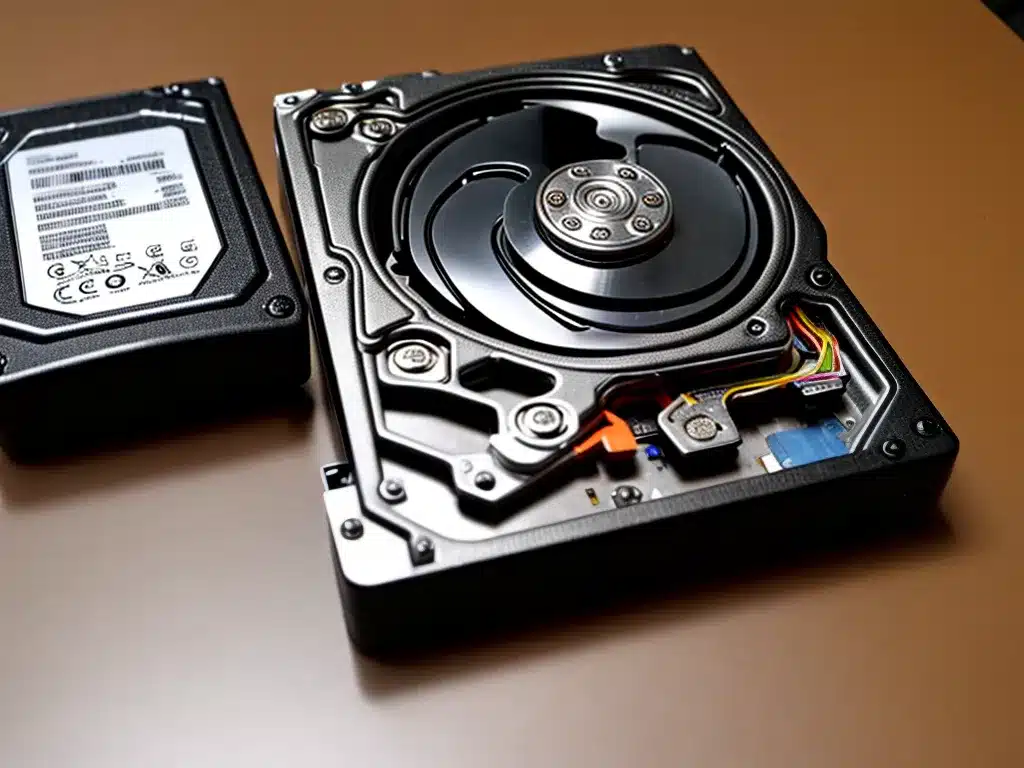
Having an external hard drive not show up can be frustrating. However, there are several troubleshooting steps you can take to resolve the issue. Here are some things to try:
Check The Drive’s Power Supply
The most obvious issue is a lack of power. Here’s what you should check:
-
Is the drive plugged in and turned on? Make sure the power cable is securely plugged into the drive and wall outlet. If it’s plugged into a power strip, try plugging directly into the wall instead.
-
Does the drive have an external power supply? Some desktop external drives have a separate power cord/brick. Make sure that’s plugged in too.
-
Does the light come on when plugged in? Most external drives have an LED light that illuminates when connected and powered on. If not, the drive isn’t receiving power.
-
Try a different cable and connect to a different USB port. A faulty or insufficient cable could cause power issues. Swap with a high-quality cable.
If the drive is still not detected, the power supply is likely faulty and needs to be replaced.
Verify The Drive’s Data Connections
If the drive has power but isn’t connecting, there may be an issue with the data transfer cable. Things to check:
-
Inspect the USB cable for damage. If the cable is frayed, bent, or otherwise damaged, it can disrupt the connection. Replace with a high-quality cable.
-
Connect to a different USB port on your computer. Try other USB ports and hubs to eliminate the port as the problem source.
-
Test cable connections with another device. Verify the cable and USB port work by connecting another external device like a USB flash drive.
-
Try a different cable. Switch out the USB cable to confirm a faulty cable isn’t the issue.
If connection issues persist after cable testing, the drive’s port may be damaged or the internal controller board is faulty.
Reboot Computer and External Drive
Rebooting your computer and drive may clear out any software glitches preventing detection:
-
Power cycle computer and drive. Disconnect the drive’s USB cable, power down computer and drive, reconnect, then restart.
-
Try different USB ports again. After rebooting, try different USB ports on your computer in case an earlier glitch cleared.
-
Update USB and motherboard drivers. Outdated drivers can cause USB device detection issues. Update them to the latest versions.
-
Try on a different computer. Connect drive to another computer and see if it is detected. This verifies whether the issue is with that specific computer.
If the drive fails to show up after power cycling and trying different computers, it could point to a hardware failure.
Check For Detection in Disk Manager
The drive may show up in Disk Management even if it doesn’t appear in File Explorer. To check:
-
Open Disk Management. Right-click the Start button or press Windows+X and select Disk Management.
-
See if the drive shows up. Even without a drive letter assigned, it may still appear in Disk Management. This confirms it’s detected by the OS.
-
Assign a drive letter. If visible but lacking a drive letter, right-click and assign one not in use. The drive will then appear in File Explorer.
-
Initialize the disk if prompted. An “uninitialized” drive may need to be initialized before use. Right-click and select Initialize.
If your drive doesn’t show up in Disk Management, the drive or enclosure is likely physically damaged or malfunctioning.
Check For Drive Errors Using Disk Utility
Disk errors can also prevent drive detection. Check for errors using a disk utility:
-
On Windows, run CHKDSK. Open the Command Prompt as admin and run “chkdsk X: /f” where X is the drive letter.
-
On Mac, run First Aid. Open Disk Utility, select the external drive, click First Aid, then click Run.
-
Use a third-party tool. Software like Disk Drill or Stellar have utilities to diagnose and repair disk errors.
If errors are found, the disk utility may be able to repair them. Drive detection issues due to file system corruption or bad sectors should resolve after error repair.
Test On Another Computer
Try connecting the external drive to a different computer.
-
Connect to another PC or Mac. Use the same steps to connect, reboot, and check Disk Management on another system.
-
Test on a friend’s computer. Ask someone else if you can check the drive on their computer. This helps determine if the issue is isolated to your computer.
If the drive fails to work on multiple computers, it likely has a hardware failure inside the enclosure. At that point, you’ll need a new drive.
Open The External Enclosure and Test Drive Inside
If no other troubleshooting works, the last resort is opening the enclosure to extract and test the drive inside:
-
Consult manual for disassembly. Make sure to follow the manufacturer’s instructions to avoid damaging the enclosure.
-
Connect drive directly to computer. Attach the extracted internal drive to your computer’s SATA cable and power to bypass the enclosure.
-
See if detected in BIOS. Boot into BIOS setup and check if native SATA drive is detected. This reveals the true health of the drive.
-
Run diagnostics on extracted drive. Directly connect the drive to run SeaTools (Seagate), Data Lifeguard (Western Digital), or other diagnostics.
If the bare drive isn’t recognized, the drive itself has failed and needs to be replaced. But if it works fine, the external enclosure’s controller board or USB bridge chip is likely faulty.
Hopefully going through these troubleshooting steps helps identify and resolve the external hard drive detection problem. Some issues like bad cables are simple fixes, while others like dead drives require drive replacement or professional data recovery assistance.


