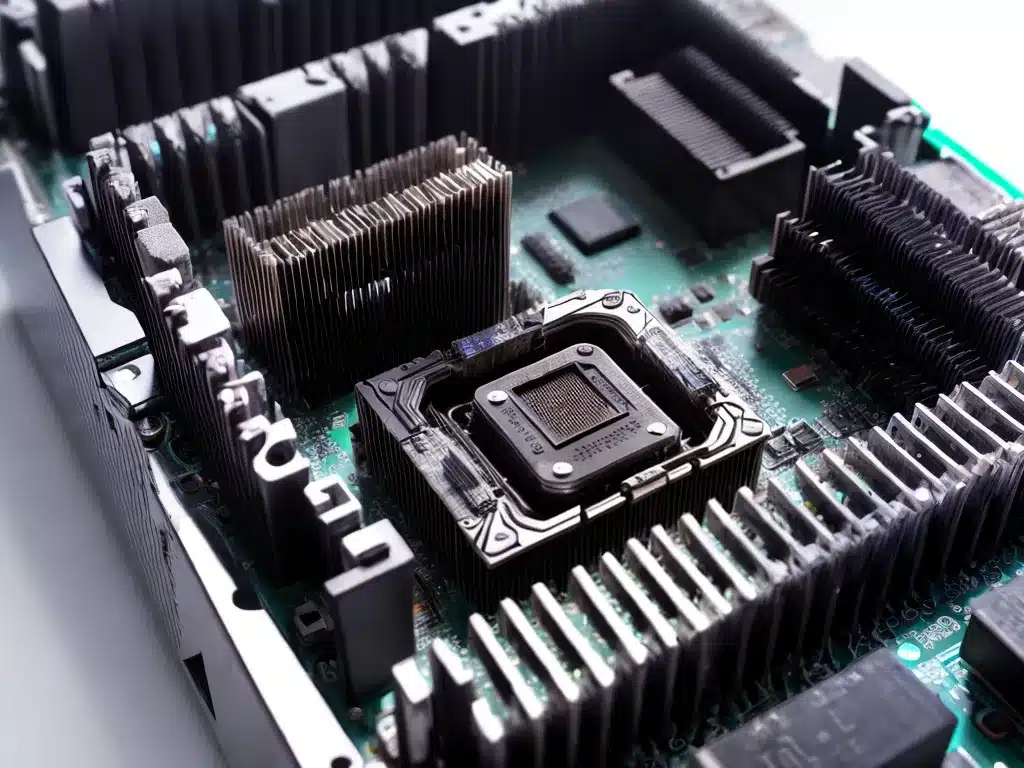
As an IT professional and PC builder, replacing CPUs and heatsinks is a fairly common task I undertake. Here is a comprehensive guide covering everything you need to know about replacing CPUs and heatsinks.
Preparing for the CPU and Heatsink Replacement
Before replacing a CPU and heatsink, there are a few preparatory steps I take:
-
Back up important data on the computer if possible. Replacing the CPU will require reinstalling the operating system, wiping drives.
-
Obtain the new CPU and compatible heatsink. Make sure the new CPU is compatible with the motherboard. The heatsink also needs to be designed for the new CPU socket.
-
Purchase fresh thermal paste/compound. Old paste must be cleaned off and fresh paste applied for optimal cooling.
-
Ground yourself to prevent static discharge damage. Use an anti-static wrist strap and work on an anti-static mat if possible.
-
Clear workspace to have room for organizing screws/brackets. Lay down paper towels in case any thermal paste drips.
-
Review CPU installation manual if available for the specific motherboard. Being familiar with the steps will make the process smoother.
Removing the Old CPU and Heatsink
Once prepped, I’m ready to remove the old CPU and heatsink:
-
Shut down and unplug power supply from wall and motherboard.
-
Remove side panel from PC case to access motherboard.
-
Disconnect all cables attached to motherboard to allow full access.
-
Remove bracket/plate holding heatsink and fan to the motherboard.
-
Unplug CPU fan power cable from motherboard.
-
Carefully twist the heatsink left and right to loosen from thermal paste. Lift vertically once free.
-
Locate the arm lever holding the CPU in place. Release the lever to open the CPU socket.
-
Lift old CPU straight up vertically from socket pins. Avoid bending any pins.
-
Inspect socket for any bent pins and correct if found. Clean thermal paste off CPU and heatsink.
Installing the New CPU and Heatsink
With the old components removed, I can now install the new CPU and heatsink:
-
Match triangle corners on CPU with motherboard socket. Align and lower CPU straight down into socket.
-
Close metal socket lever fully to lock the CPU securely in place.
-
Apply fresh thermal paste as a small dot/line on CPU. Spread evenly with plastic spreader or card.
-
Align and lower heatsink straight down onto CPU, making full contact with thermal paste.
-
Attach heatsink bracket and plug in CPU fan cable to motherboard header.
-
Reconnect all cables removed from motherboard earlier.
-
Replace PC case side panel, reconnect power cables, and turn PC on.
-
Enter BIOS setup menu and enable new CPU if prompted. Save changes.
-
Install/reactivate operating system and required device drivers.
-
Run tests to validate CPU temperature and functionality.
With careful component handling, thermal paste application, and post installation steps, the new CPU and heatsink can be successfully installed to enhance PC performance. Let me know if you need any clarification on the steps outlined!


