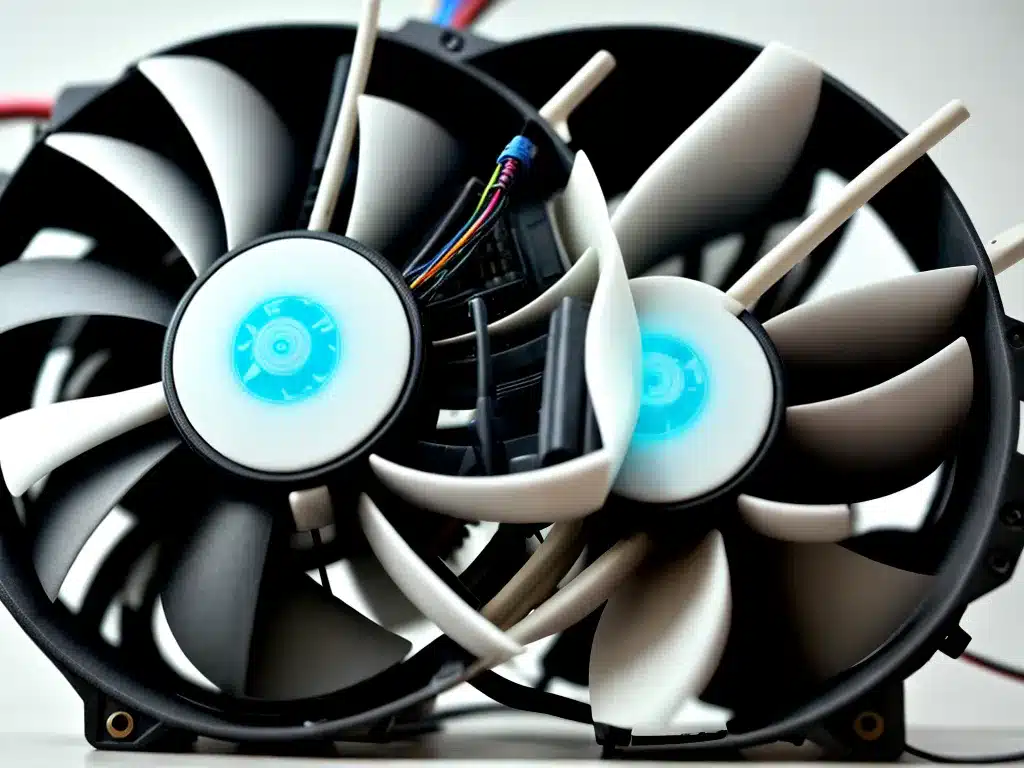
Introduction
A noisy computer fan can be annoying and distracting. As someone who uses my computer daily, I’ve had to deal with this issue a few times. In this article, I’ll share some tips and tricks I’ve learned for fixing a noisy computer fan.
There are a few common reasons why a computer fan might start making noise:
-
Dust buildup – Dust can accumulate on the fan blades and housing, causing vibration and noise. This is the most common cause.
-
Worn out fan bearings – Fan bearings can wear out over time, causing wobbling and rattling noises.
-
Obstructions – Cables or other debris interfering with the fan blades can cause abnormal noises.
-
Fan positioned at an angle – If the fan is tilted or angled in the housing, it can vibrate.
-
Software controlled fan speed – Some fan noises may be caused by constantly changing fan speeds controlled by software.
Fortunately, there are several things you can try yourself to fix a noisy computer fan before replacing it.
Cleaning the Fan
The first thing to try is thoroughly cleaning the fan of dust buildup.
-
Use a can of compressed air to blow out any dust from the fan blades and housing. Hold the fan in place when blowing air to avoid spinning it too fast.
-
Use a cotton swab dampened with isopropyl alcohol to wipe any remaining dust from the fan blades. Let it air dry completely before reassembling.
-
Use a small vacuum cleaner attachment to suck up any loose dust.
-
Remove the fan from the computer case for easier access if needed.
Thoroughly cleaning the fan can remove dust that is causing vibration and noise. In many cases, this simple fix does the trick.
Checking Fan Bearings
If cleaning doesn’t work, the fan bearings may need to be checked. Worn out or damaged bearings can cause wobbling noises.
-
With the computer powered off, manually spin the fan with your finger. A healthy fan will spin smoothly.
-
Listen for grinding, scraping or rattling noises as you spin the fan. That could indicate worn out ball bearings.
-
There should be very little wobble or vibration in a good fan. Excess wobble indicates worn out sleeve bearings.
-
Replace the fan if the bearings seem worn out. Replacement fans are inexpensive for most models.
Checking the bearings and replacing a worn out fan usually resolves rattling and grinding noises.
Checking for Obstructions
Another common cause of abnormal fan noises is obstructions interfering with the blades.
-
Carefully inspect the fan blades and housing for any debris like cables, zip ties or dust clumps.
-
Use tweezers to remove small debris from the fan assembly.
-
Cut away any cable ties or wires touching the fan blades. Make sure no cables can freely move into the fan area.
-
If there is a fan grille or guard, clean or replace it if necessary to prevent wires touching the fan.
-
Replace bent or damaged fan blades.
Removing obstructions is an easy fix that can reduce vibrations and turbulence that cause noise.
Adjusting Fan Position
Sometimes noise can occur if the fan is tilted or positioned at an angle.
-
Carefully inspect the fan mounting to ensure the fan is seated firmly and evenly.
-
Loosen the fan screws and reposition it if necessary, making sure it is aligned properly and sits flat.
-
Use rubber grommets or anti-vibration mounts if available.
-
Rotate the fan so the label faces up if possible, as this is typically the balanced side.
Ensuring proper fan positioning can help reduce turbulence and grinding noises in some cases.
Adjusting Software Settings
For fans with speeds controlled by software:
-
Open the software utility and check for a fan curve profile setting. This may be constantly ramping fan speeds up and down.
-
Switch to a steady fan speed if available. This avoids revving up and down.
-
Set a custom fan profile that avoids speed changes in the problem noise RPM range.
-
Reset to default settings if available.
Software fan controls can sometimes cause noise issues that are fixable through settings adjustments.
Replacing the Fan
If all else fails, just replace the fan:
-
Match the fan specifications (size, power rating, connector type) or get an upgraded replacement.
-
For CPU or GPU fans, replacement mounting brackets are often available.
-
Apply fresh thermal paste after removing the old fan.
-
Ensure the new fan is mounted securely.
-
Consult the motherboard manual if needed for proper fan header connections.
Although a hassle, installing a new replacement fan will ultimately resolve any stubborn noisy fan issues. Just be sure to properly select and install the replacement.
When to Seek Repair Service
If you’ve tried all the troubleshooting tips without success, it may be time to seek professional computer repair service for the noisy fan:
-
Fan noise persists after thorough cleaning and replacing the fan.
-
You don’t feel comfortable disassembling the computer and lack the proper tools.
-
There are other symptoms like overheating along with the fan noise.
-
The fan doesn’t spin at all or spins erratically.
-
You’re unsure of the fan specifications needed for replacement.
-
There’s noticeable damage to other components like bent fins or cracks.
While most noisy computer fan issues can be DIY repaired, seek professional service for anything complex beyond simple fixes.
Conclusion
Fixing a noisy computer fan often just requires some basic cleaning and maintenance. With a few simple tools and proper care, you can troubleshoot and solve most noisy fan issues yourself. But for more complex fan problems or if you’re uncomfortable tinkering inside your computer, don’t hesitate to seek professional repair service. With the right repairs, you can get back to enjoying a quietly running computer.


