Introduction
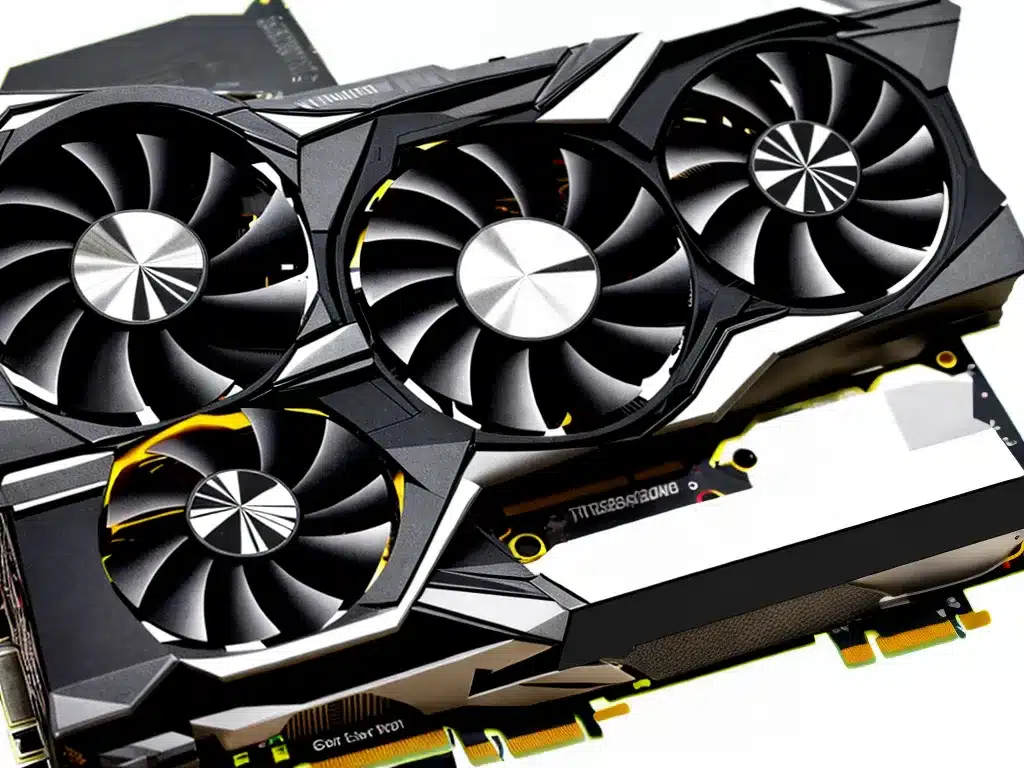
Installing a new graphics card can seem daunting, but it’s actually a straightforward process if you take it step-by-step. A new graphics card is one of the best ways to improve your computer’s gaming performance and visuals. In this guide, I will walk you through the entire process of installing a new graphics card into your PC from start to finish.
Preparation
Before installing your new graphics card, there are a few important things you need to do to prepare.
Research Graphics Card Compatibility
First, you need to make sure that the new graphics card you have purchased is compatible with your computer’s motherboard and power supply. Check the graphics card manufacturer’s website for the minimum system requirements. Most graphics cards require at least a 400-500 watt power supply and a PCI Express x16 slot on the motherboard.
Uninstall Old Graphics Drivers
If you currently have another graphics card installed, you should uninstall the old graphics drivers before removing the old card. You can do this through the Control Panel in Windows. Cleaning out old drivers prevents driver conflicts with the new card.
Gather Tools
You will need a Phillips head screwdriver, a flashlight, and some zip ties to secure cables. Anti-static precautions like an anti-static wrist strap are also recommended to prevent static discharge damage.
Give Yourself Plenty of Time
Make sure you have enough time set aside to do the installation properly. Rushing through the process often leads to mistakes and frustration. Set aside at least 30 minutes to an hour for the entire installation.
Removing the Old Graphics Card
If you don’t have an existing graphics card, you can skip to the next section.
-
First, you need to open up your computer case and locate the existing graphics card. It will likely require two screws removed to loosen from the rear panel.
-
Carefully disconnect any power cables going into the graphics card from the power supply.
-
Release the plastic clip on the PCIe x16 slot and gently pull the card directly out. Do not rock it back and forth as this can damage the motherboard slot.
-
If there is any thermal paste or residue on the CPU, clean it off with isopropyl alcohol and a lint-free cloth.
Installing the New Graphics Card
Once you have removed the old card and prepared the system, you are ready to install the new graphics card.
Insert into PCIe Slot
-
Line up the new graphics card with the PCIe x16 slot on the motherboard. The slot is often the top full length x16 slot nearest the CPU but refer to motherboard manual for confirmation.
-
Push the card gently but firmly into the slot until it clicks into place. Make sure the plastic clip on the slot has closed to secure the card.
Connect Power Cables
-
Locate the required PCIe power connectors from the power supply. Newer graphics cards often require one 8 pin and one 6 pin connector.
-
Carefully plug the power cables into the new graphics card. These can only be connected one way. Do not force.
Secure to Rear Panel
-
Align the graphics card’s port connectors to the openings on the rear panel of the computer case.
-
Reinstall and tighten the screws that hold the card to the case. Do not over-tighten.
Manage Cables
-
Use zip ties to secure and route the power cables neatly to maintain airflow and reduce clutter in the case.
-
Double check that no cables are hanging loose or interfering with any fans.
Installing Drivers
Once the new graphics card is securely installed, you need to install the latest drivers before you can use it.
Boot into Safe Mode
-
Restart your computer and boot into safe mode. This loads Windows with default graphics drivers.
-
On Windows 10, hold down the Shift key while clicking Restart in the Start Menu. Then select Troubleshoot > Advanced Options > Startup Settings > Restart. After your PC restarts, select Safe Mode.
Install Drivers from Manufacturer’s Website
-
Go to the graphics card manufacturer’s website and download the latest drivers for your card and operating system. Common manufacturers are NVIDIA, AMD, and Intel.
-
Run the driver installer you downloaded. This will replace the default graphics drivers with the correct ones for your new card.
-
Restart your computer when prompted to complete installation.
Verify Installation
-
To verify your new graphics card is working properly, right click on your Desktop and select Display Settings.
-
Your new graphics card should be listed under Display adapters. Run some graphics intensive programs like games to ensure it performs as expected.
Conclusion
Installing a new graphics card involves preparation, physically installing the card, securing it, managing cables, and getting the correct drivers installed. As long as you take your time and follow each step, you will have your new graphics card up and running in no time. This will greatly enhance your gaming visuals and overall computer graphics performance.


