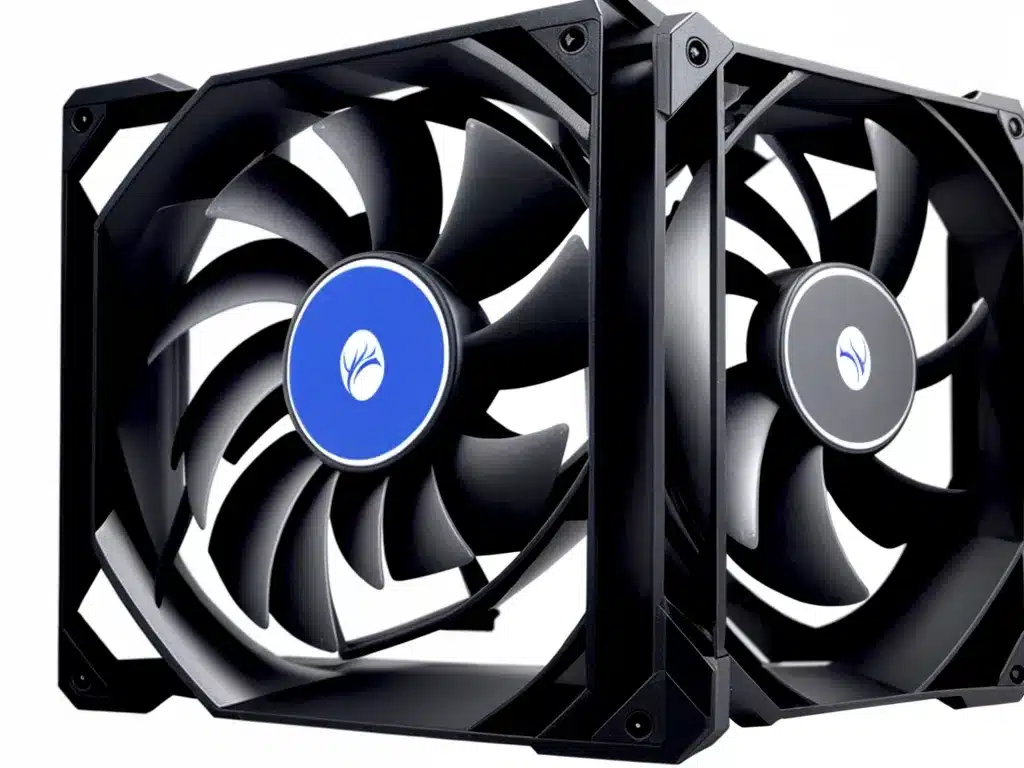
Improving your PC’s cooling can help it run faster, quieter, and more reliably. Adding extra case fans is an easy and affordable way to accomplish this. Here’s how to do it:
Selecting Fans
There are a few things to consider when selecting new case fans:
-
Size – Measure the free fan mounts in your case to determine the sizes that will fit. Common sizes are 80mm, 120mm, 140mm, and 200mm.
-
Airflow – Consider the airflow direction and CFM rating. More airflow moves more air through your PC. Intake fans bring cool air in, while exhaust fans expel hot air out.
-
Noise – Check the noise rating (dB). Quieter fans typically spin slower.
-
4-pin and 3-pin – 4-pin fans can be speed controlled, while 3-pin fans run at a constant speed.
I prefer high airflow 120mm or 140mm fans with a noise rating under 30 dB. Noctua and be quiet! make great options.
How Many Fans to Install
-
Front intake – At least one in the front as intake. This blows fresh air on hot components.
-
Rear exhaust – At least one in the rear as exhaust. This removes hot air from the case.
-
Top exhaust – Optional, but helps ventilate rising hot air. Can do 1-3 fans here.
-
Bottom intake – Optional intake over the graphics card area, if mounts available. Improves GPU cooling.
-
Side intake – Optional intake fan blowing directly on graphics card and CPU. Effective for cooling.
I recommend starting with 1-2 front intakes and 1 rear exhaust. Then add more fans if needed.
Installation Steps
1. Power Down and Unplug the PC
Shut down and switch off the power supply before working inside your case. This prevents electric shock and damage.
2. Remove Side Panel
Unscrew and take off the side panel to access the interior. Lay it down carefully to avoid scratching.
3. Screw in the New Fans
Line up the fan holes with the case mounts. Insert the screws part way in diagonally opposite corners, then tighten them down.
4. Connect Fan Cables
Attach the fan cables to empty headers on the motherboard, or use a fan splitter cable if needed. Make sure air flows in the desired direction.
5. Organize Cables
Neatly tuck all cables out of the way and replace the side panel. This improves airflow.
6. Boot Up and Verify Operation
Start up the PC and enter BIOS. The fan speeds should show up to confirm they are connected properly.
Optimizing Airflow
Once installed, optimize airflow for lower temperatures:
-
Remove any unused PCI slots and drive bays to improve air intake.
-
Ensure cables are tidy and out of the airflow path.
-
Add fan filters to reduce dust buildup. Clean them regularly.
-
Balance air pressure by matching intake and exhaust CFM ratings.
-
Use fan control software like SpeedFan to adjust speeds. Ramp up under load.
-
Arrange fans to blow air directly on hot components like the GPU.
With extra case fans installed correctly, your PC can run cooler and perform better during intense gaming, rendering, and other demanding tasks. Monitor component temperatures regularly to validate the improved cooling. Adding more fans is an easy upgrade that pays dividends in system stability and longevity.


