Introduction
Installing RAM (random access memory) in a desktop PC is a straightforward process that can provide a noticeable boost in system performance. With the right tools and proper precautions, DIYers of any skill level can add RAM to their computer. In this guide, I will walk through the physical installation process step-by-step.
Things You’ll Need
Before installing RAM, make sure you have the following:
- New RAM modules that are compatible with your PC’s motherboard
- A Philips head screwdriver to open the PC case
- An anti-static wrist strap to prevent electrostatic discharge damage
Optional but recommended:
- A magnetic tipped Phillips screwdriver for easier access to screws
- Compressed air to clear dust before installation
Choosing Compatible RAM
The most important factor when installing RAM is compatibility. Your PC’s motherboard dictates what types of RAM will work. Here are the key specs to check:
-
Type: Most desktop PCs use DDR4 RAM today but older systems may need DDR3, DDR2, or DDR RAM modules.
-
Speed: Faster RAM can provide better performance. Look for your motherboard’s supported speeds (e.g. 2400MHz, 2666MHz).
-
Capacity: Make sure the motherboard has open DIMM slots for the RAM capacity you want to install. Many boards support up to 64GB RAM today.
-
Voltage: 1.2V for DDR4 or 1.5V for DDR3 modules are the most common. The voltages must match.
Consult your motherboard manual or PC manufacturer to find compatible RAM types. Using incompatible RAM can lead to system instability or failure to boot.
Pre-Installation Steps
Before you take apart your computer, follow these preparatory steps:
Discharge Static Electricity
Static electricity can damage computer components. Use an anti-static wrist strap connected to an unpainted metal surface on your case whenever handling RAM. If you don’t have a wrist strap, regularly touch the metal surface to discharge any built-up static.
Remove Power Sources
Power off the computer and unplug the power cable from the PSU (power supply unit). If using a laptop, unplug the battery. This prevents accidental shocks or shorts.
Clear Dust
Carefully blow out dust using compressed air. Dust buildup can hinder installation and airflow. Avoid tilting fans while blowing since they can be damaged when spun.
Physical RAM Installation Steps
With preparation complete, we can move on to the installation steps:
1. Access the Motherboard
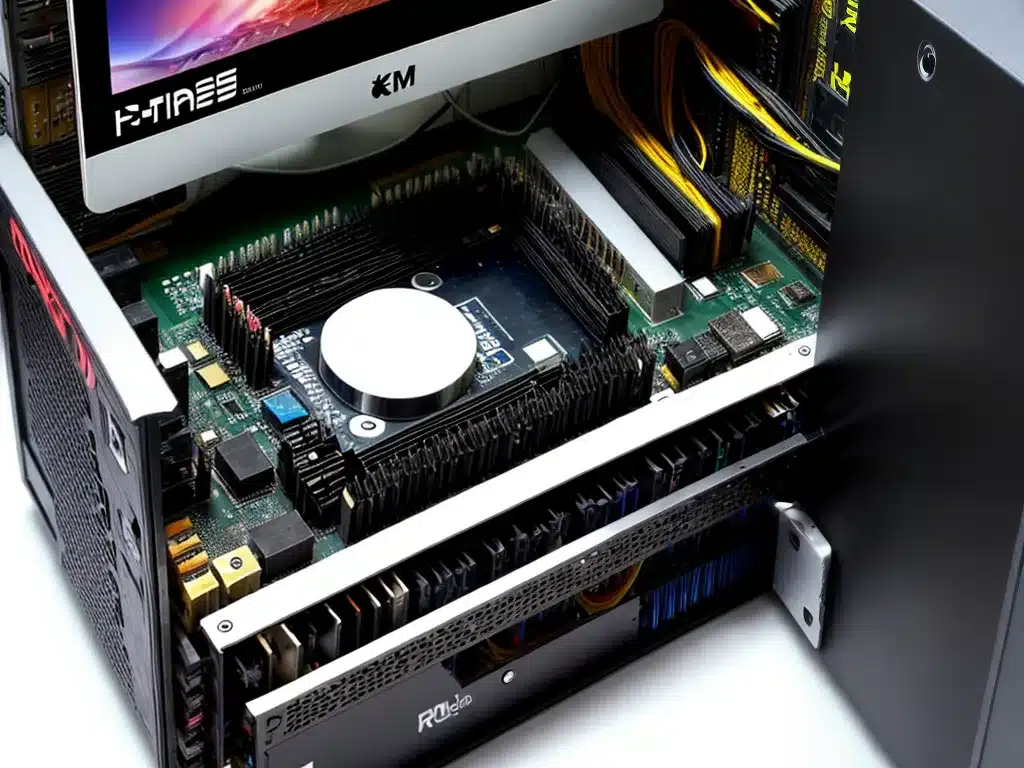
Use your Phillips head screwdriver to open the side panel of the computer case. Locate the DIMM slots on the motherboard where the RAM will be installed. DIMM slots are typically long, thin plastic sockets with metal pins inside.
2. Release the Retention Clips
On either end of the DIMM slot there should be retention clips that secure the RAM modules. Carefully push these clips away from the module to release them. This may require sliding them outward or pushing down and away depending on clip design.
3. Remove Old RAM (If Applicable)
If you are replacing an existing RAM module, slowly pull it straight up and out of the DIMM slot once the retention clips are released. Avoid rocking it back and forth excessively to prevent slot damage. Set aside the old RAM module after removal.
4. Align and Insert New RAM
Line up the notched edge of the new RAM module with the slot. The notch ensures the module only fits one correct way. Apply even pressure down into the slot until the retention clips click into place around the module. Do not force the module if it does not seat smoothly.
5. Re-enable Power and Boot PC
Carefully replace the PC’s side panel and reconnect any power sources you removed earlier. Power on the computer to ensure the RAM is detected properly. If the PC does not boot, double check that the module is firmly clicked into place and compatible with your system.
6. Install More Modules (Optional)
Most motherboards have multiple DIMM slots to enable dual-channel RAM support or more capacity. Follow these steps to install additional modules in vacant slots. Take care not to mix incompatible RAM speeds/voltages.
That covers the key steps for manually installing RAM modules in a desktop PC. The process largely involves straightforward mechanical installation with care taken for compatibility, anti-static measures, and proper seating of each module. With new RAM installed, you can enjoy the benefits of improved system performance.


